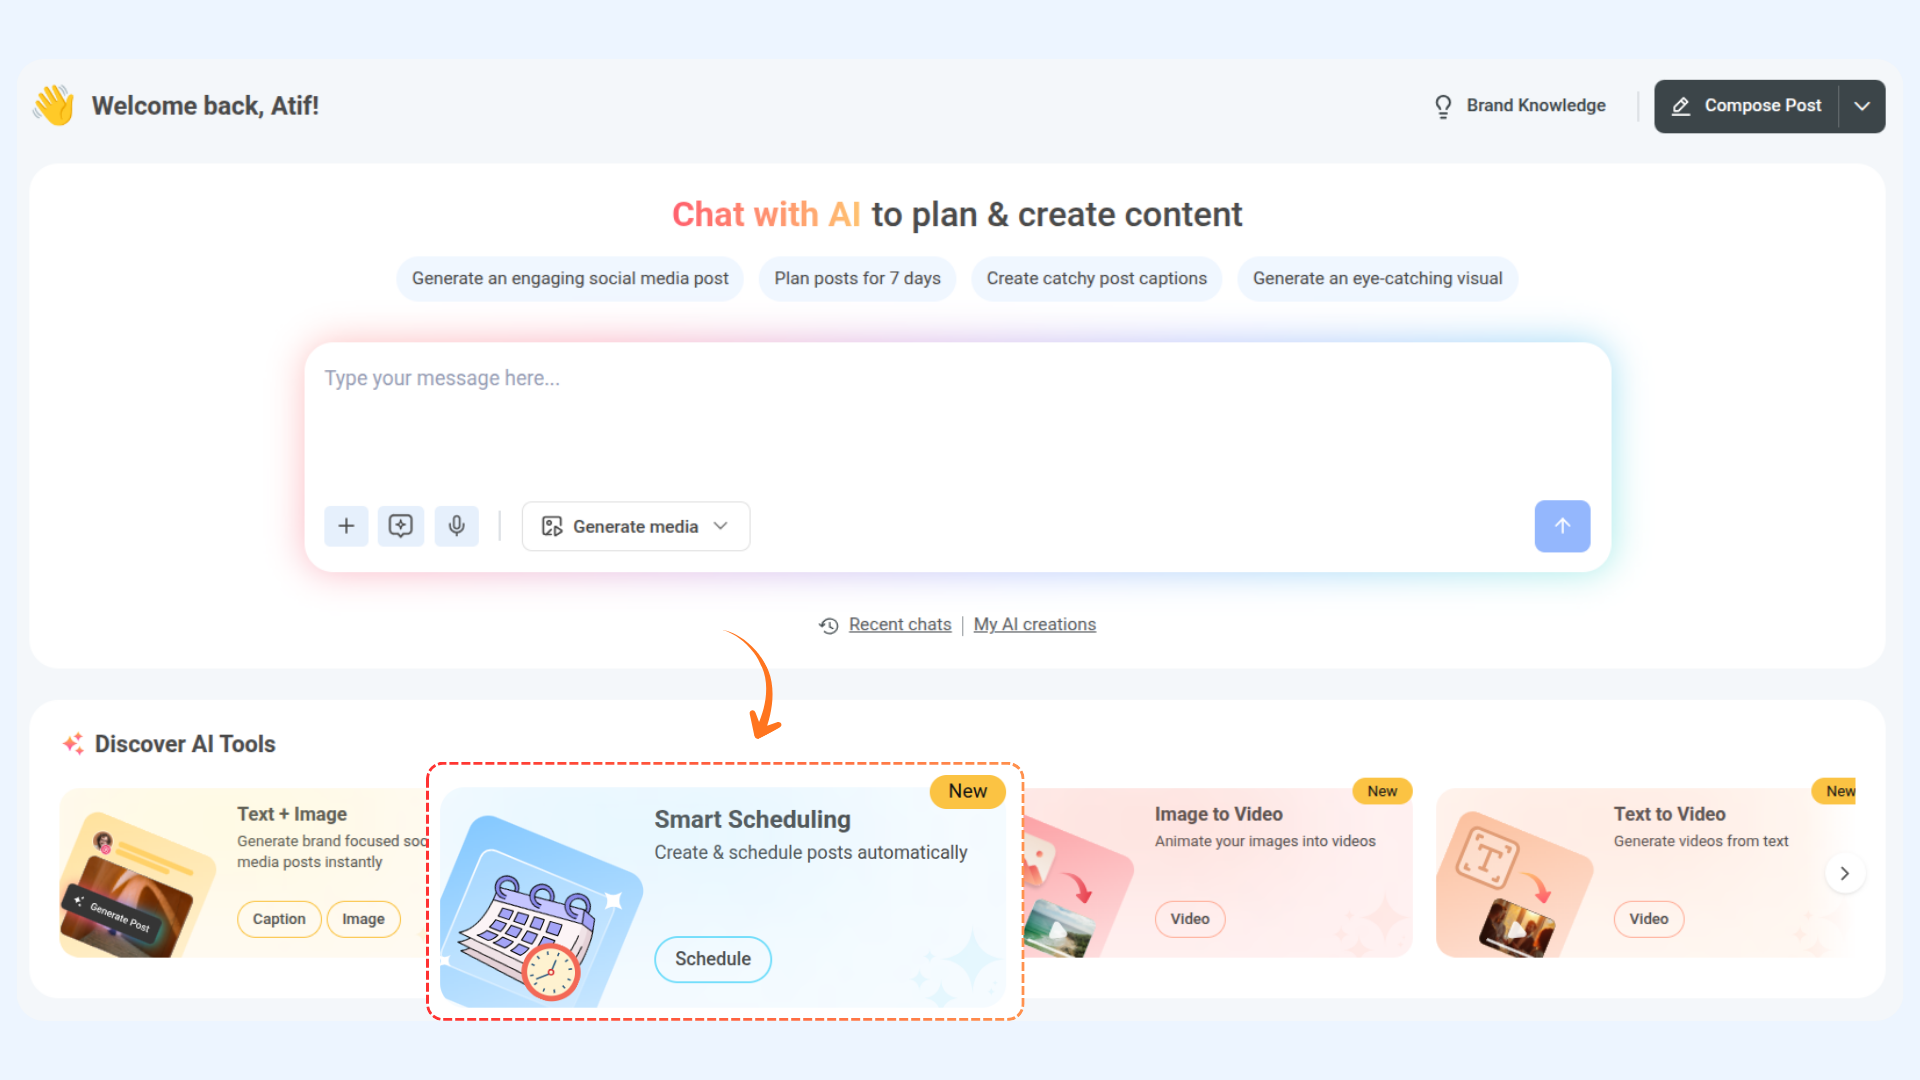
Smart Scheduling
Meet Smart Scheduling — your AI-powered content assistant designed to make creating and publishing posts faster, easier, and smarter. Chat with AI to generate engaging content, refine your captions, and attach media in seconds. With support for bulk scheduling and posting across multiple accounts, Smart Scheduling helps you plan days or weeks of content in one go.
In this Article:
How to Create & Schedule a Post
Smart Scheduling lets you quickly create a post by adding your media and caption, then schedule it to go live at your chosen time. It’s an easy way to plan and manage your content efficiently.
Ask AI to Write & Schedule a Post


Schedule with your own content

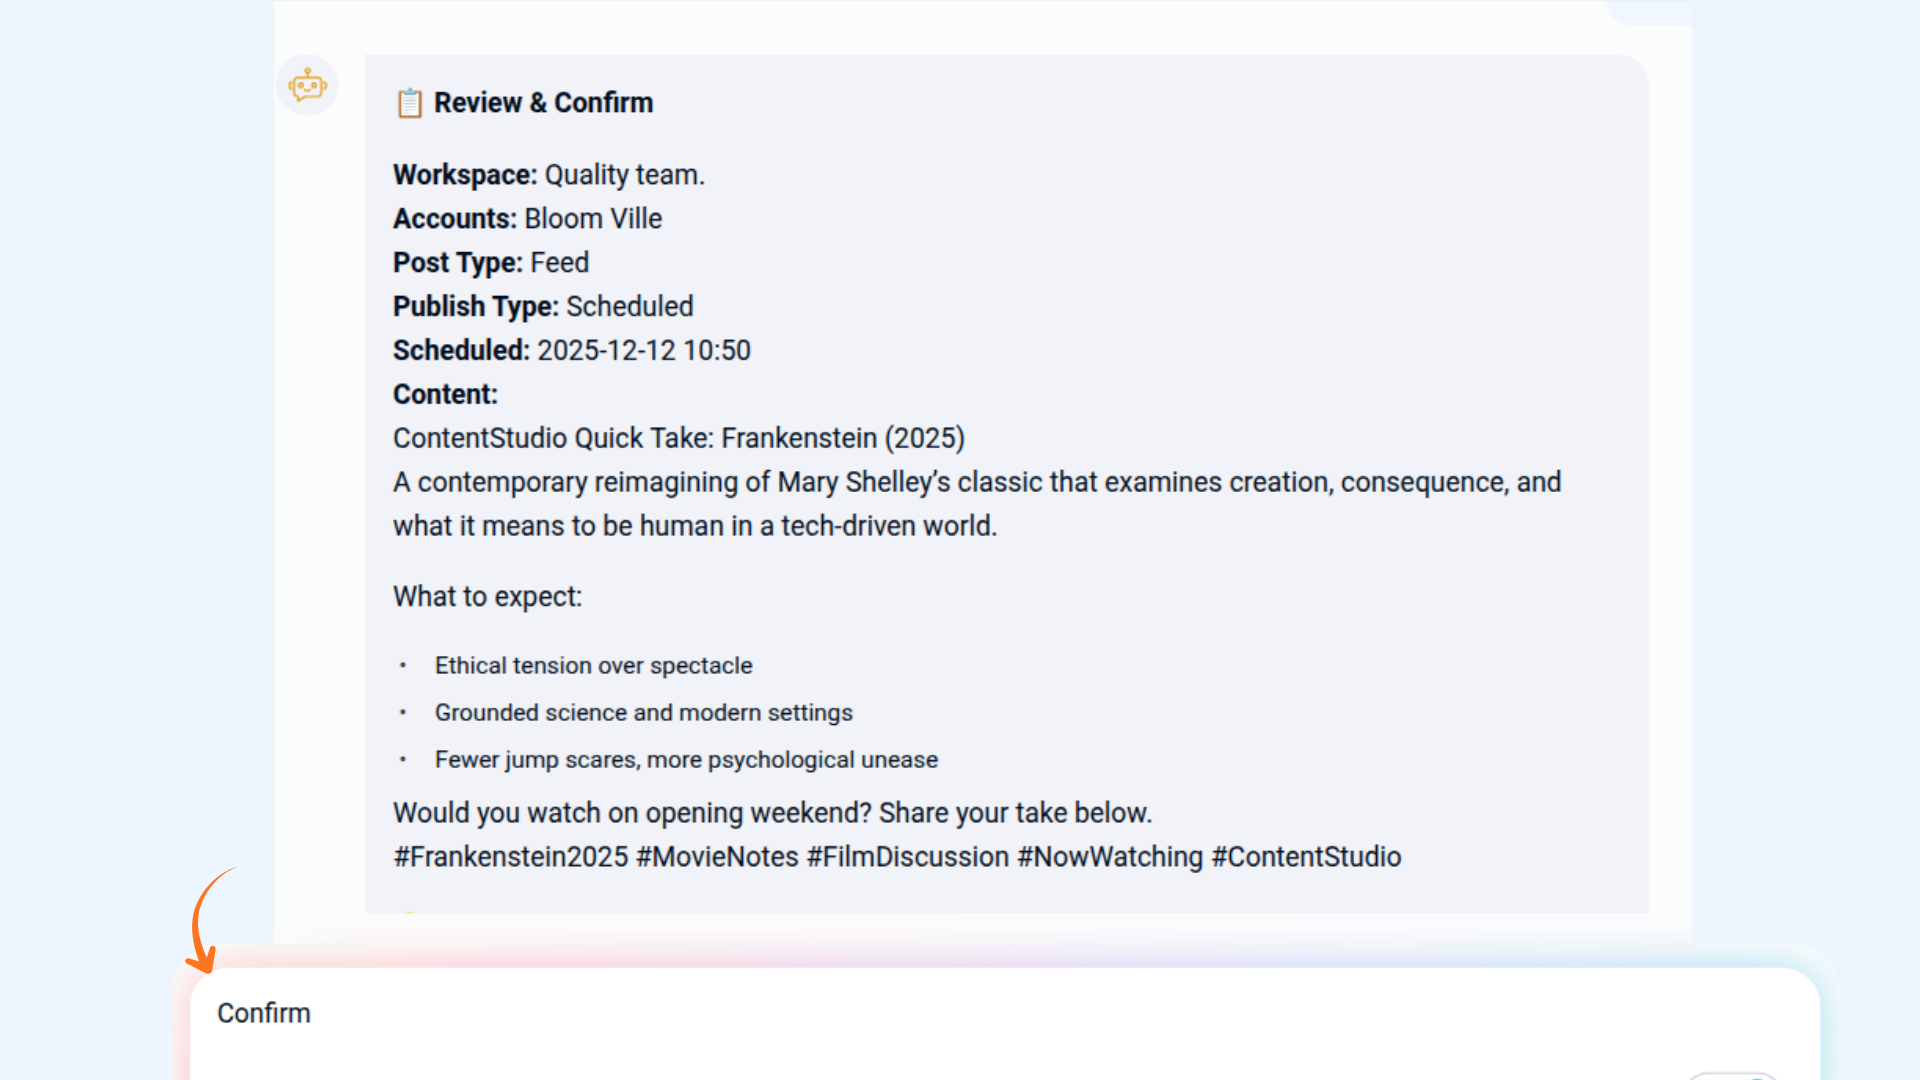
Select the social account you want to publish on.
Once reviewed, type in confirm.
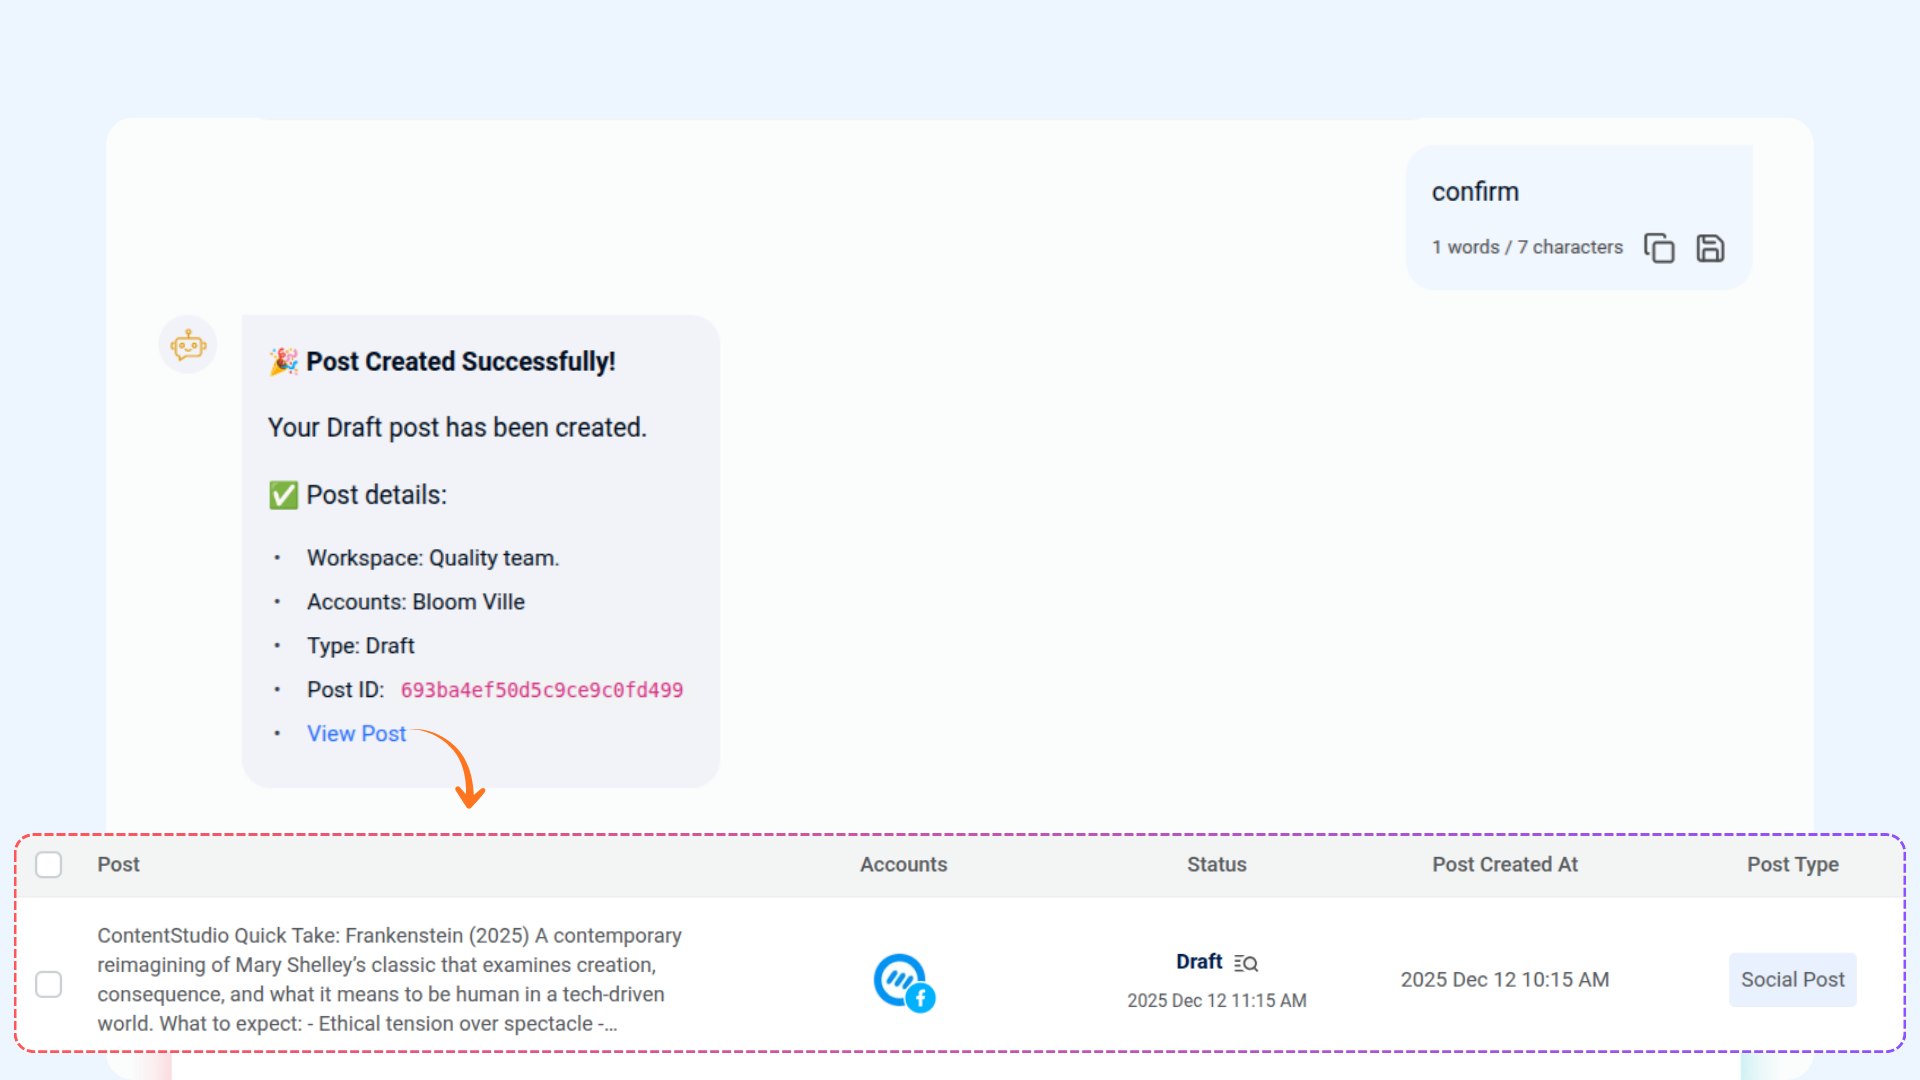
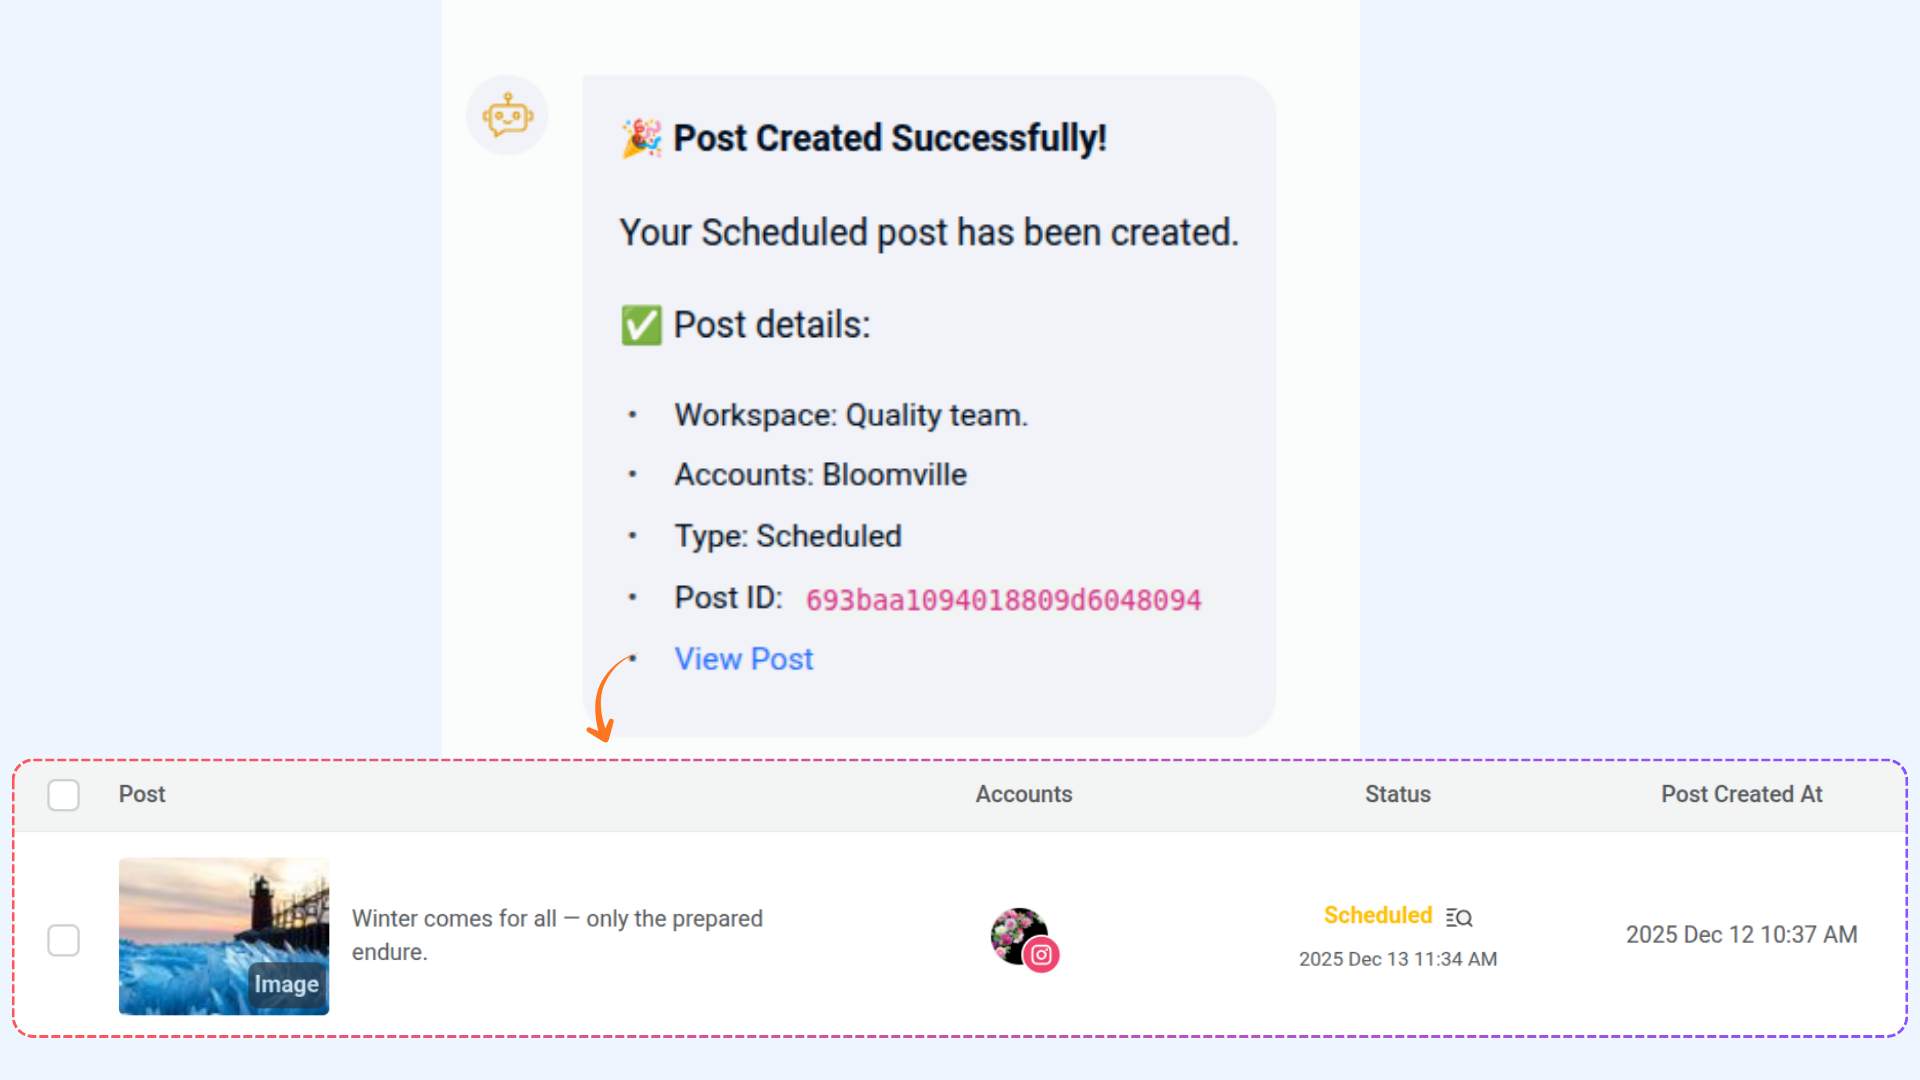
Your post has been successfully created! You can now click on View Post to see it in the Publisher.
Bulk Schedule Posts with Smart Scheduling
Smart Scheduling enables you to create and schedule multiple posts simultaneously. You can upload multiple images and generate captions for each post, making it easier to plan and organize your content in advance. This feature is ideal for publishing content over a longer time period, such as weekly or recurring posts.

Bulk Media Upload & Captions
- Upload multiple images at once (e.g., 5 images).
- Write captions for each image or let the system generate them.
- Schedule the posts for your desired dates (e.g., every Monday for 5 weeks).

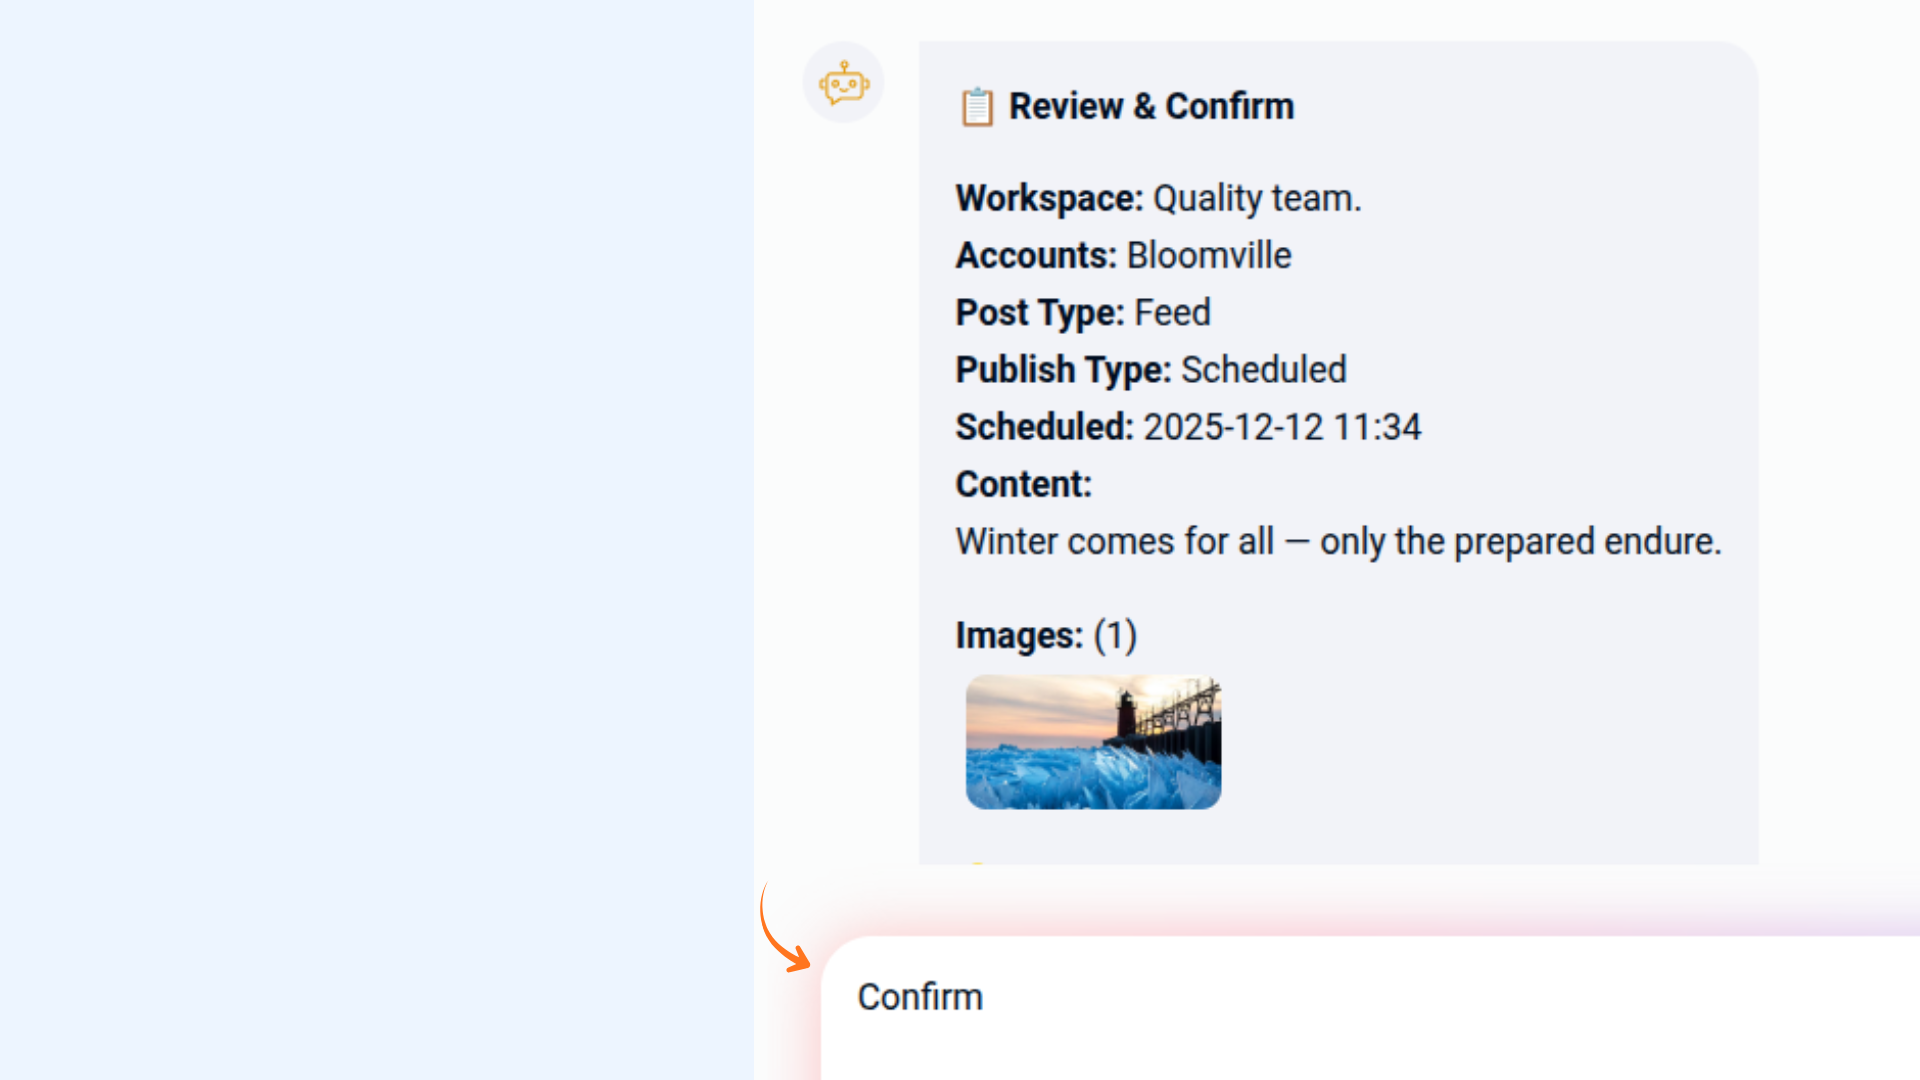
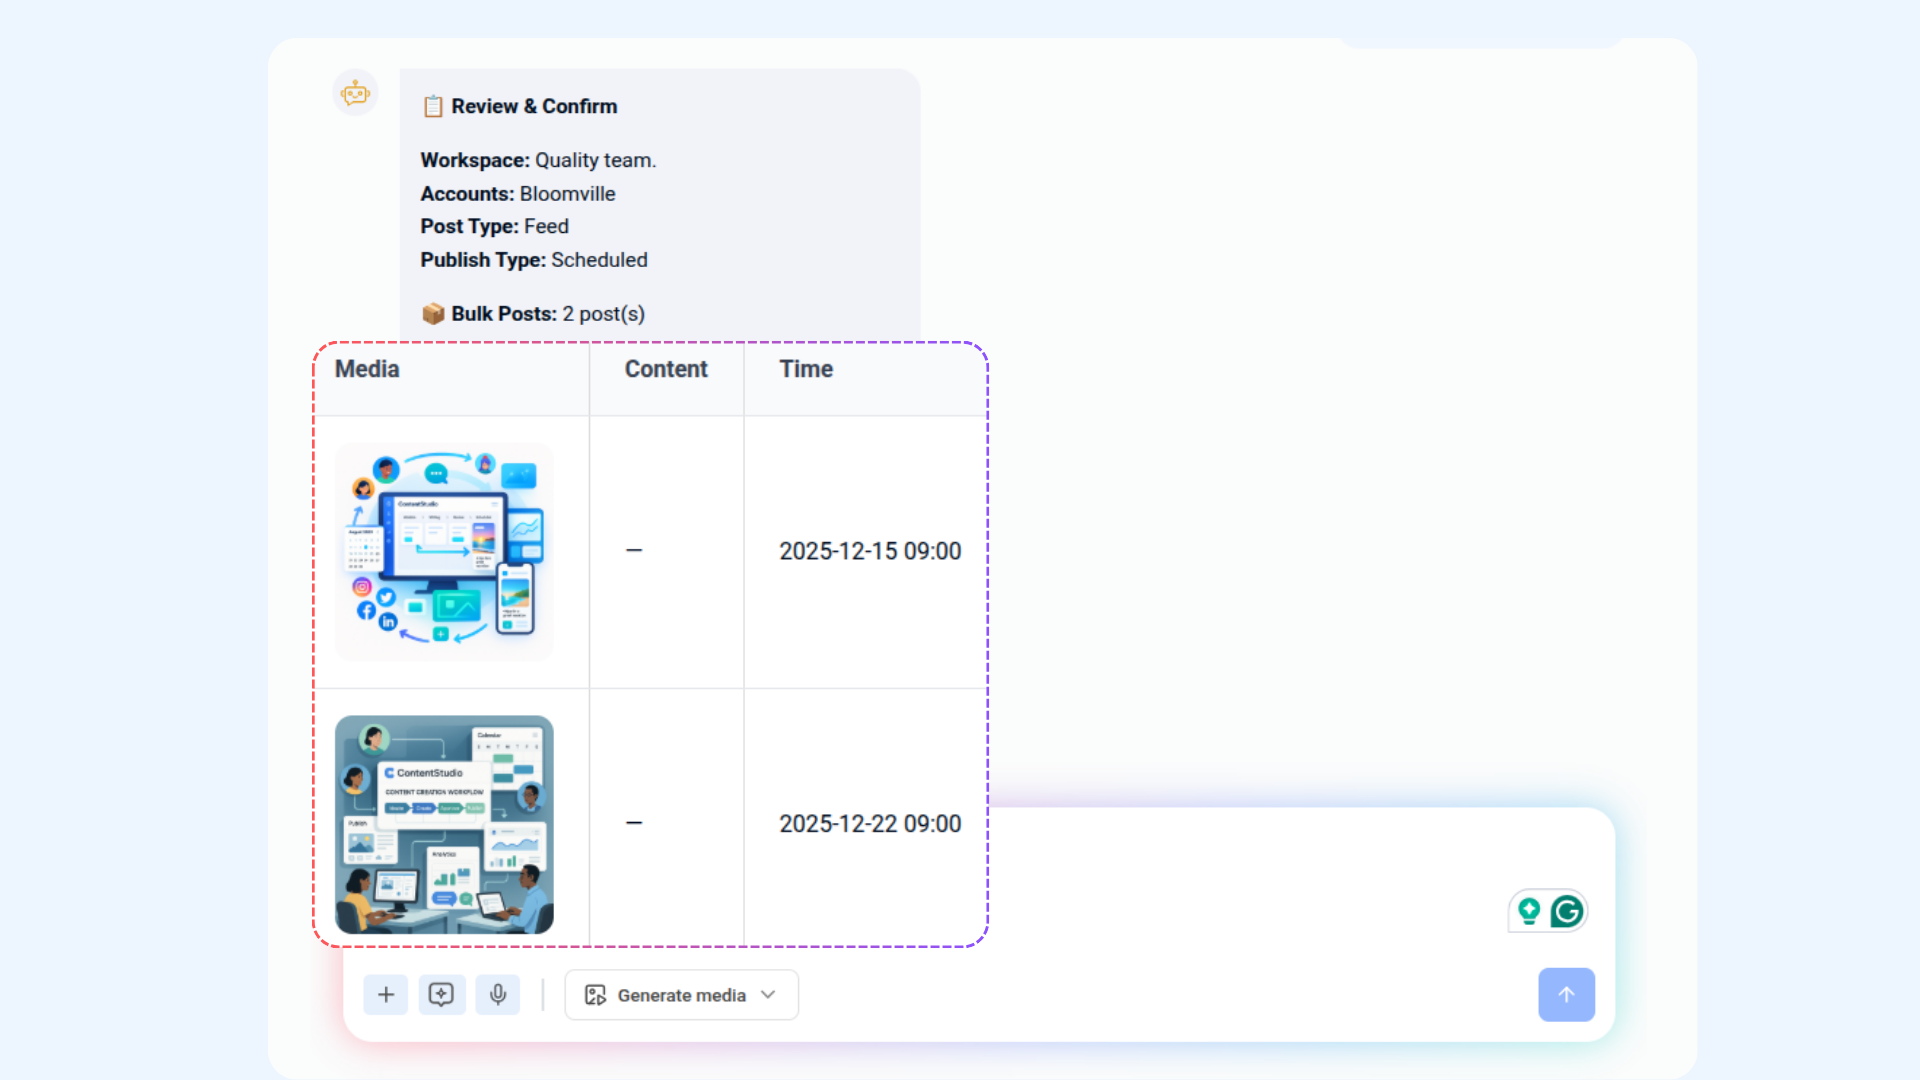
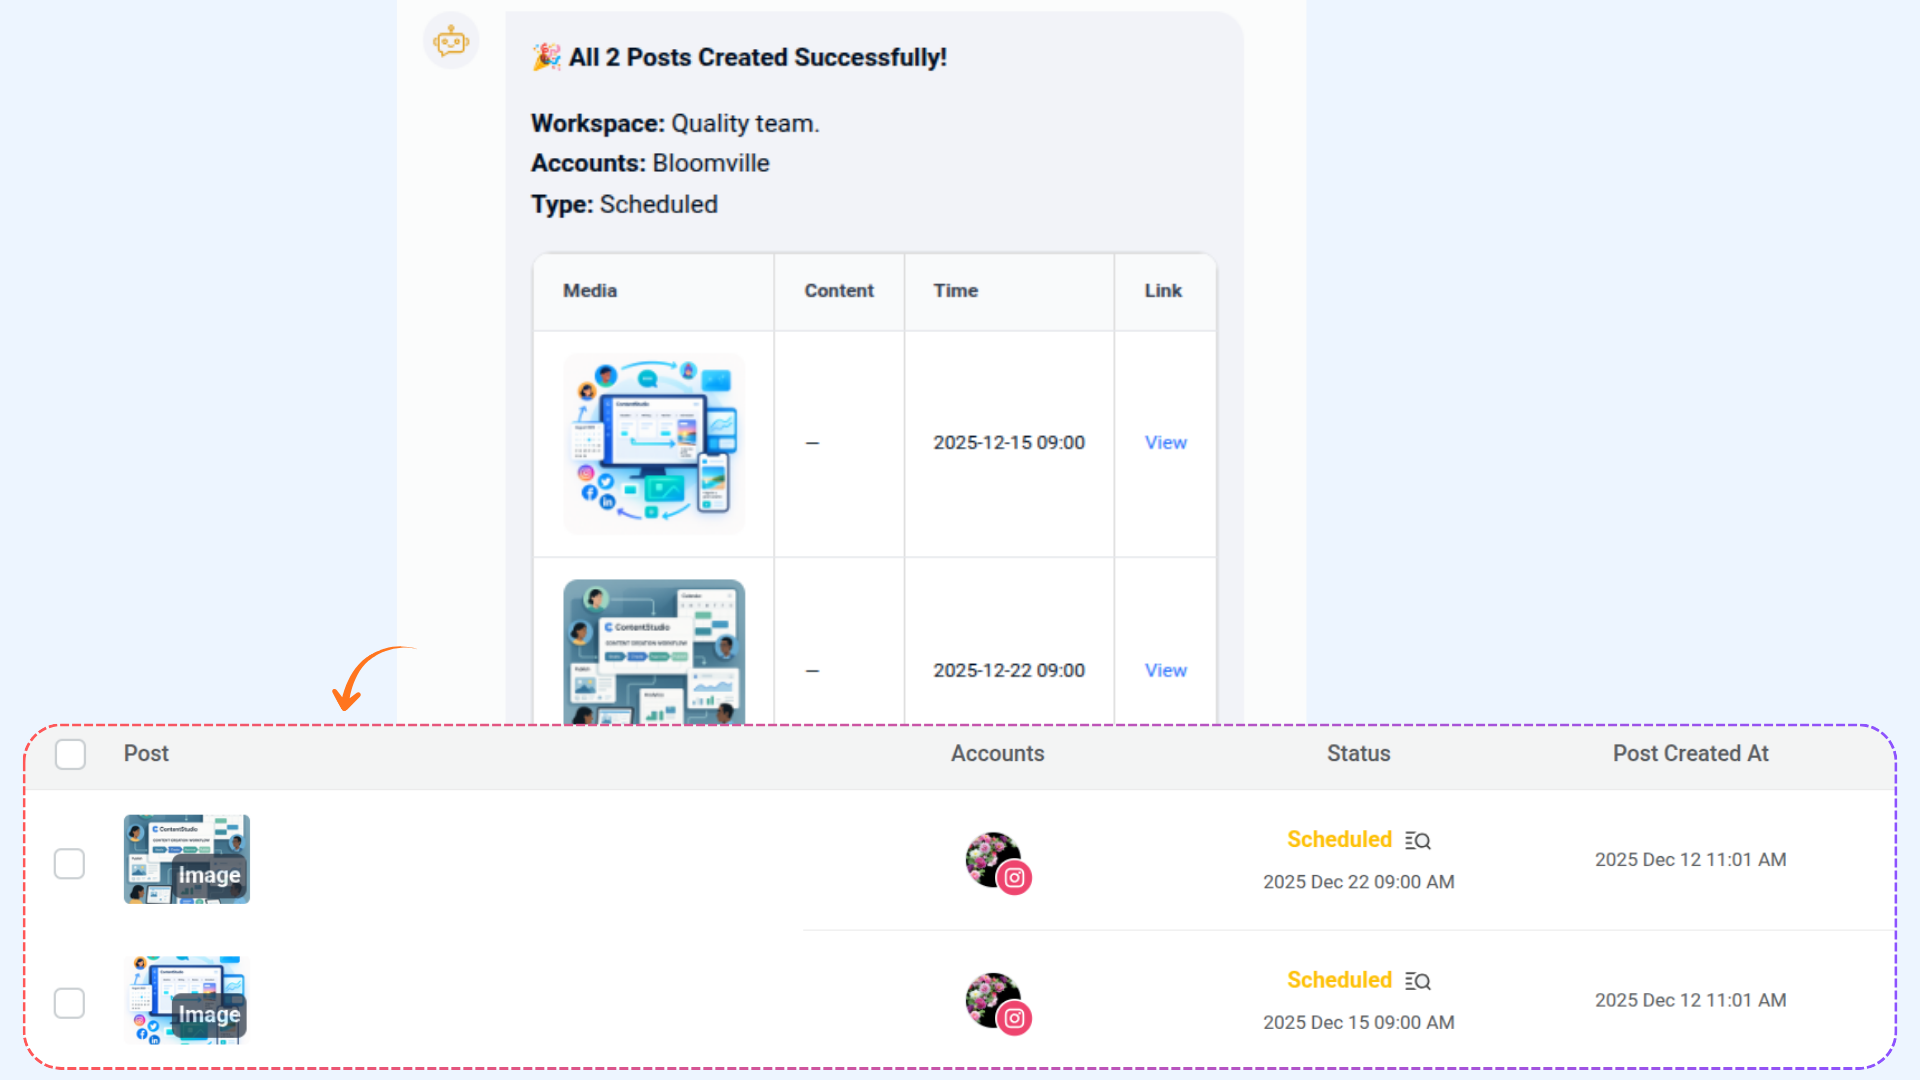
Select the social account as shown previously, review your posts, and type confirm to proceed.
Generate Images with AI & Schedule

Use Cases
The following use cases show how Smart Scheduling's auto time distribution works in real-world scenarios. Whether you're planning a full month of content or just need to queue up a few posts quickly, Smart Scheduling figures out the timing for you.
You have 8 posts ready and want them published throughout October. Simply tell Smart Scheduling your date range and it will automatically space your posts out evenly — no need to manually pick a time for each one.
- You provide: 8 posts + date range (e.g., Oct 1 – Oct 31)
- Smart Scheduling does: Distributes all 8 posts evenly across the month
- Result: One post approximately every 4 days, automatically

You're running a 5-day promotional campaign and have 5 posts ready to go. Just provide the campaign start and end date — Smart Scheduling spaces them out evenly, one per day, so your audience gets consistent content throughout the campaign.
- You provide: 5 posts + date range (e.g., Mon – Fri)
- Smart Scheduling does: Schedules one post per day across the range
- Result: A clean, evenly distributed campaign with no manual scheduling

You have a few posts ready but haven't thought about timing yet. Just send them to Smart Scheduling without any date or time — it will automatically start from 60 minutes from now and space each post out by one day.
- You provide: Posts only — no date, no time
- Smart Scheduling does: Starts at current time + 60 minutes, then daily spacing
- Result: Posts go out automatically starting very soon, with no extra steps

FAQs
Q: What if I don’t want to set a time right now?
A: You can choose “queued” or “draft” as your publish mode instead of scheduling.
Q: Can I attach multiple media items?
A: Yes — you may upload or select multiple images/videos when attaching media.
Q: Can I schedule posts for multiple accounts at once?
A: Yes — when selecting accounts, you may pick more than one.
Q: Can I change the schedule time after confirmation?
A: Yes, you can edit the scheduled post from the Planner or Publisher section.
Q: How do I generate captions for multiple images in bulk?
A: Upload your images and ask the system to generate separate captions for each one automatically.
Q: How can I track all my scheduled posts?
A: All scheduled posts are displayed in the Planner, where you can review and manage them.