Assign label to social posts
The Label feature, previously available in the Composer, is now also available in the Planner. You can easily add labels to your existing posts directly from the post preview, making organizing and filtering your content across all views simpler.
Let's dig in! 🏷️
In this article:
How to add a label to a post
1
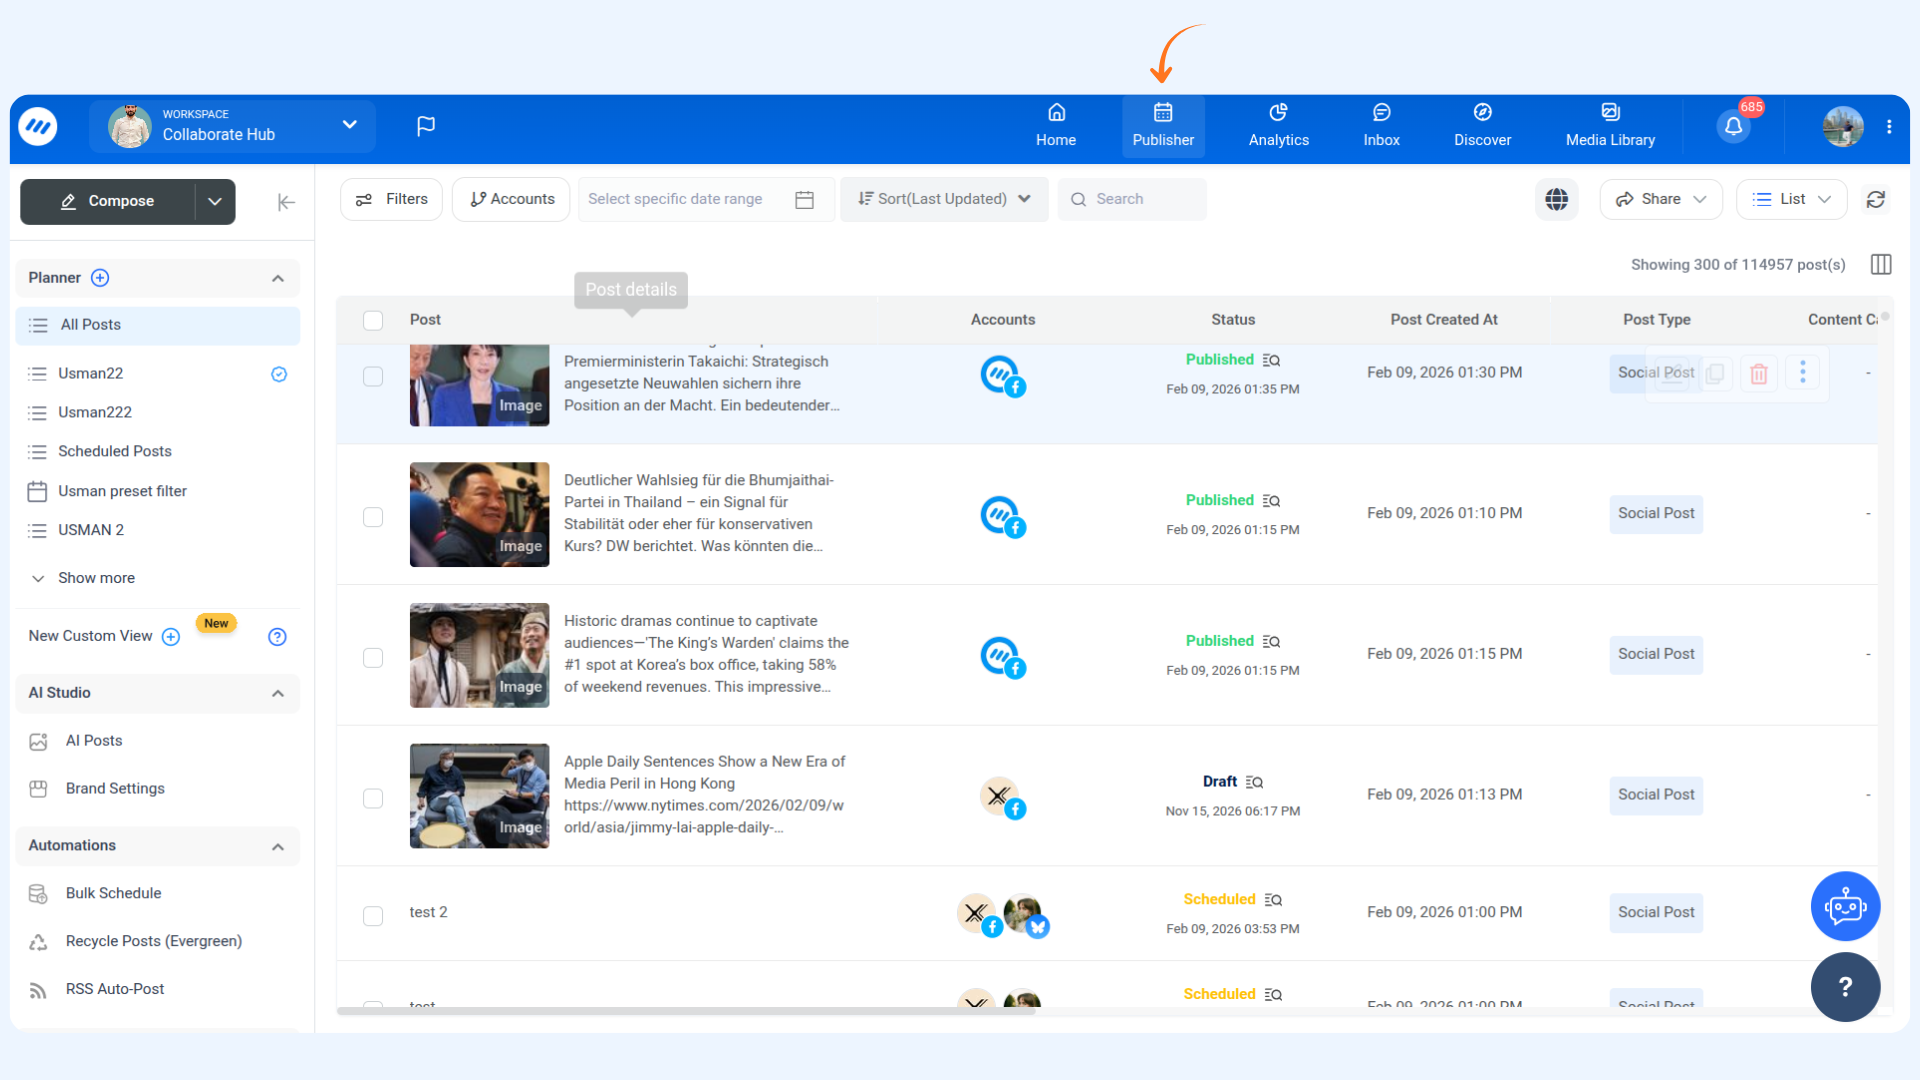
Go to Publisher → Planner.
2
Click on any post in the planner to open the Post Preview.
3
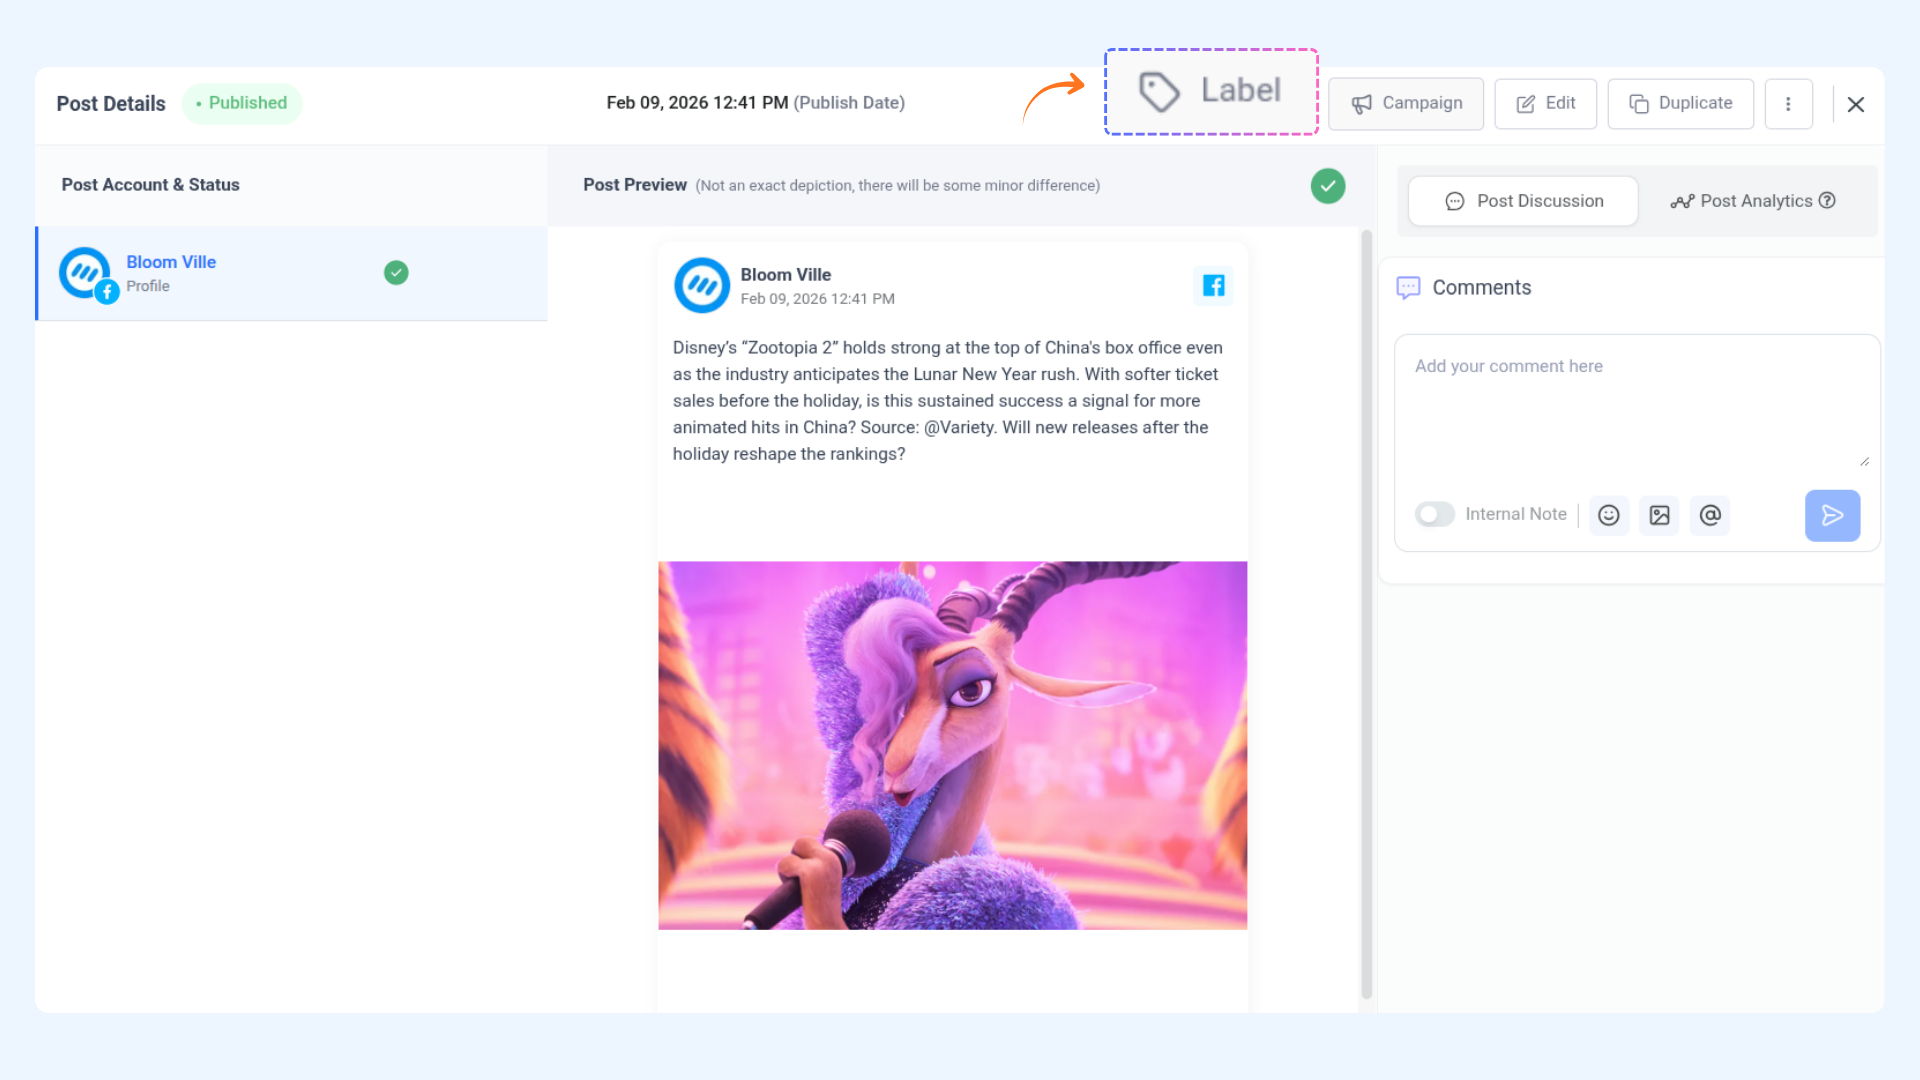
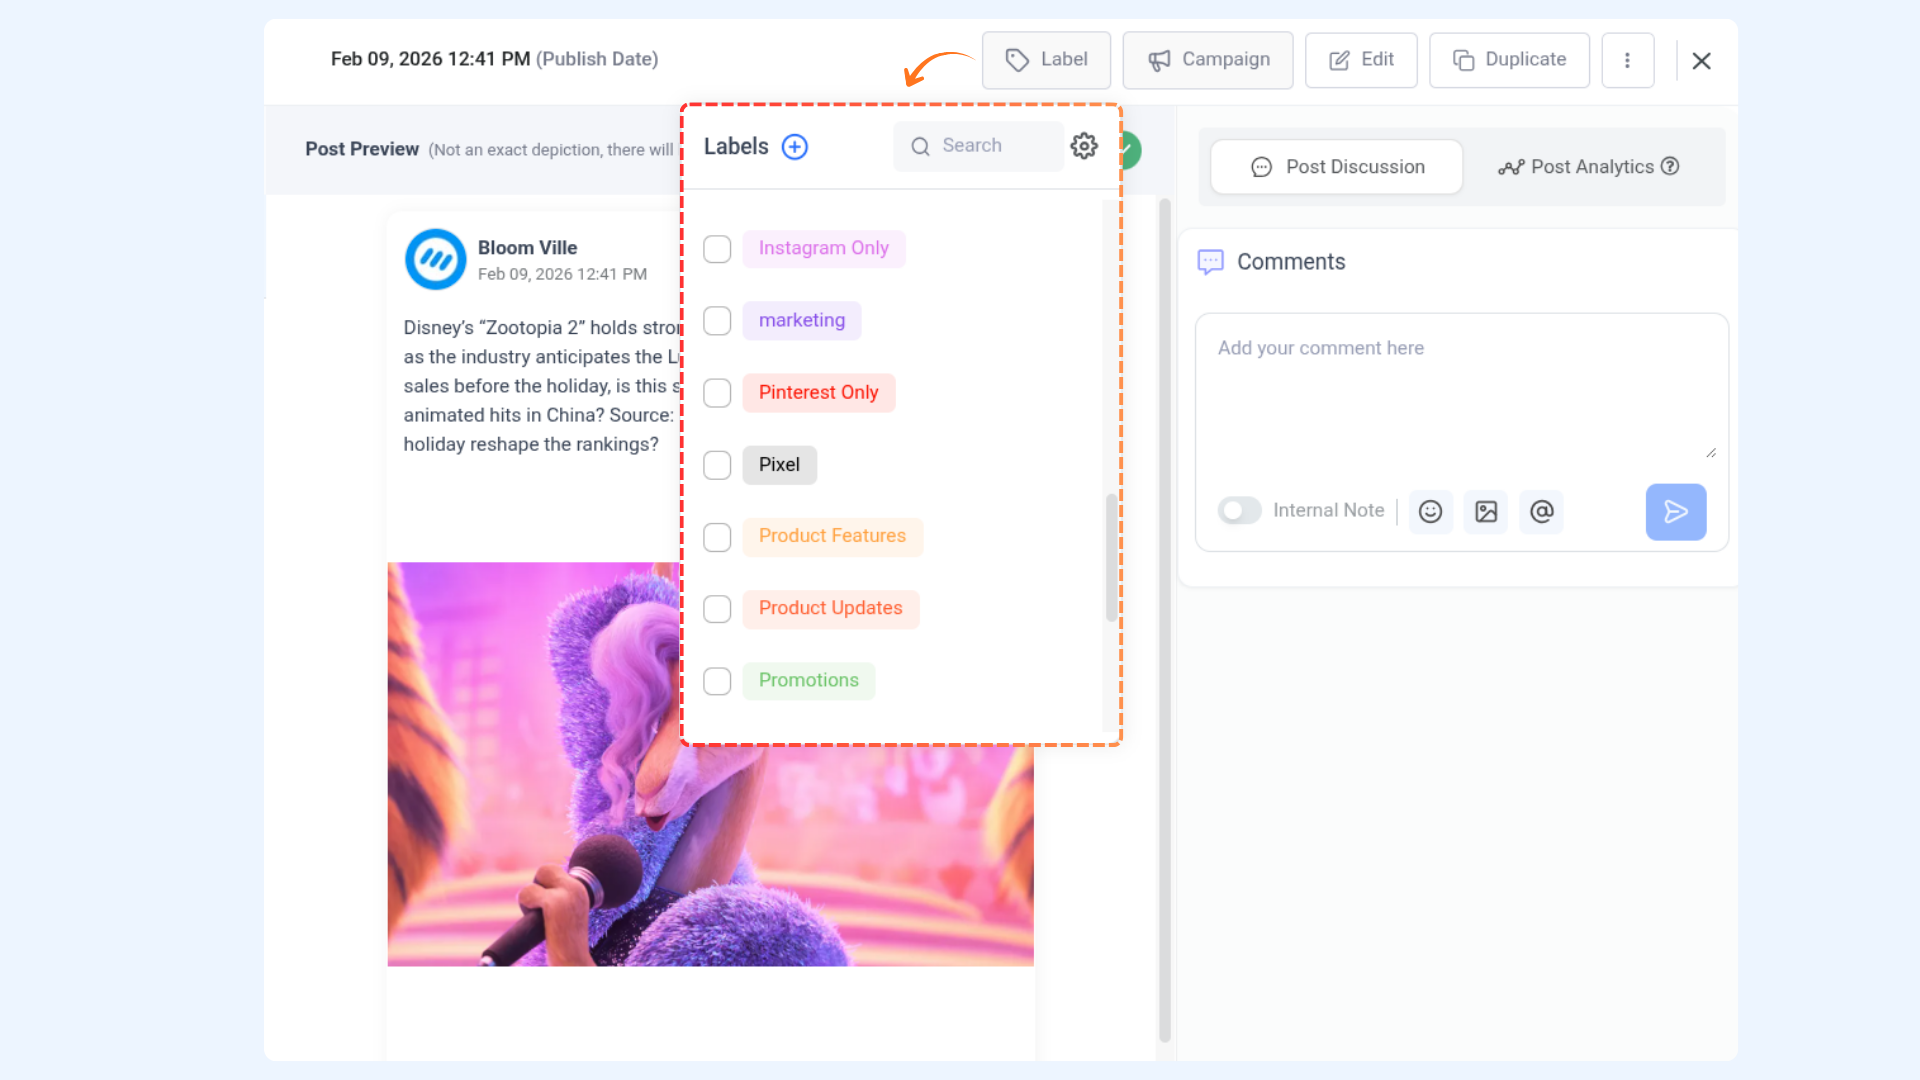
Add a label to the post:
- Click the Label button.
- Select one or more labels by checking the box next to each label.
- The selected labels will appear on the post.
Manage labels: create, search, edit, and delete
1
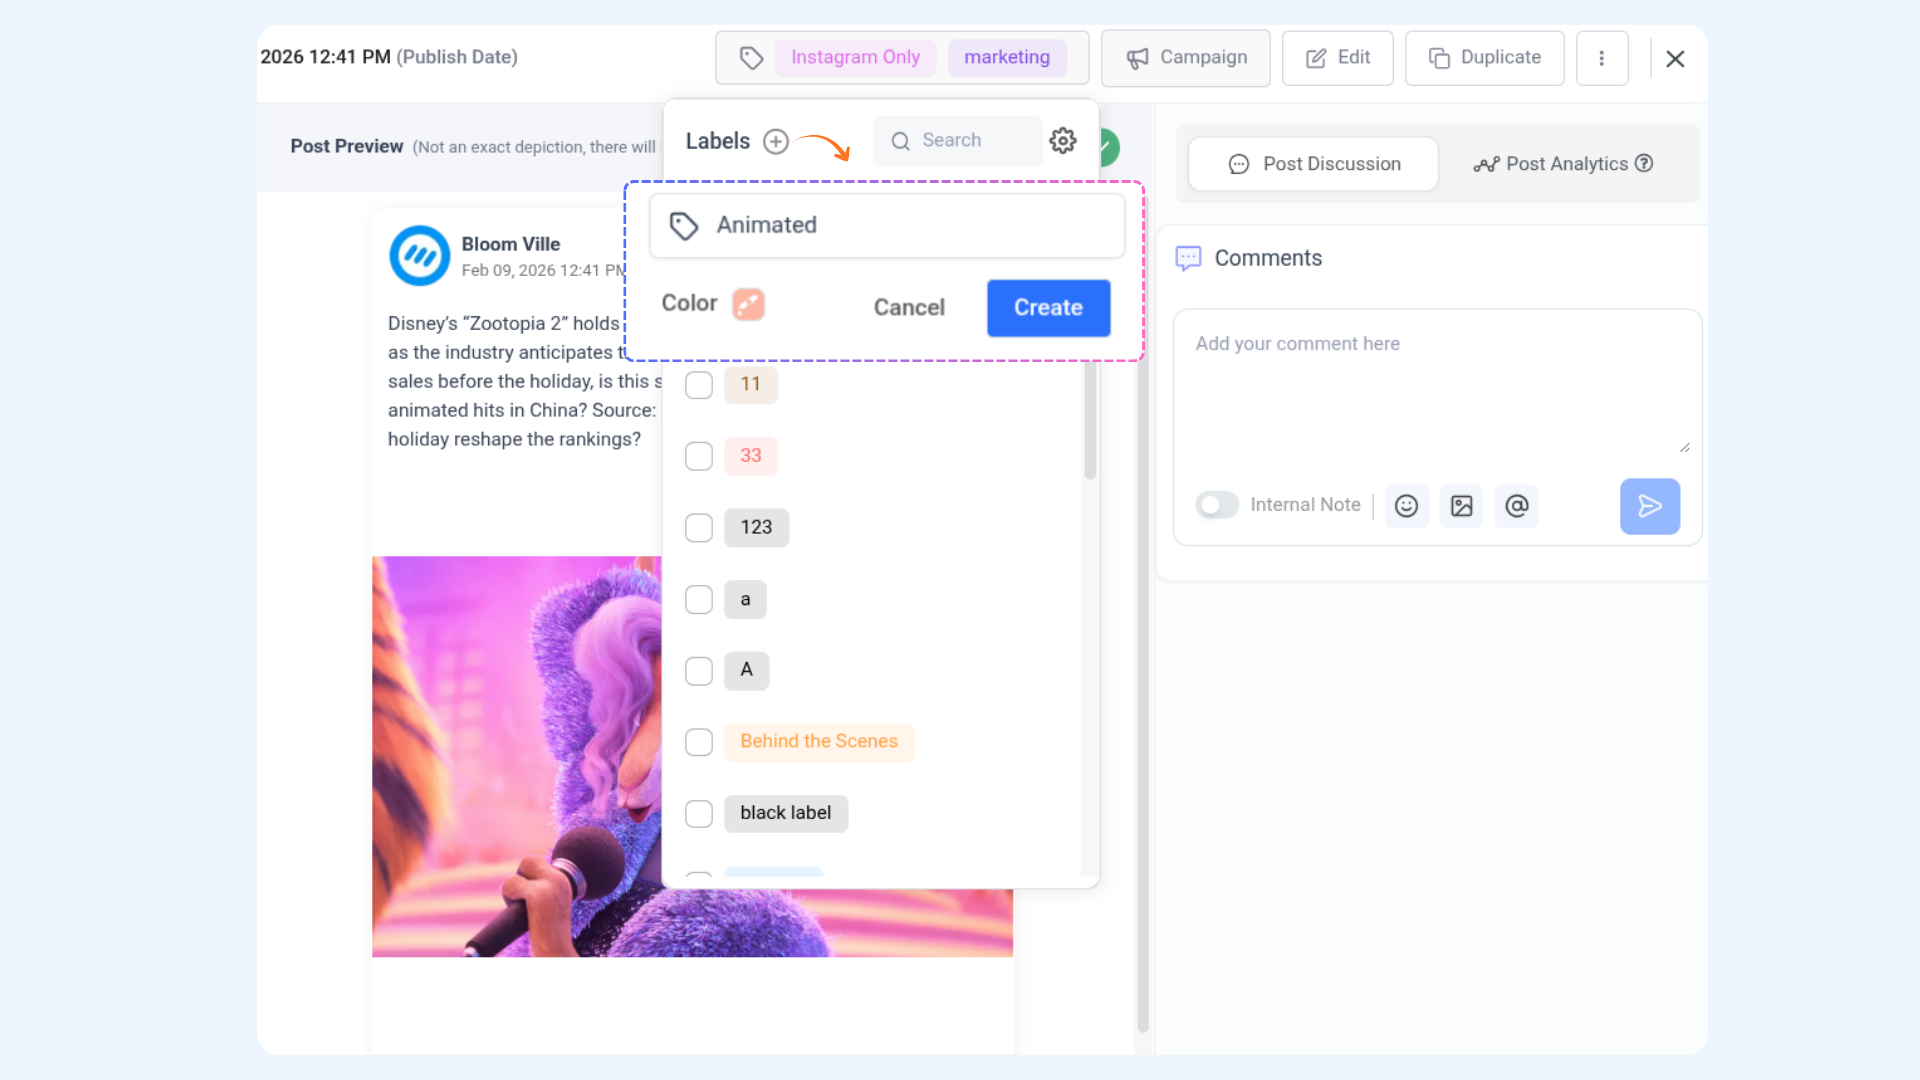
Create a new label
Click the + icon in the Label dropdown, enter a label name, choose a color, and click Create.
Click the + icon in the Label dropdown, enter a label name, choose a color, and click Create.
2
Search for a label
Use the search bar in the Label dropdown to quickly find an existing label.
Use the search bar in the Label dropdown to quickly find an existing label.
3
Edit a label
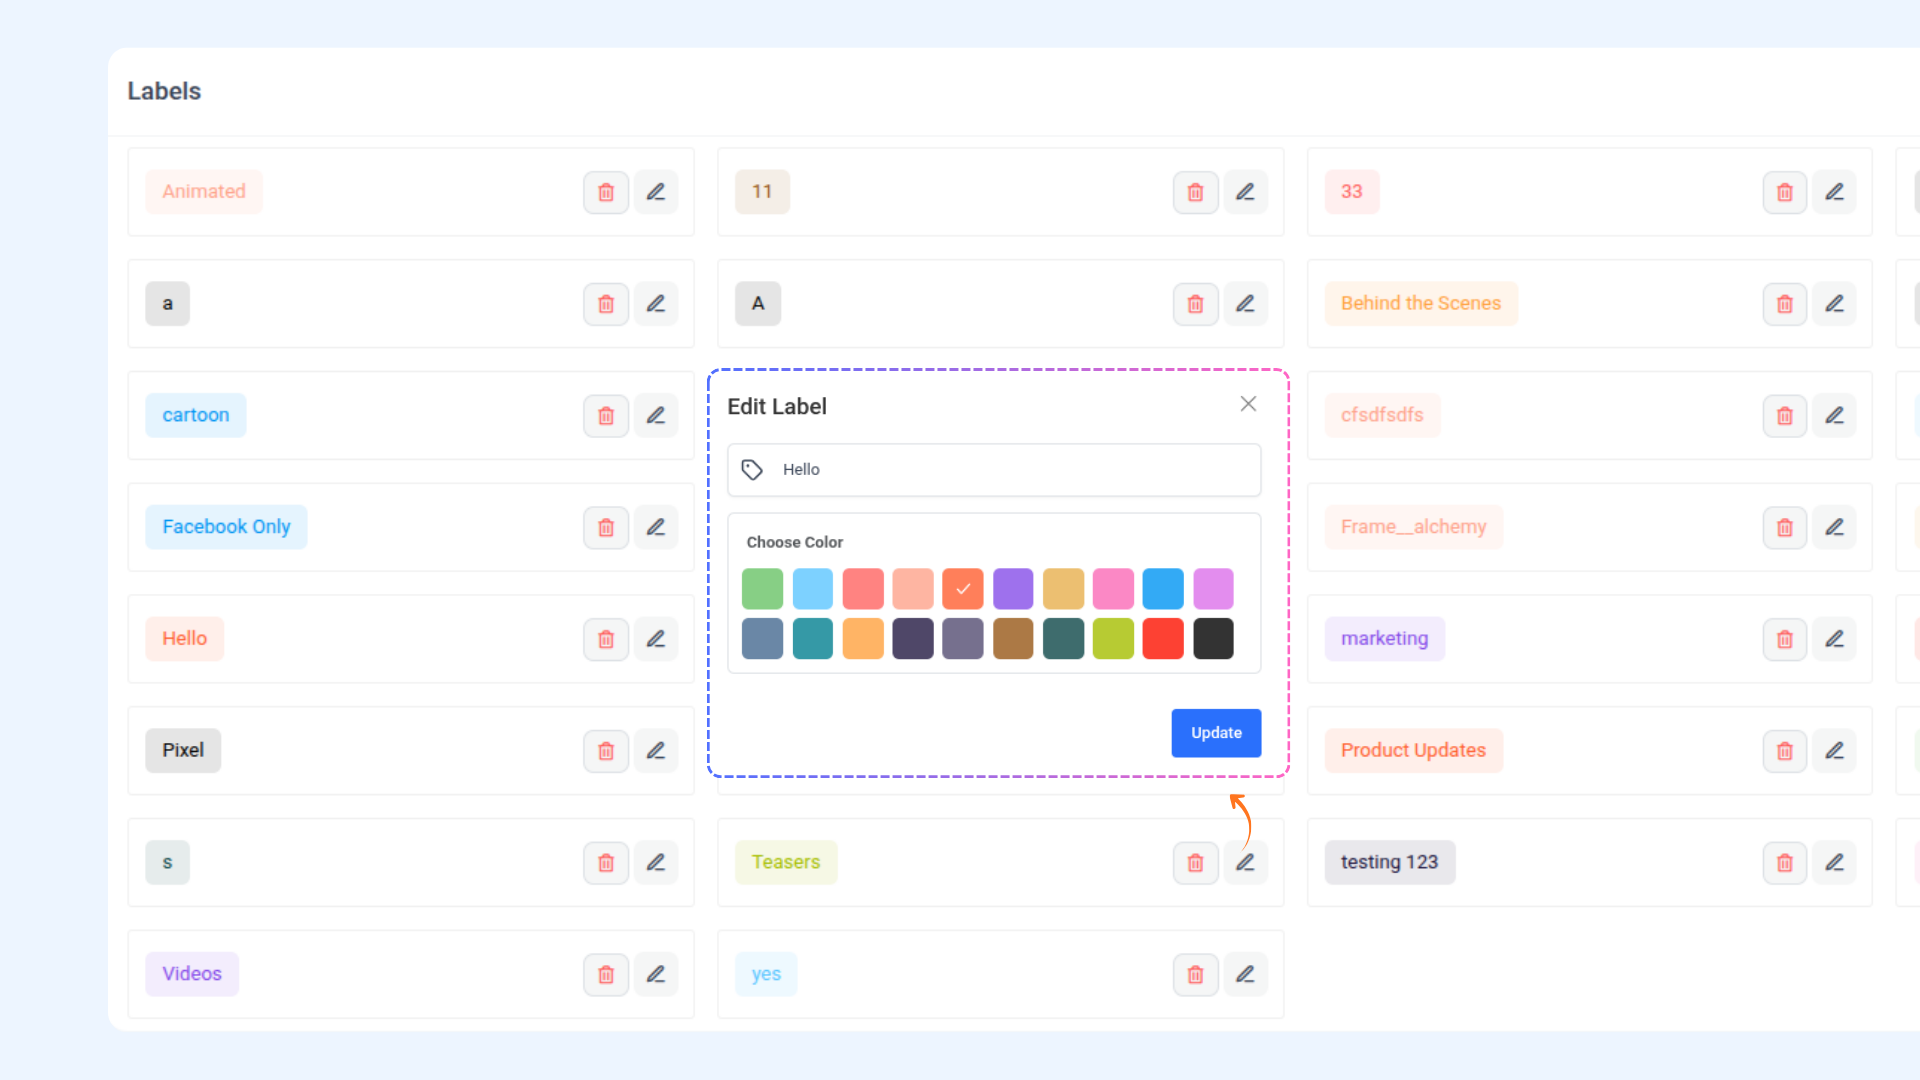
Click the gear icon in the Label dropdown to open Label settings. From there, edit the label name and save your changes.
Click the gear icon in the Label dropdown to open Label settings. From there, edit the label name and save your changes.
4
Delete a label
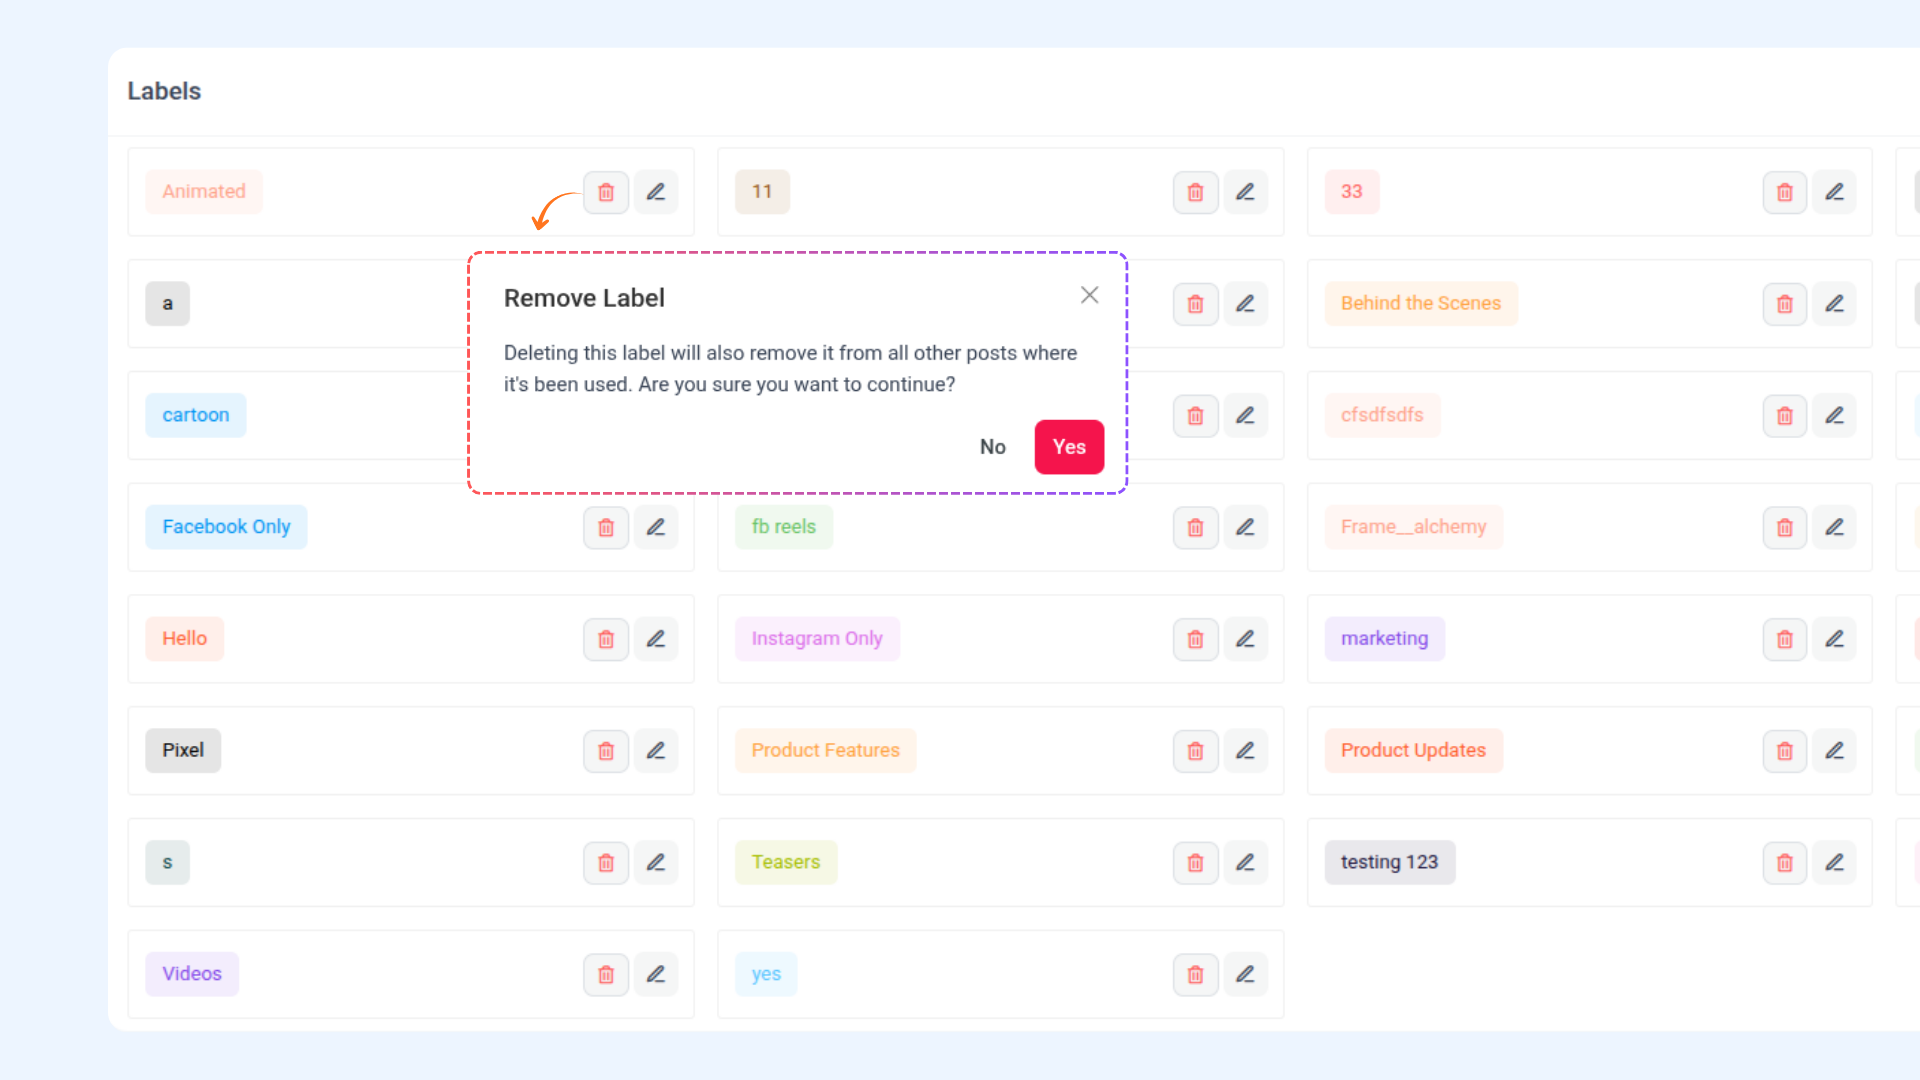
Click the gear icon to open Label settings, then delete the label you no longer need.
Click the gear icon to open Label settings, then delete the label you no longer need.
FAQs
Q1: Are my labels visible in all planner views?
A: Once you add labels to your posts, they’ll be visible across all views in the Planner, ensuring you can filter and organize your content effortlessly
Q2: What if I want to change or delete a label?
A: To edit a label, hover over it, click the Edit icon, update the name, and click Update. To delete a label, hover over it and click the Delete icon.