

ContentStudio MCP Server
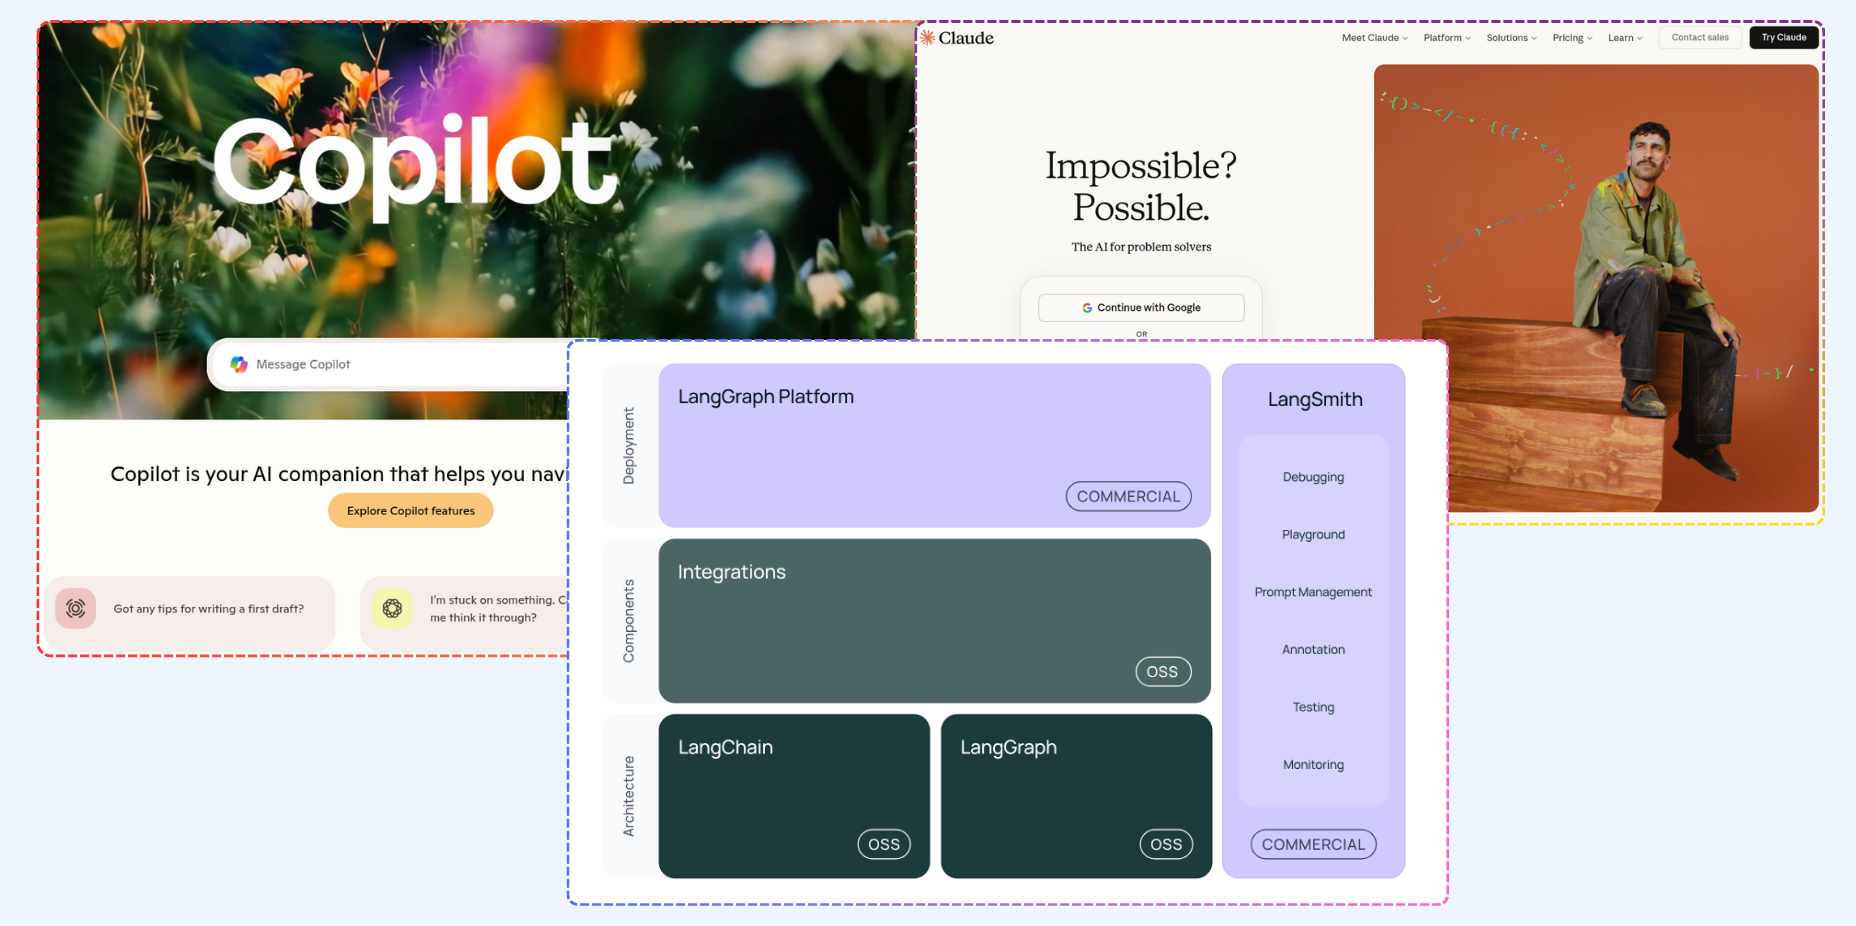
ContentStudio now provides its own MCP (Model Context Protocol) server, making it possible to connect ContentStudio directly into AI assistants and automation frameworks. This allows you to schedule and manage your content seamlessly without switching platforms.
Understanding MCP Server
The MCP Server is a backend service that allows different apps to connect with ContentStudio using an API key. With it, clients like Claude, ChatGPT, and LangChain can fetch data, create content, and schedule posts, all from one place.
Connect via URL
The fastest way to connect ContentStudio MCP: paste this URL wherever your AI client adds MCP servers or custom connectors. No local install required.
https://mcp.contentstudio.io/v1/mcpAdding the URL opens a browser sign-in (OAuth) step to authorize ContentStudio access.
If your client doesn't support OAuth sign-in, pass your API key directly in the URL instead:
https://mcp.contentstudio.io/v1/mcp?auth_key=<your-api-key>Your API key is available in ContentStudio under Settings → API Key.
Setup by client
Claude (Desktop & Web)
In Claude, go to Settings → Connectors and click Add custom connector.
Paste
https://mcp.contentstudio.io/v1/mcpas the connector URL and save.A browser window opens: sign in to ContentStudio and click Allow. You're connected.
ChatGPT
In ChatGPT, go to Settings → Apps & Connectors, enable Developer mode under Advanced settings, then click Create.
Paste
https://mcp.contentstudio.io/v1/mcpas the connector URL and save.Approve access on the ContentStudio screen that opens. You're connected.
Claude Code & other MCP clients
Add the URL as a remote (streamable HTTP) MCP server in any MCP-compatible client or framework: Cursor, Windsurf, LangChain, LlamaIndex, or Semantic Kernel pipelines. From a terminal, the quickest way:
claude mcp add --transport http contentstudio https://mcp.contentstudio.io/v1/mcpFor clients that prefer a JSON config, use:
{
  "mcpServers": {
    "contentstudio": {
      "url": "https://mcp.contentstudio.io/v1/mcp"
    }
  }
}
Local installation (optional)
Option 1: Install the MCPB file (Claude Desktop)
The easiest way to set up ContentStudio's MCP server in Claude Desktop is the prebuilt MCPB file. Simply download the file and double-click to install it, then open Claude Desktop → Settings → Extensions → Advanced Settings → Install Extension and select the downloaded file.
Option 2: Manual configuration (code snippet)
If you prefer more control, add ContentStudio's MCP server manually by editing your client's configuration. Copy and paste the following block, replacing <your-api-key> with your ContentStudio API key:
{
  "contentstudio": {
    "command": "bash",
    "args": ["-lc", "npx -y contentstudio-mcp"],
    "env": {
      "CONTENTSTUDIO_API_KEY": "<your-api-key>"
    }
  }
}
An API key is needed for authentication. Create or copy your key in ContentStudio → Settings → API Key.
And that's all you need to start using ContentStudio MCP.
FAQs
1. Do I need to install Claude Desktop to use ContentStudio's MCP server?
No. Claude Desktop is just one supported client. ContentStudio MCP works with any MCP-compatible client: ChatGPT, Claude Code, Cursor, and more.
2. Where do I get the .mcpb file?
We provide a pre-configured MCPB file that you can download and install directly into Claude Desktop. This is the fastest way to get started.
3. Can I add ContentStudio MCP to more than one client?
Yes. You can use the same API key across multiple MCP clients (e.g., Claude Desktop and ChatGPT).
4. Will changing my API key break the connection?
Yes. If you regenerate or change your API key inside ContentStudio, you'll need to update it in your MCP client's configuration.
5. What features can I use through MCP?
You can fetch your connected accounts and workspaces, create and schedule posts, and generate images & videos from within MCP clients. More actions may be added in the future.
Related Articles
Was this article helpful?