Custom Views in Planner
Custom Views in Planner allow you to save specific filters, layouts, and date ranges so you can quickly access the content that matters most to you. Instead of repeatedly applying the same filters, you can create personalized views tailored to your workflow.
In this Article
Default Views in Planner
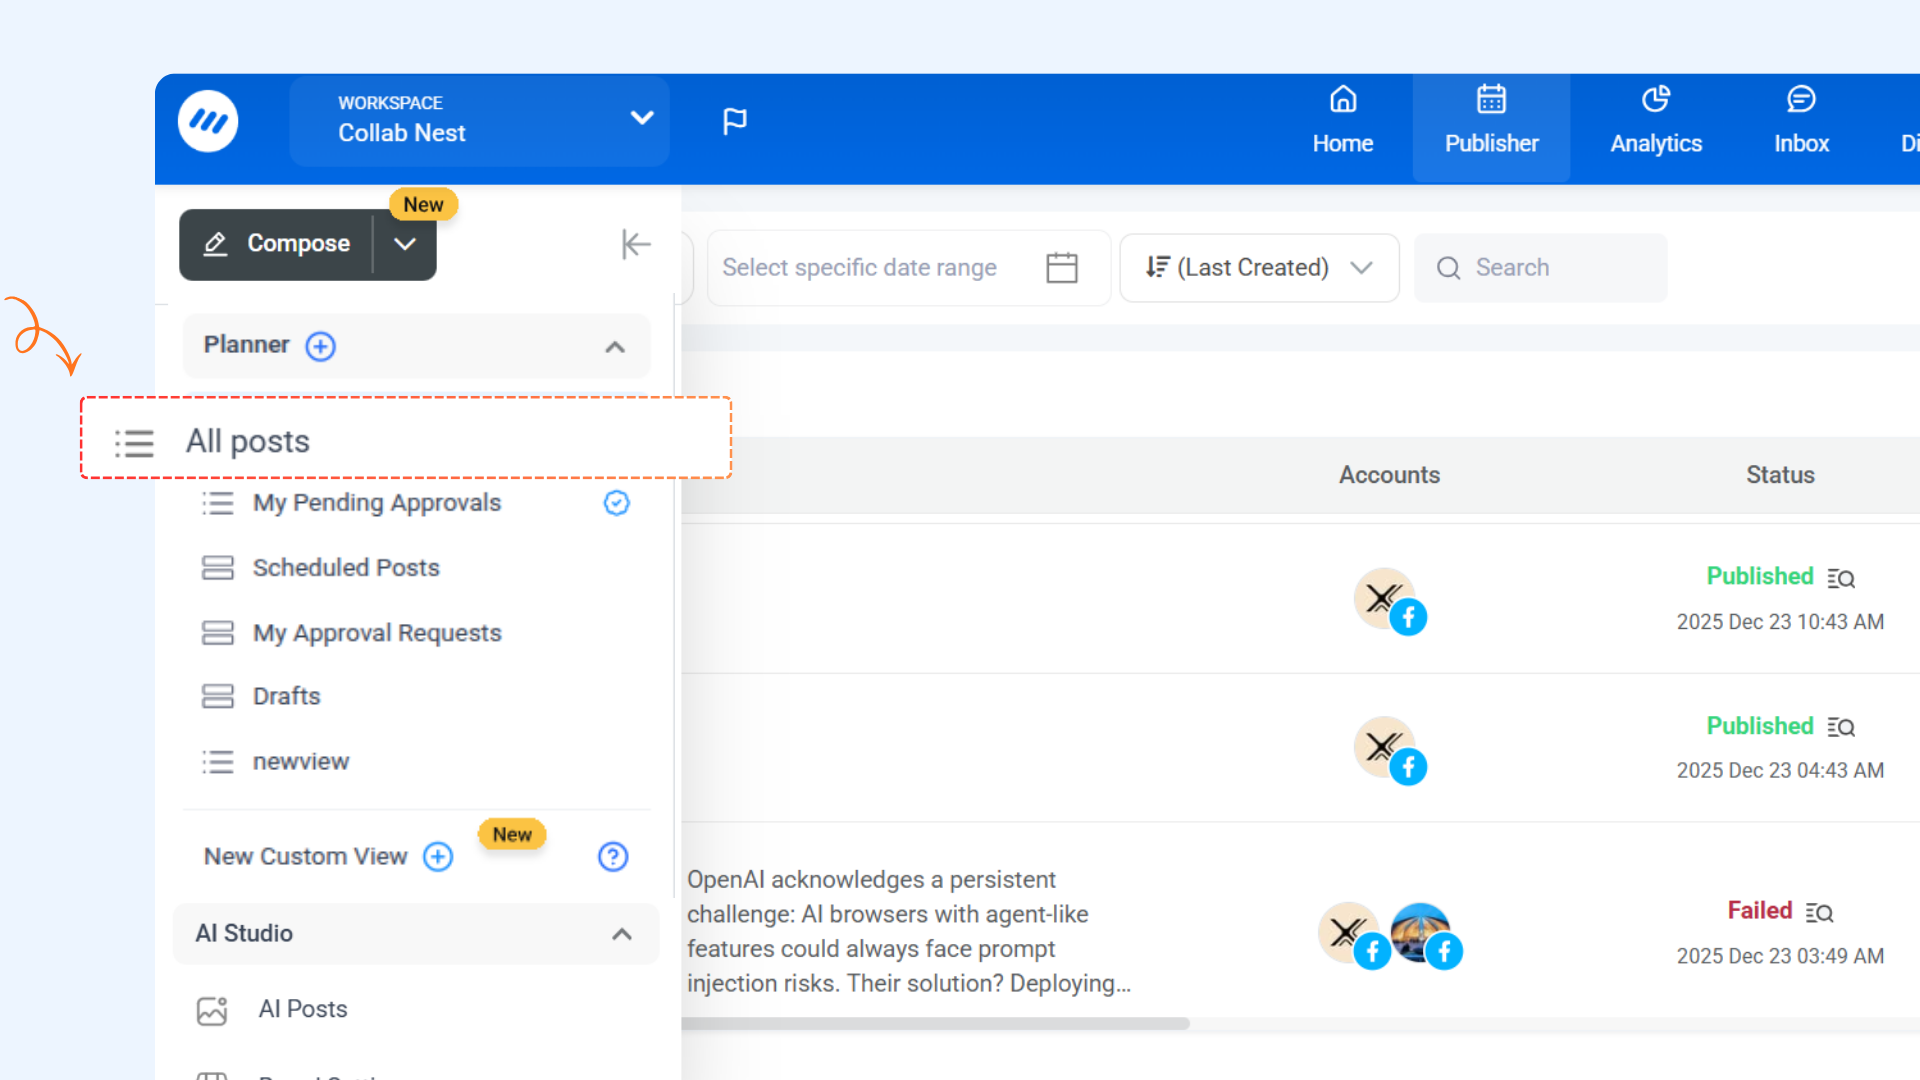
The All Posts view is the default view in the Planner. It shows all content in one place without applying any filters, making it easy to see everything at a glance.
This view is always available and cannot be edited or deleted.
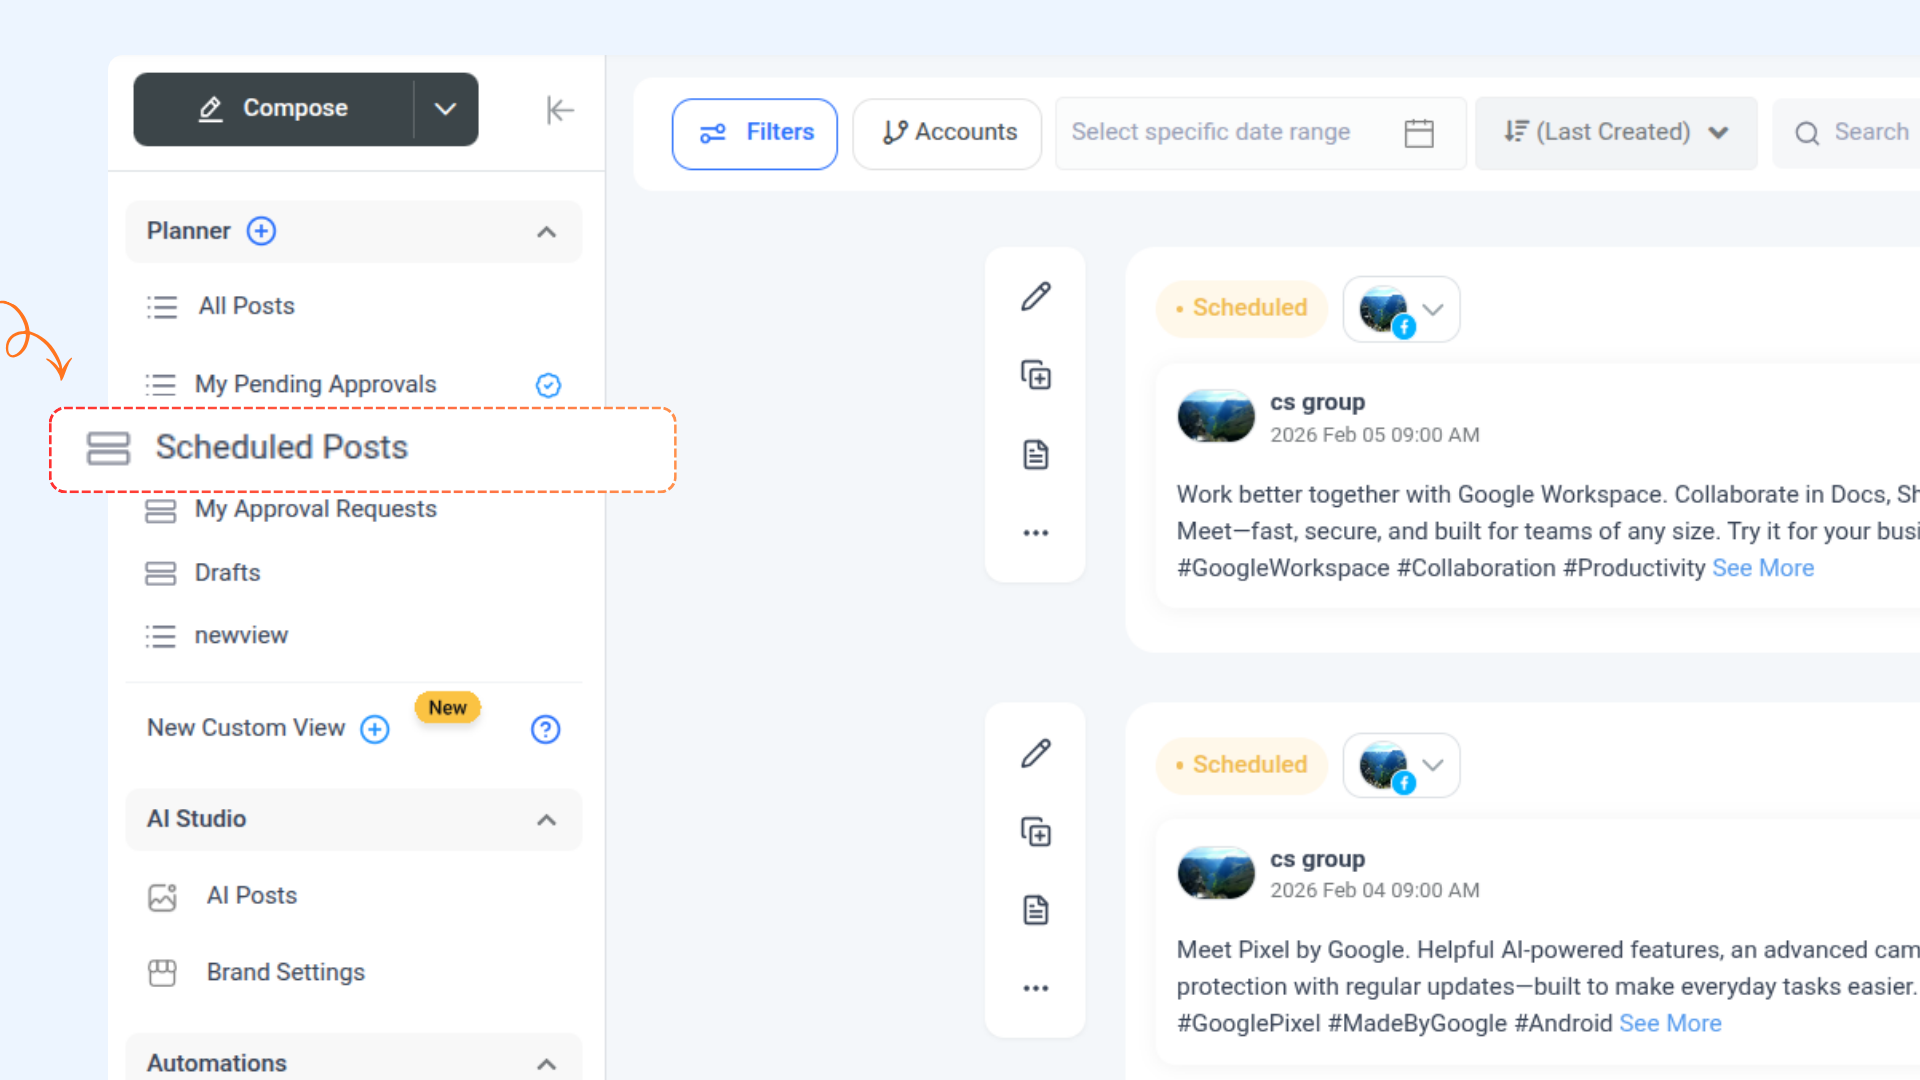
The Scheduled view displays all posts that are scheduled to be published in the future, helping you track upcoming content across your connected accounts.
This view can be edited, deleted, or set as the default.
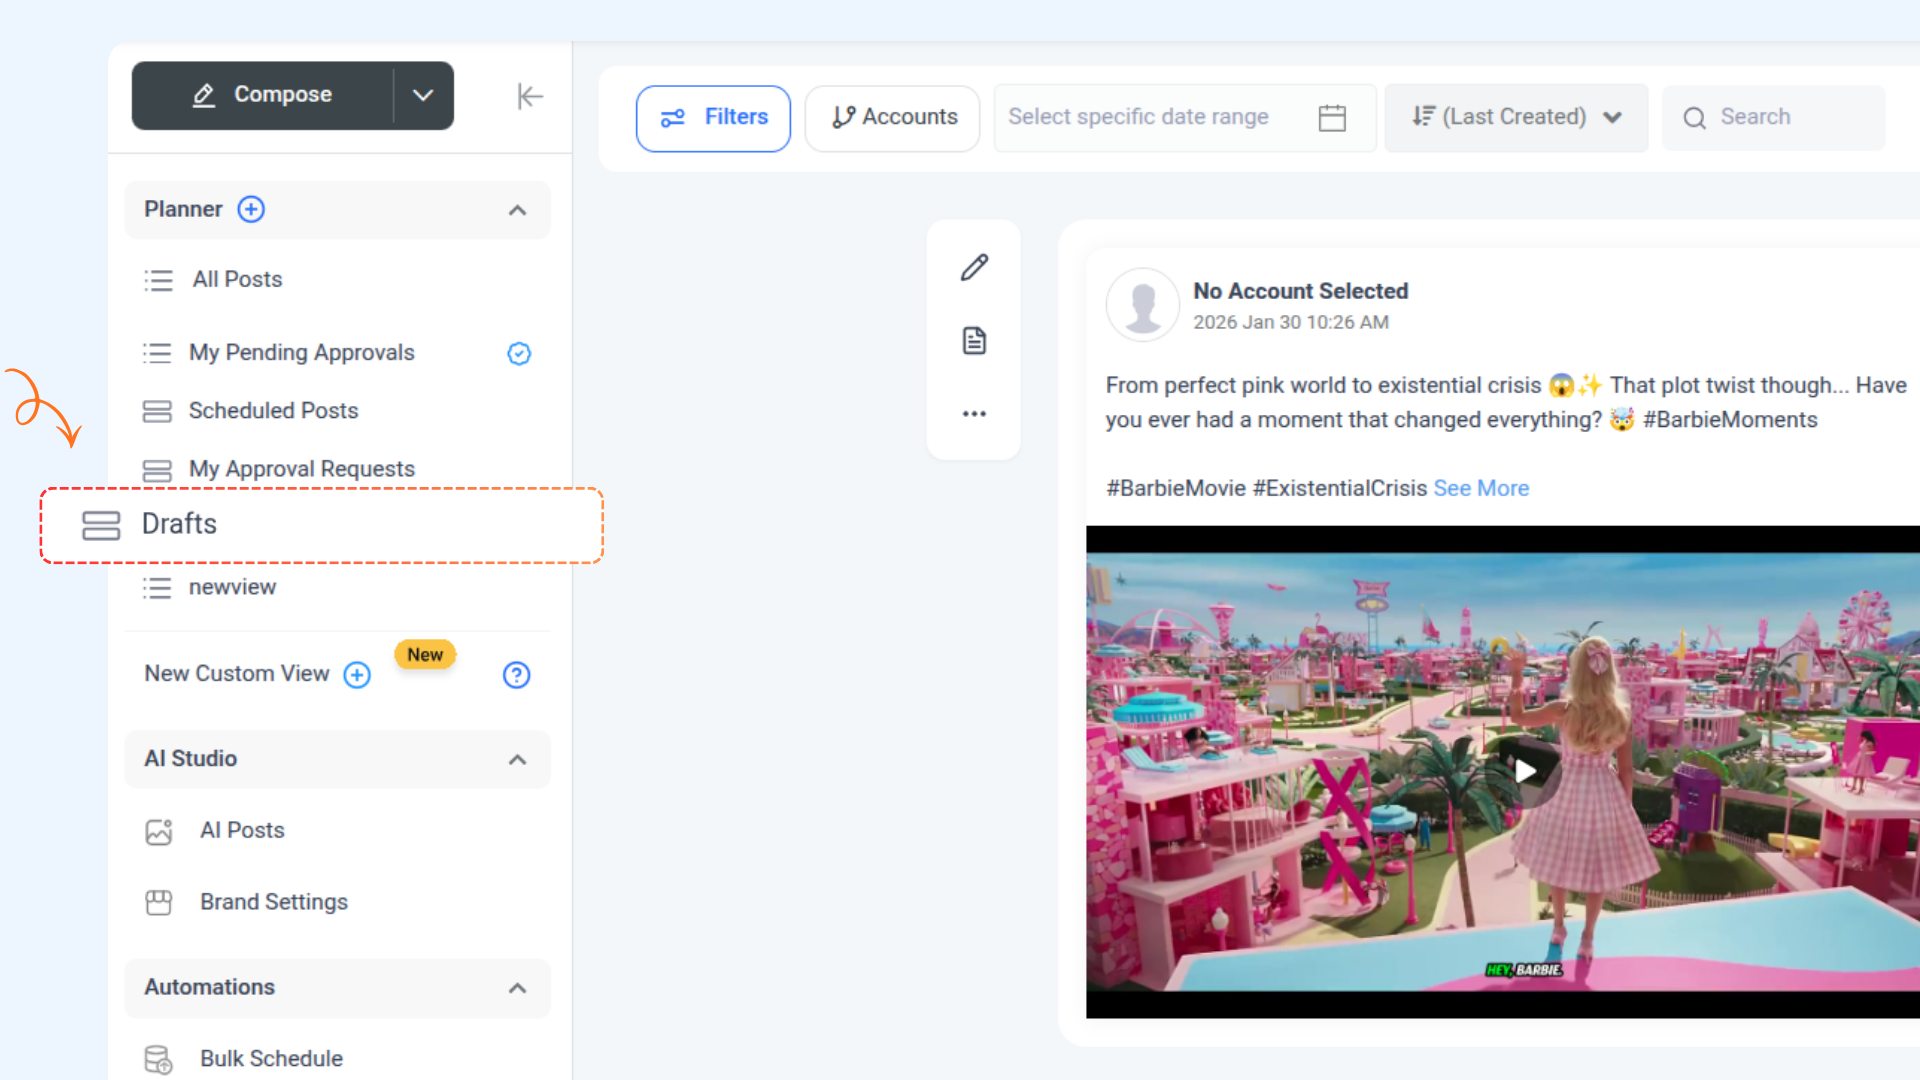
The Drafts view shows all posts that are saved as drafts but not yet scheduled or published, making it easy to continue working on unfinished content.
This view can be edited, deleted, or set as the default.
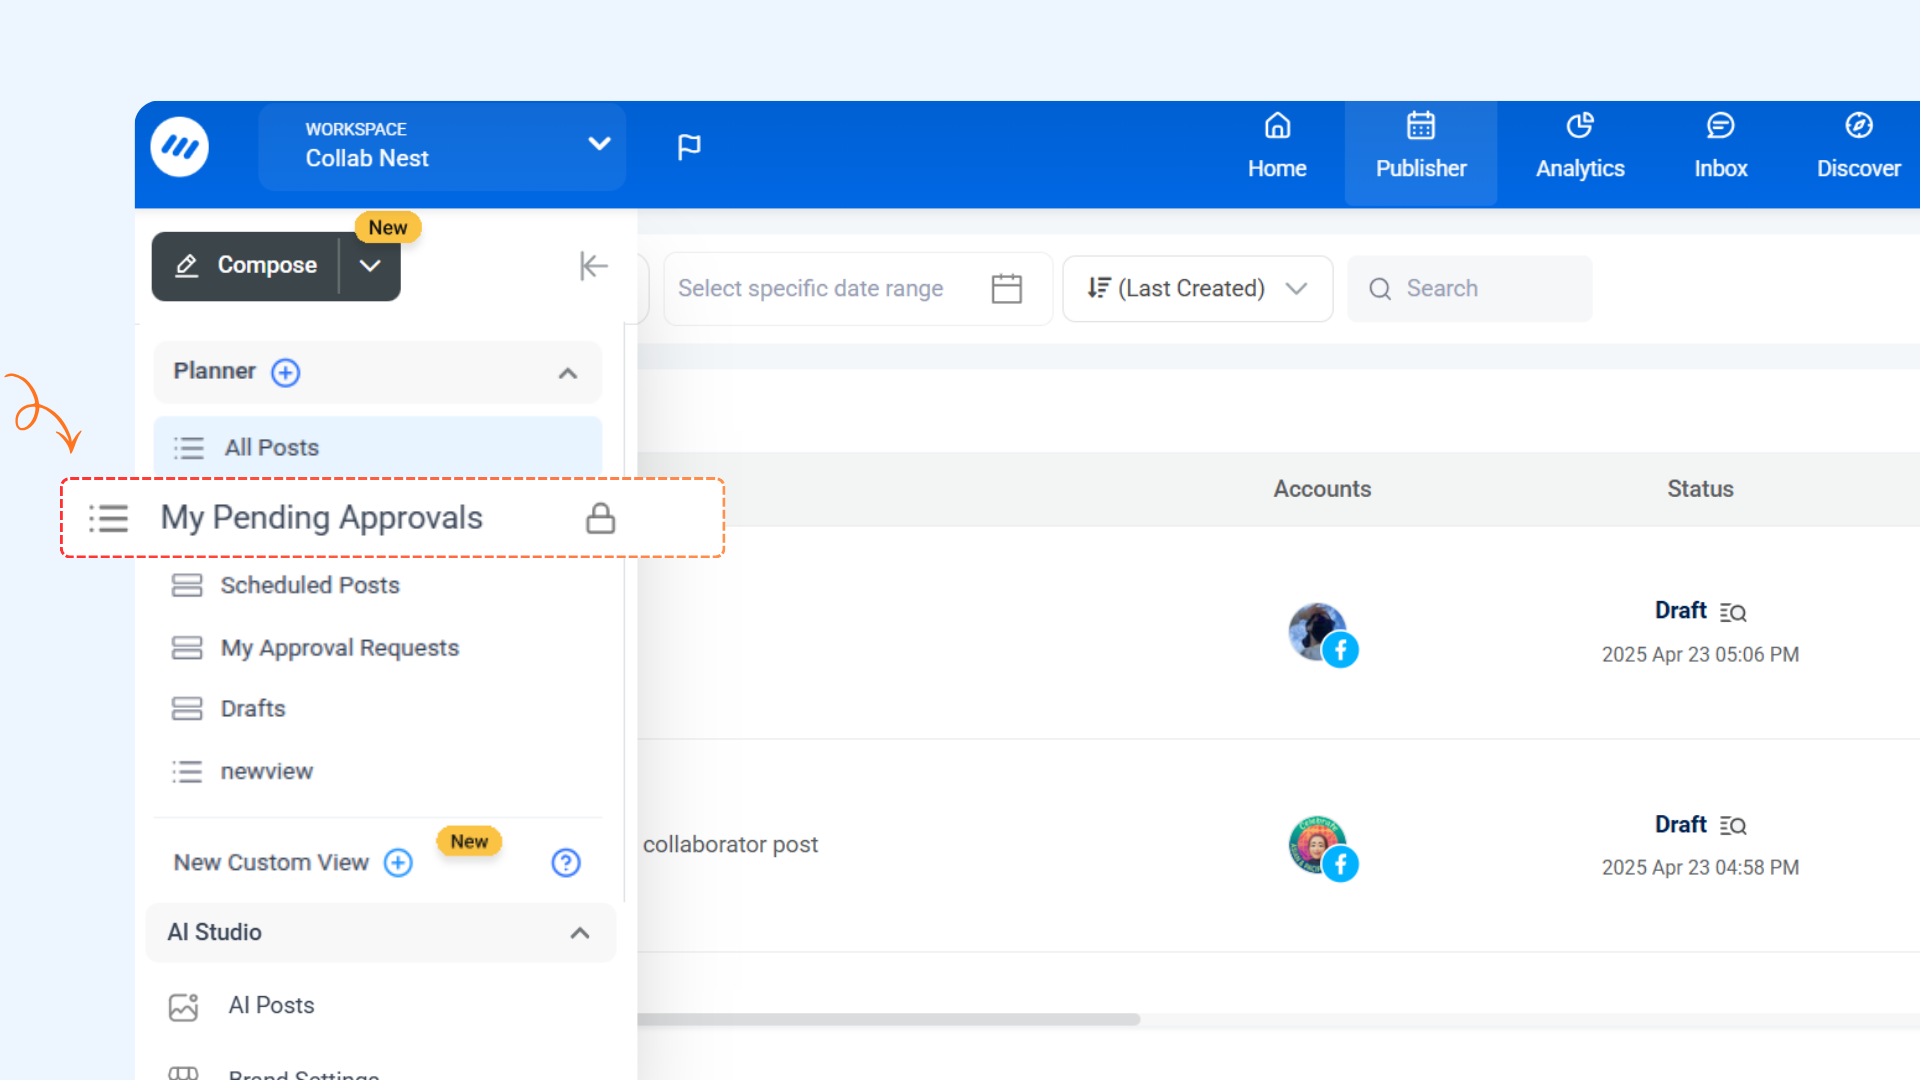
The My Pending Requests view displays all posts you have submitted for approval that are still awaiting a decision. Use this view to track the status of your submissions and follow up where needed.
This view can be edited, deleted, or set as the default.
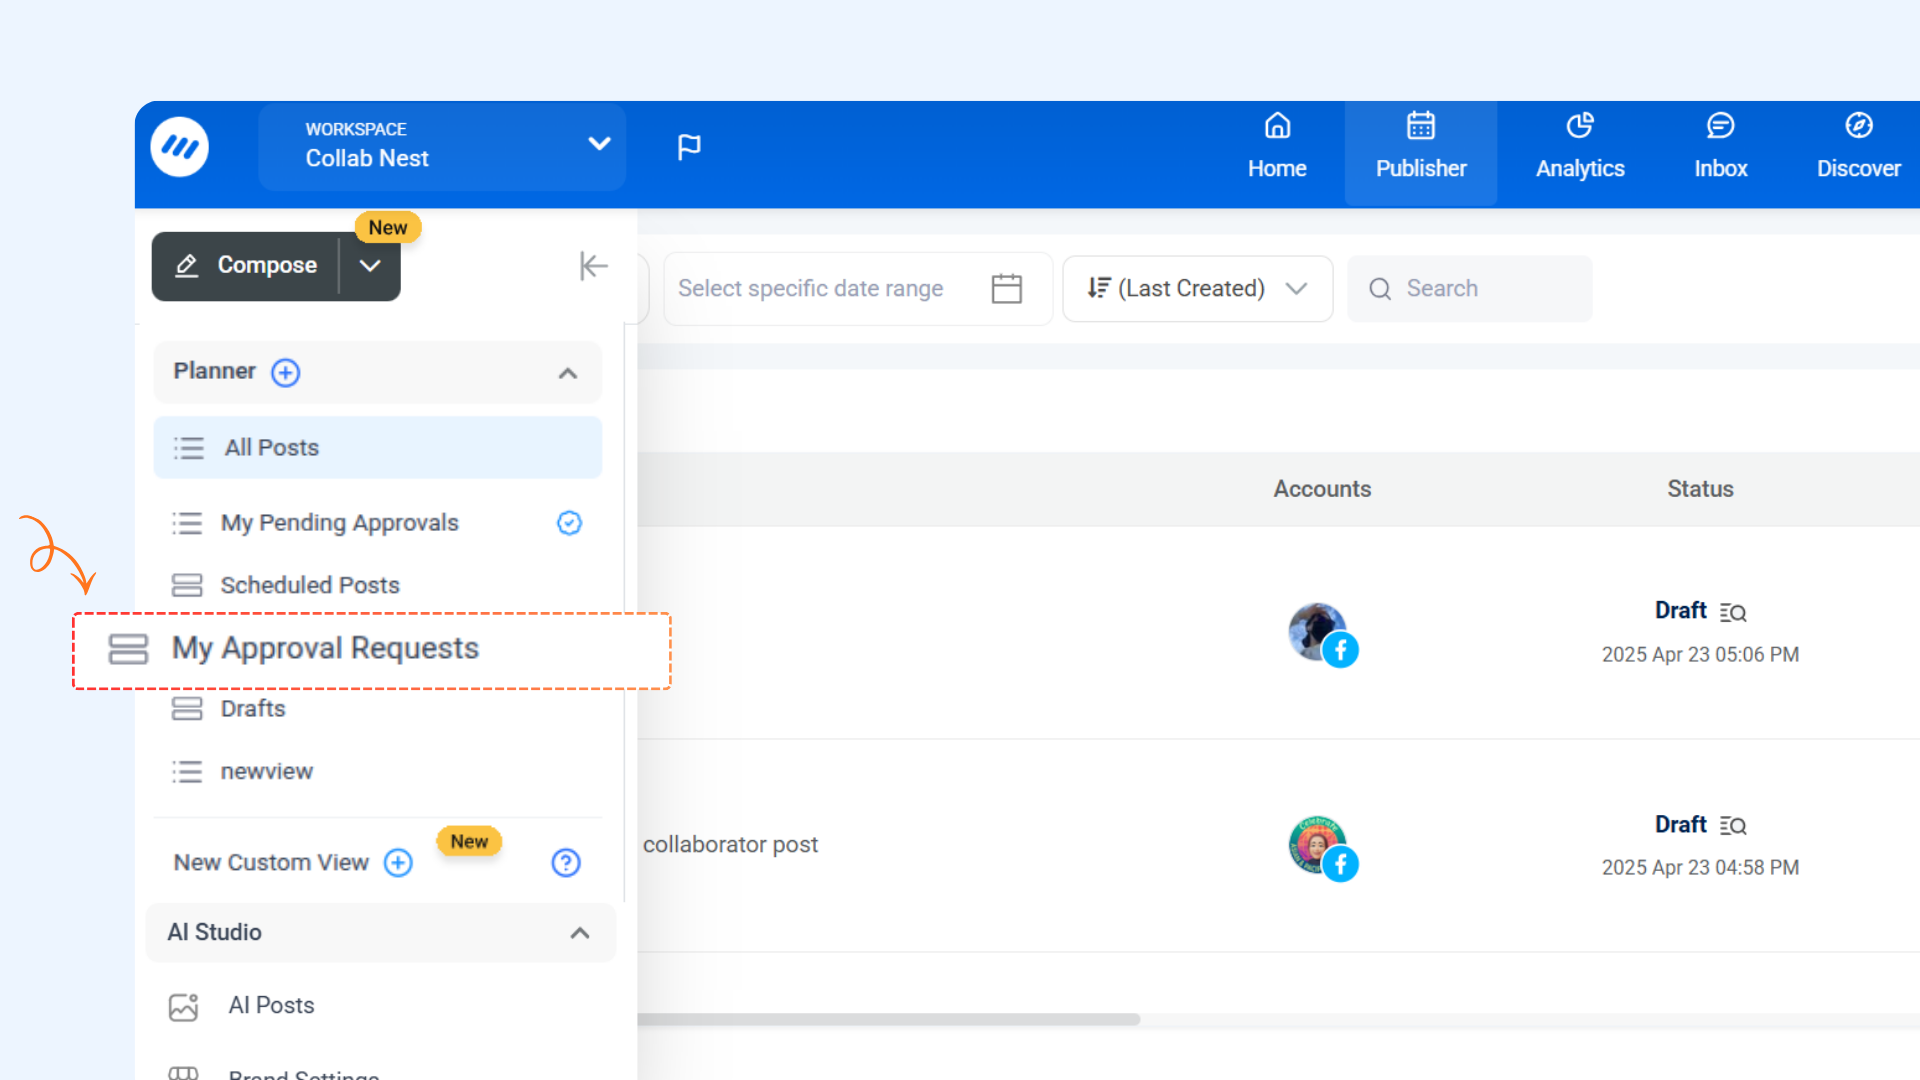
The My Approval Requests view displays all posts that are waiting for your approval. Use this view to review and take action without having to search through your full content calendar.
This view can be edited, deleted, or set as the default.
Creating a Custom View
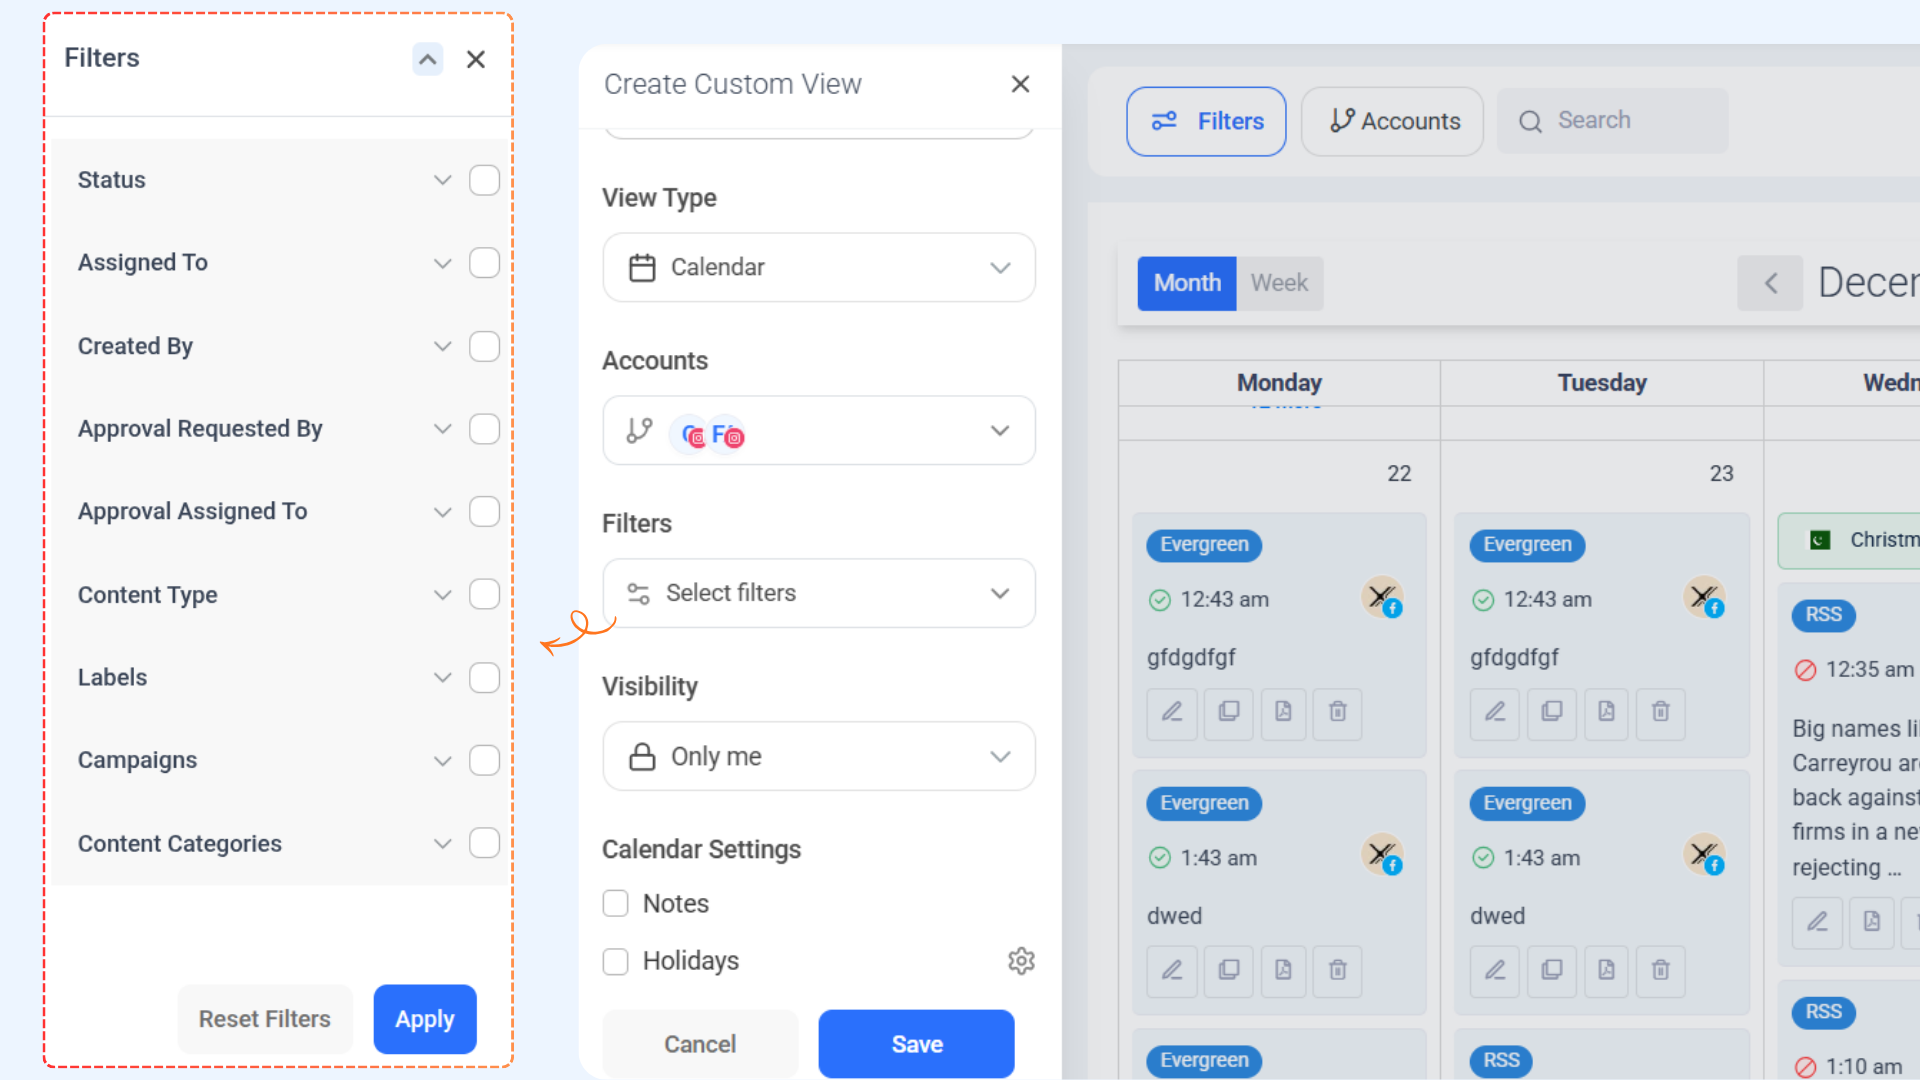
Custom Views allow you to create a personalized Planner setup by pre-selecting filters, view types, and date ranges.
Follow these steps to create a custom view:


Manage your Views
You can manage your views easily to keep your Planner organized. Here’s how you can edit, delete, or set a view as default.
- Click the three dots next to any view
- Select Set as Default

- Click the three dots next to the view name
- Select Edit
- Make the changes you want and click Save

- Click the three dots next to the view name
- Select Delete and confirm

- Click and hold any custom view from the views list
- Drag the view up or down to reorder it based on your preference
- Release the view to save the new order automatically
Where You Can View Custom Views

FAQs
1. What happens if I apply filters directly in the Planner?
If you apply filters directly in the Planner (outside the Create Custom View panel), those filters will still be considered when you create a new view.
This means the new view will already include any filters that are currently applied in the Planner.
2. Can I change filters after creating a custom view?
Yes. You can edit a custom view at any time by clicking the three-dot menu next to the view name and updating the filters or settings.
3. Why can’t I edit or delete the All Posts view?
The All Posts view is the default system view. It cannot be edited or deleted, but it can be set as your default view.
4. Will deleting a view delete my posts?
No. Deleting a view does not delete any posts. It only removes the saved view configuration.
5. Can I set more than one default view?
No. You can only have one default view at a time. Setting a new default view will replace the previous one.
6. Who can see my custom views?
This depends on the visibility settings you choose while creating the view. You can keep a view private or share it with others, based on your permissions.