

How to Bulk Edit post from the Planner
With this new update, Content Studio lets you edit posts in bulk from the planner.
1- Go to the Planner and select the posts you want to bulk edit.
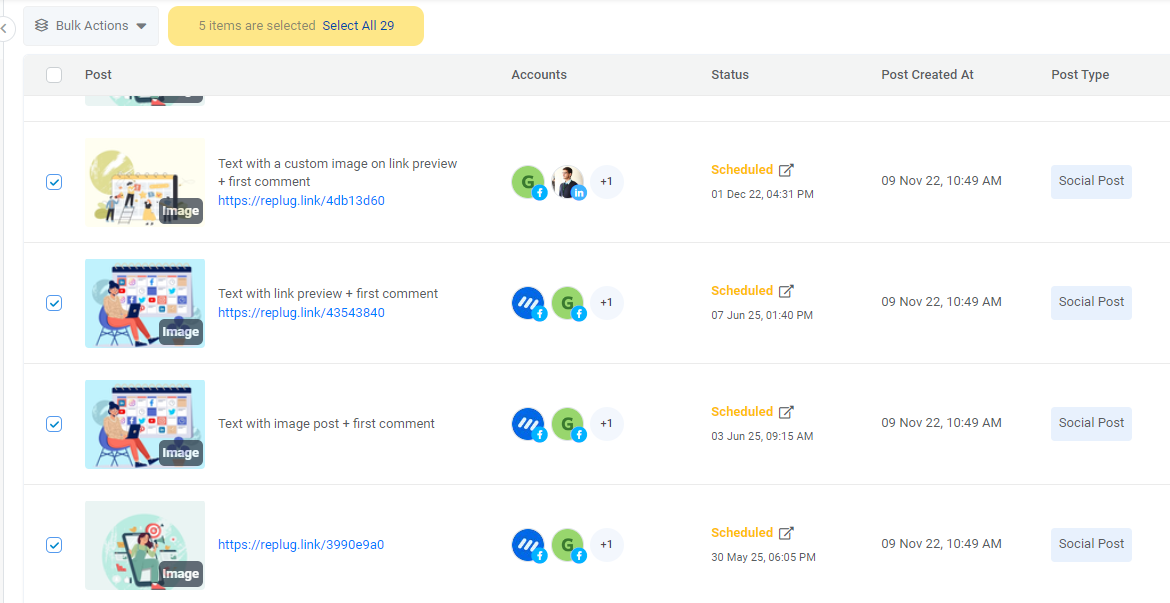
2- After this, hover over to the Bulk Actions and click on edit social posts.
3- A modal will appear that shows:
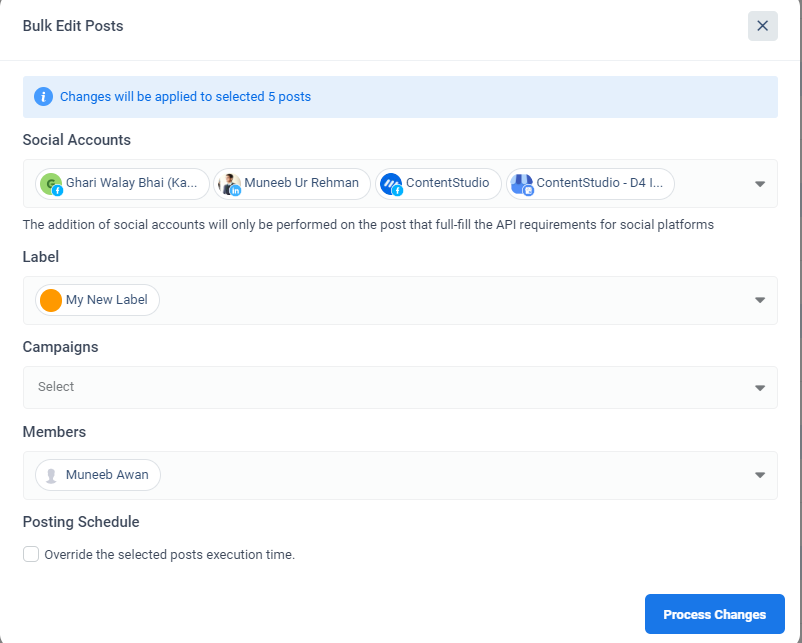
a- Social accounts
b- Label
c- Campaigns
d- Members
e- Posting Schedule
(3a)- Click on the social accounts drop-down button.
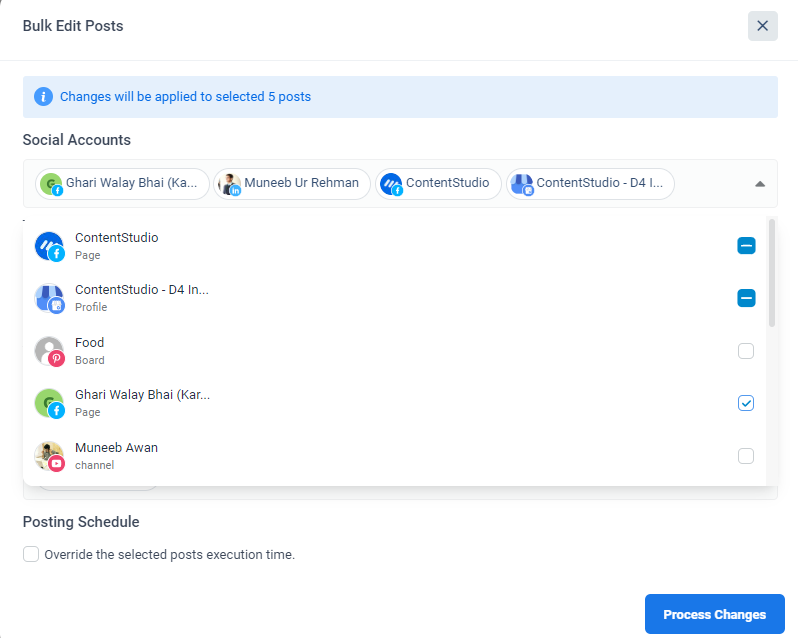
The tick box shows the social account that is standard in all posts.

The box with the dash shows the social accounts selected in some posts.

The hollow box shows the social accounts that are not in any post.

-You can select or unselect any social media channels if you want to add or remove them.
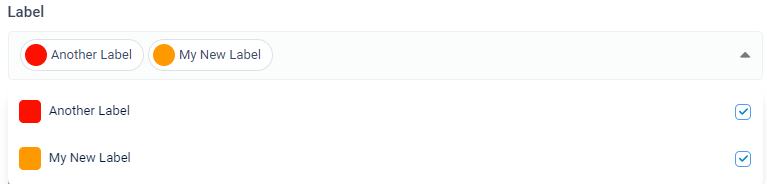
(3b)- The next step is to set your labels. You can also add more than one label.
(3c)- Once this is done, you can change your campaign; but only one campaign may be selected.
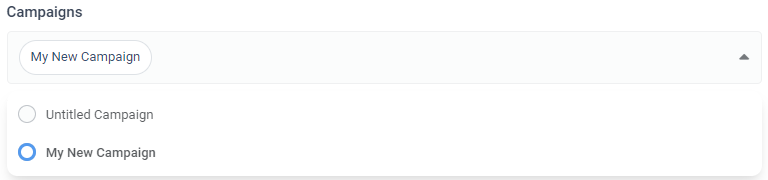
(3d)- You can also add multiple team members.
(3e)- By clicking on the “override” schedule time option, you can either set the post to Post Now, Schedule or Draft. This selection would override all previous statuses and make the selected option the preferred execution method.
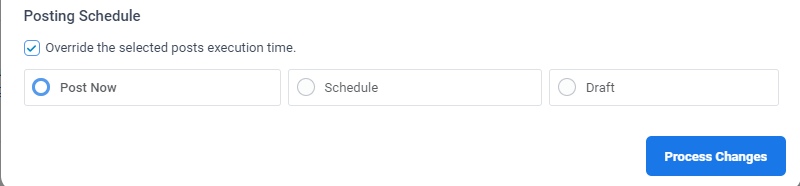
4- Once you have made your changes, click on the Process changes button
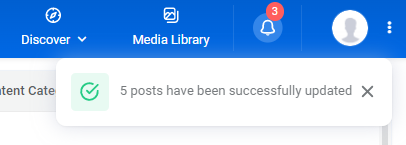
5- A notification will appear showing whether your posts are successfully updated or not.
Case 1: For instance, if you edited two posts and clicked on the process changes button, and both failed (due to API requirements)
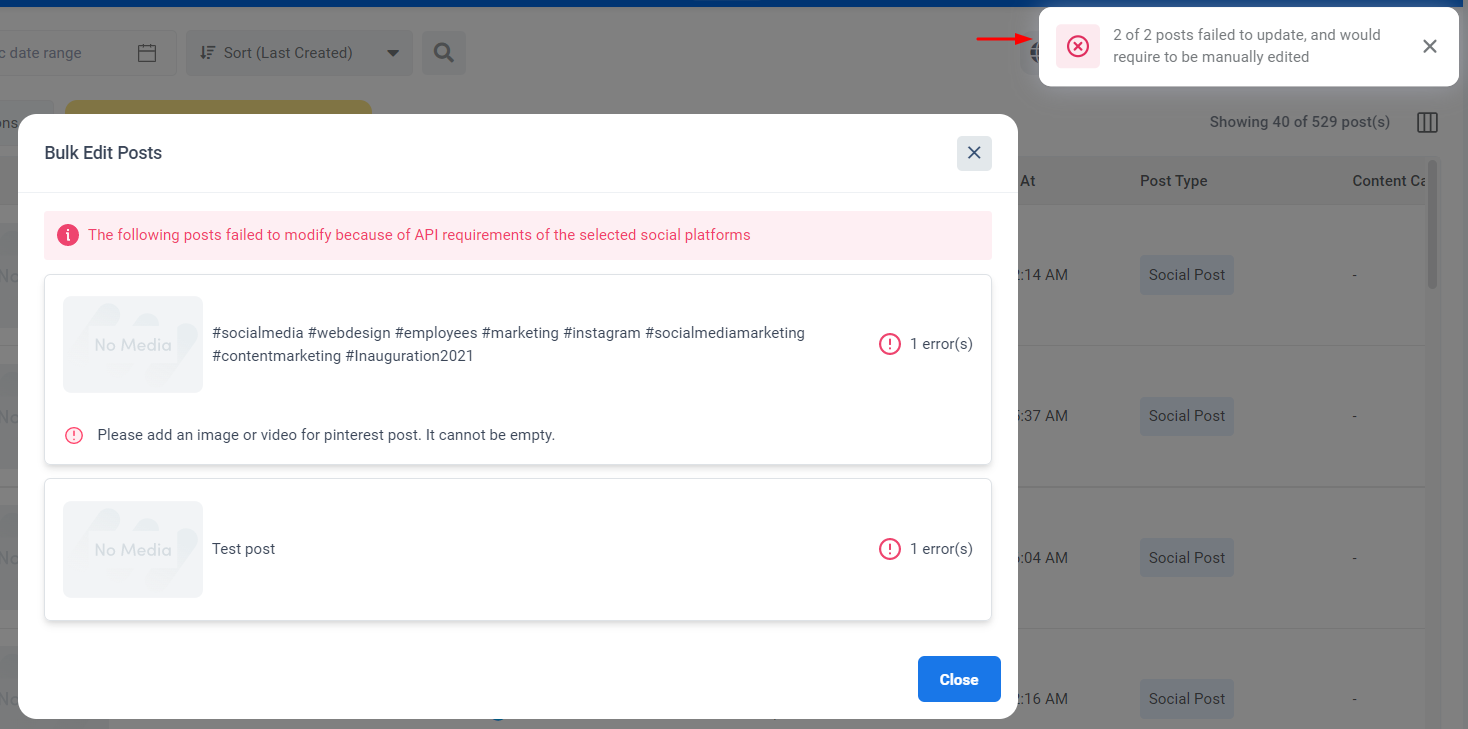
Case 2: If you edit five posts, four will be updated successfully, and one will not due to API requirements; you need to go back to the planner and manually edit them.
Case 3: Once all of your posts have been successfully updated.
Was this article helpful?