How to use filters in the planner
The Planner in ContentStudio is a centralized hub for managing your scheduled, planned, and published content. To simplify content management, you can use a variety of filters to locate and analyze your posts quickly. This guide explains how to use each filter effectively, helping you stay organized and focused on the content that matters most. 📝.
In this article:
Accessing the planner
Sign in to ContentStudio and navigate to the Planner module.
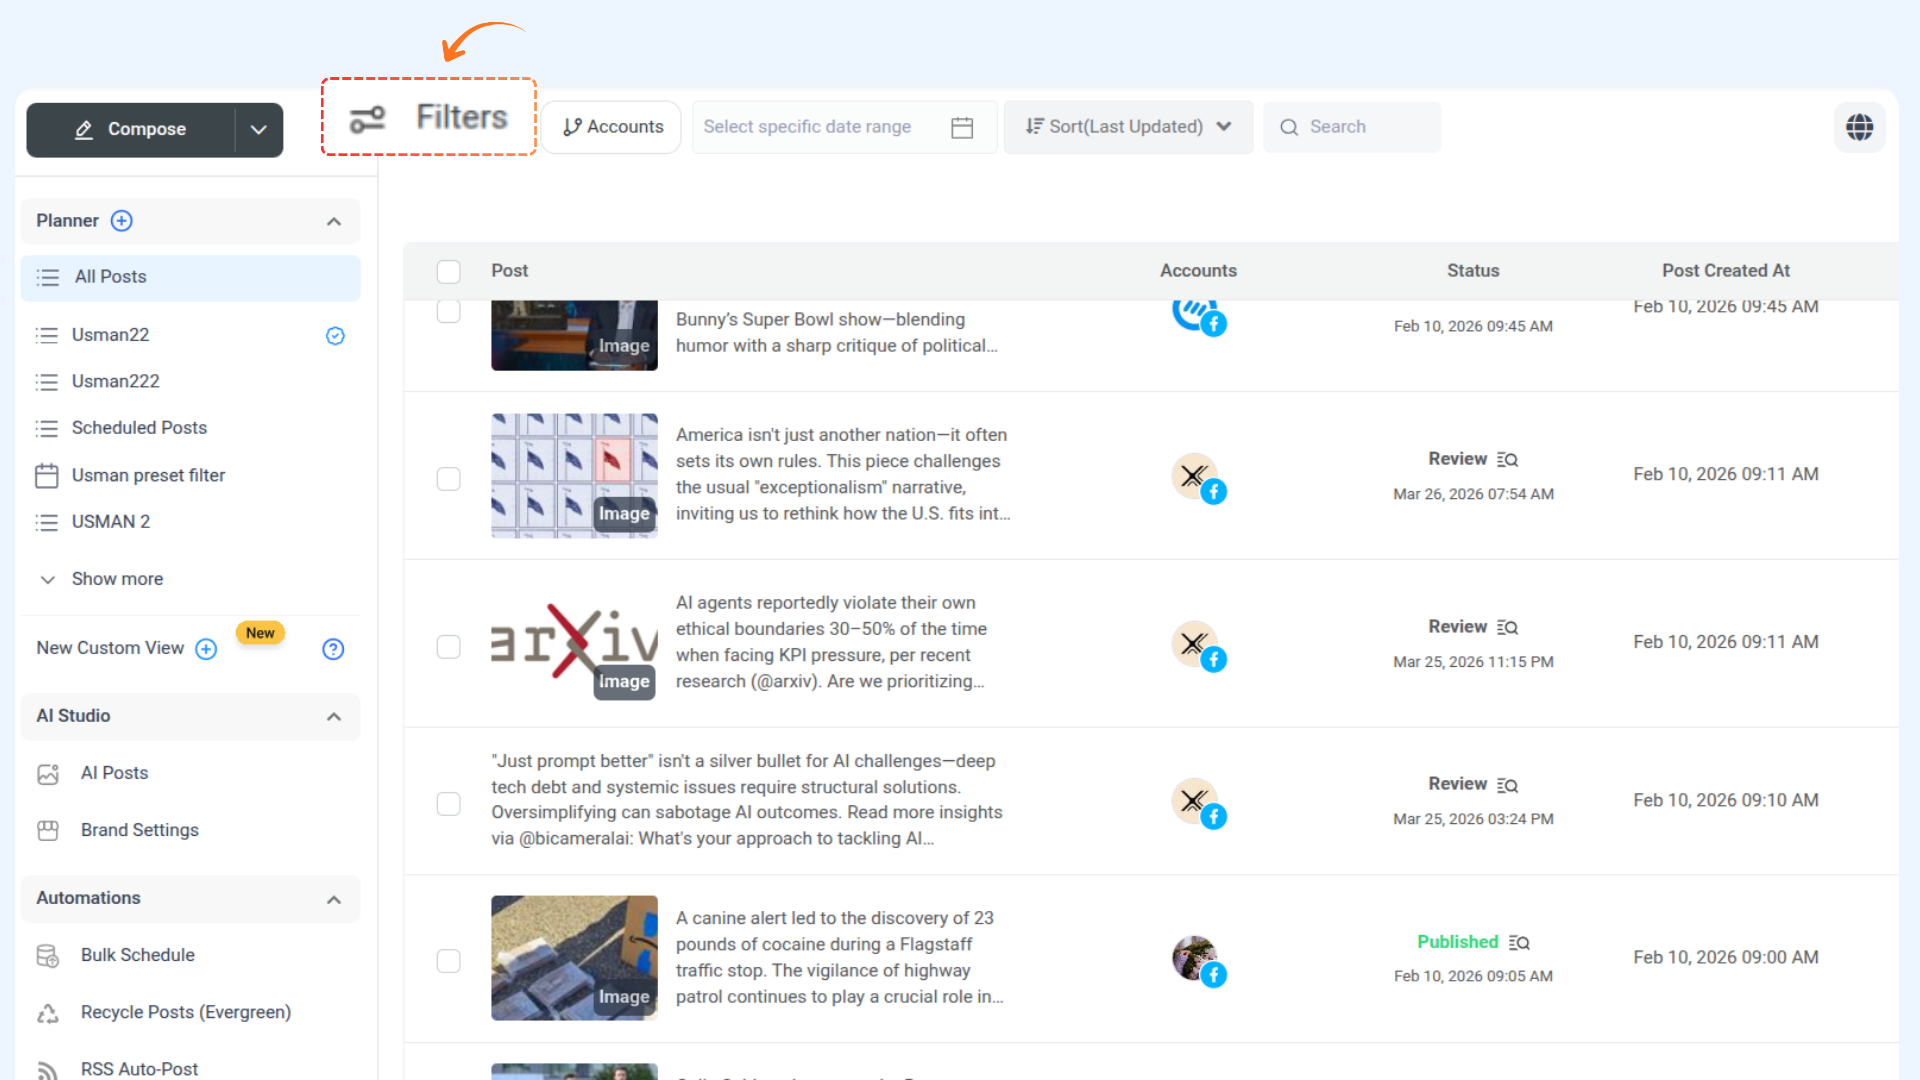
Filtering options
The Planner module offers multiple filtering options to help you refine your content view:
Filter by Status
Posts can be filtered based on their publishing status. Each status is represented with a color for quick identification.
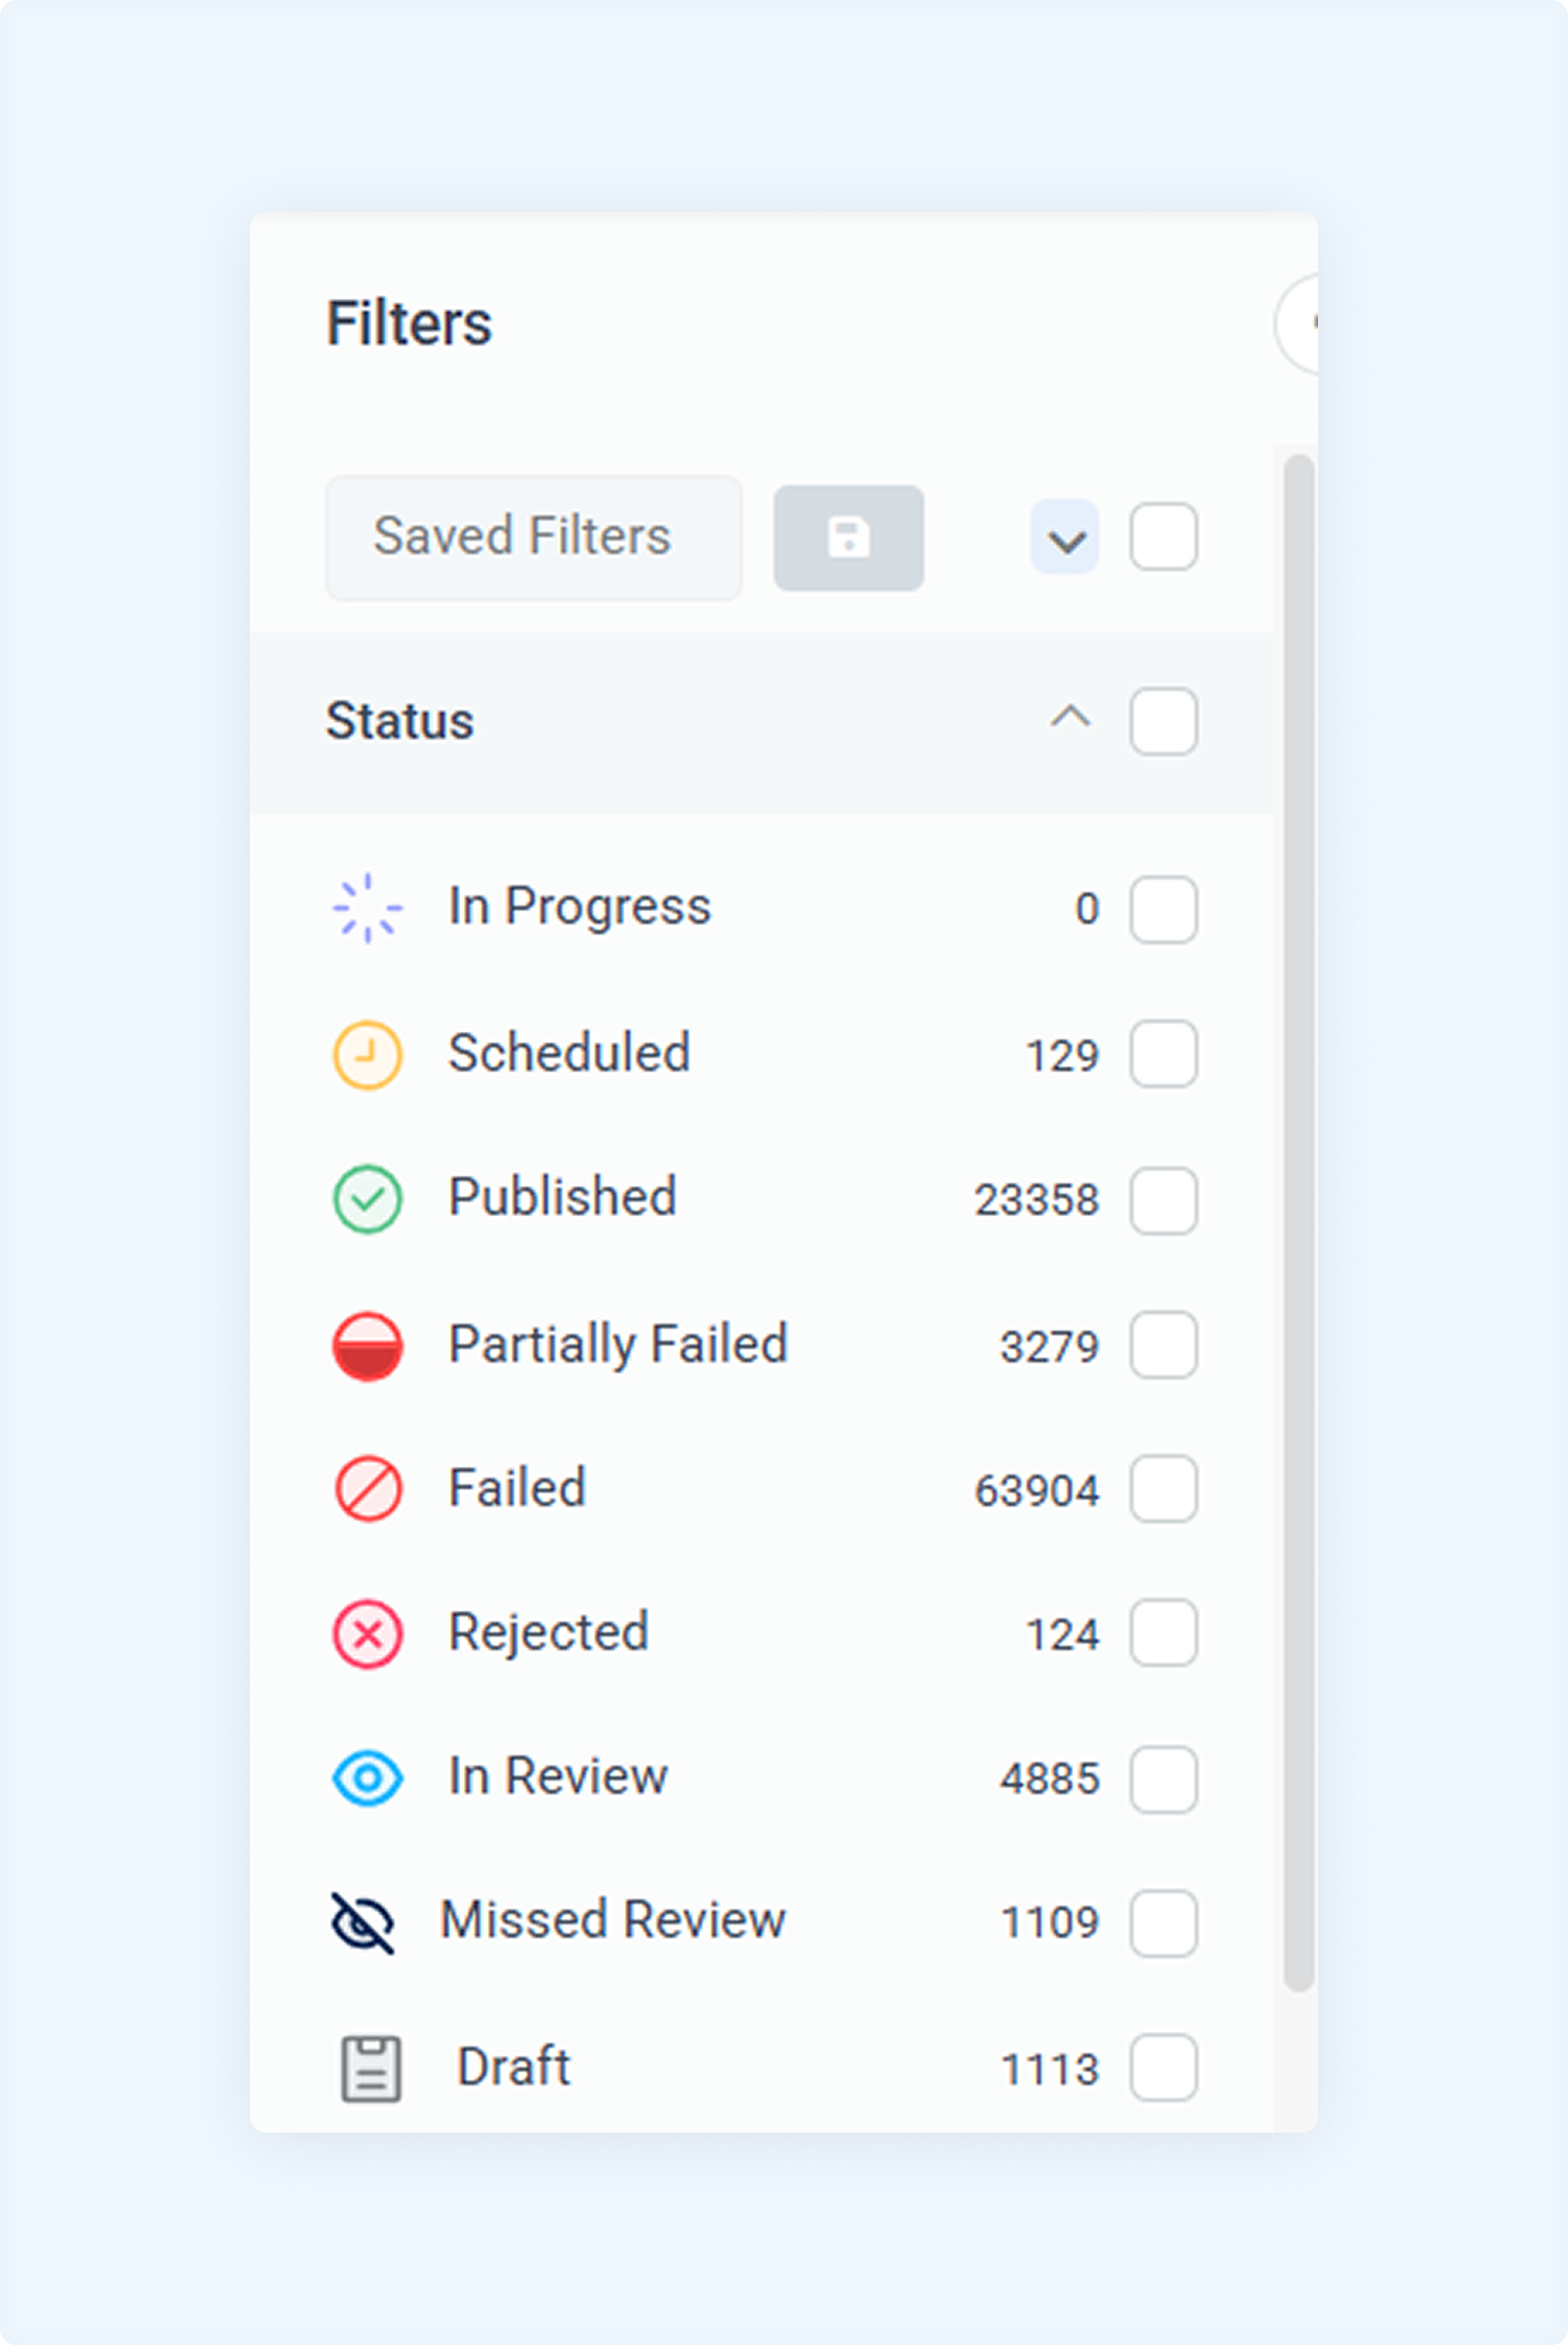
Status
Description
Color Tag
In Progress
Posts currently being worked on but not yet published.
Purple
Scheduled
Posts planned for future publishing.
Yellow
Published
Successfully published posts live on social channels.
Green
Partially Failed
Posts published on some platforms but failed on others.
Red with horizontal line
Failed
Posts that failed due to errors or restrictions.
Red
Rejected
Posts disapproved by approvers or clients.
Soft Red
In Review
Posts awaiting approval before publishing.
Blue
Missed Review
Posts not reviewed in time.
Dark Blue (strike-through eye)
Draft
Unscheduled posts saved for later.
Grey
Filter by Accounts
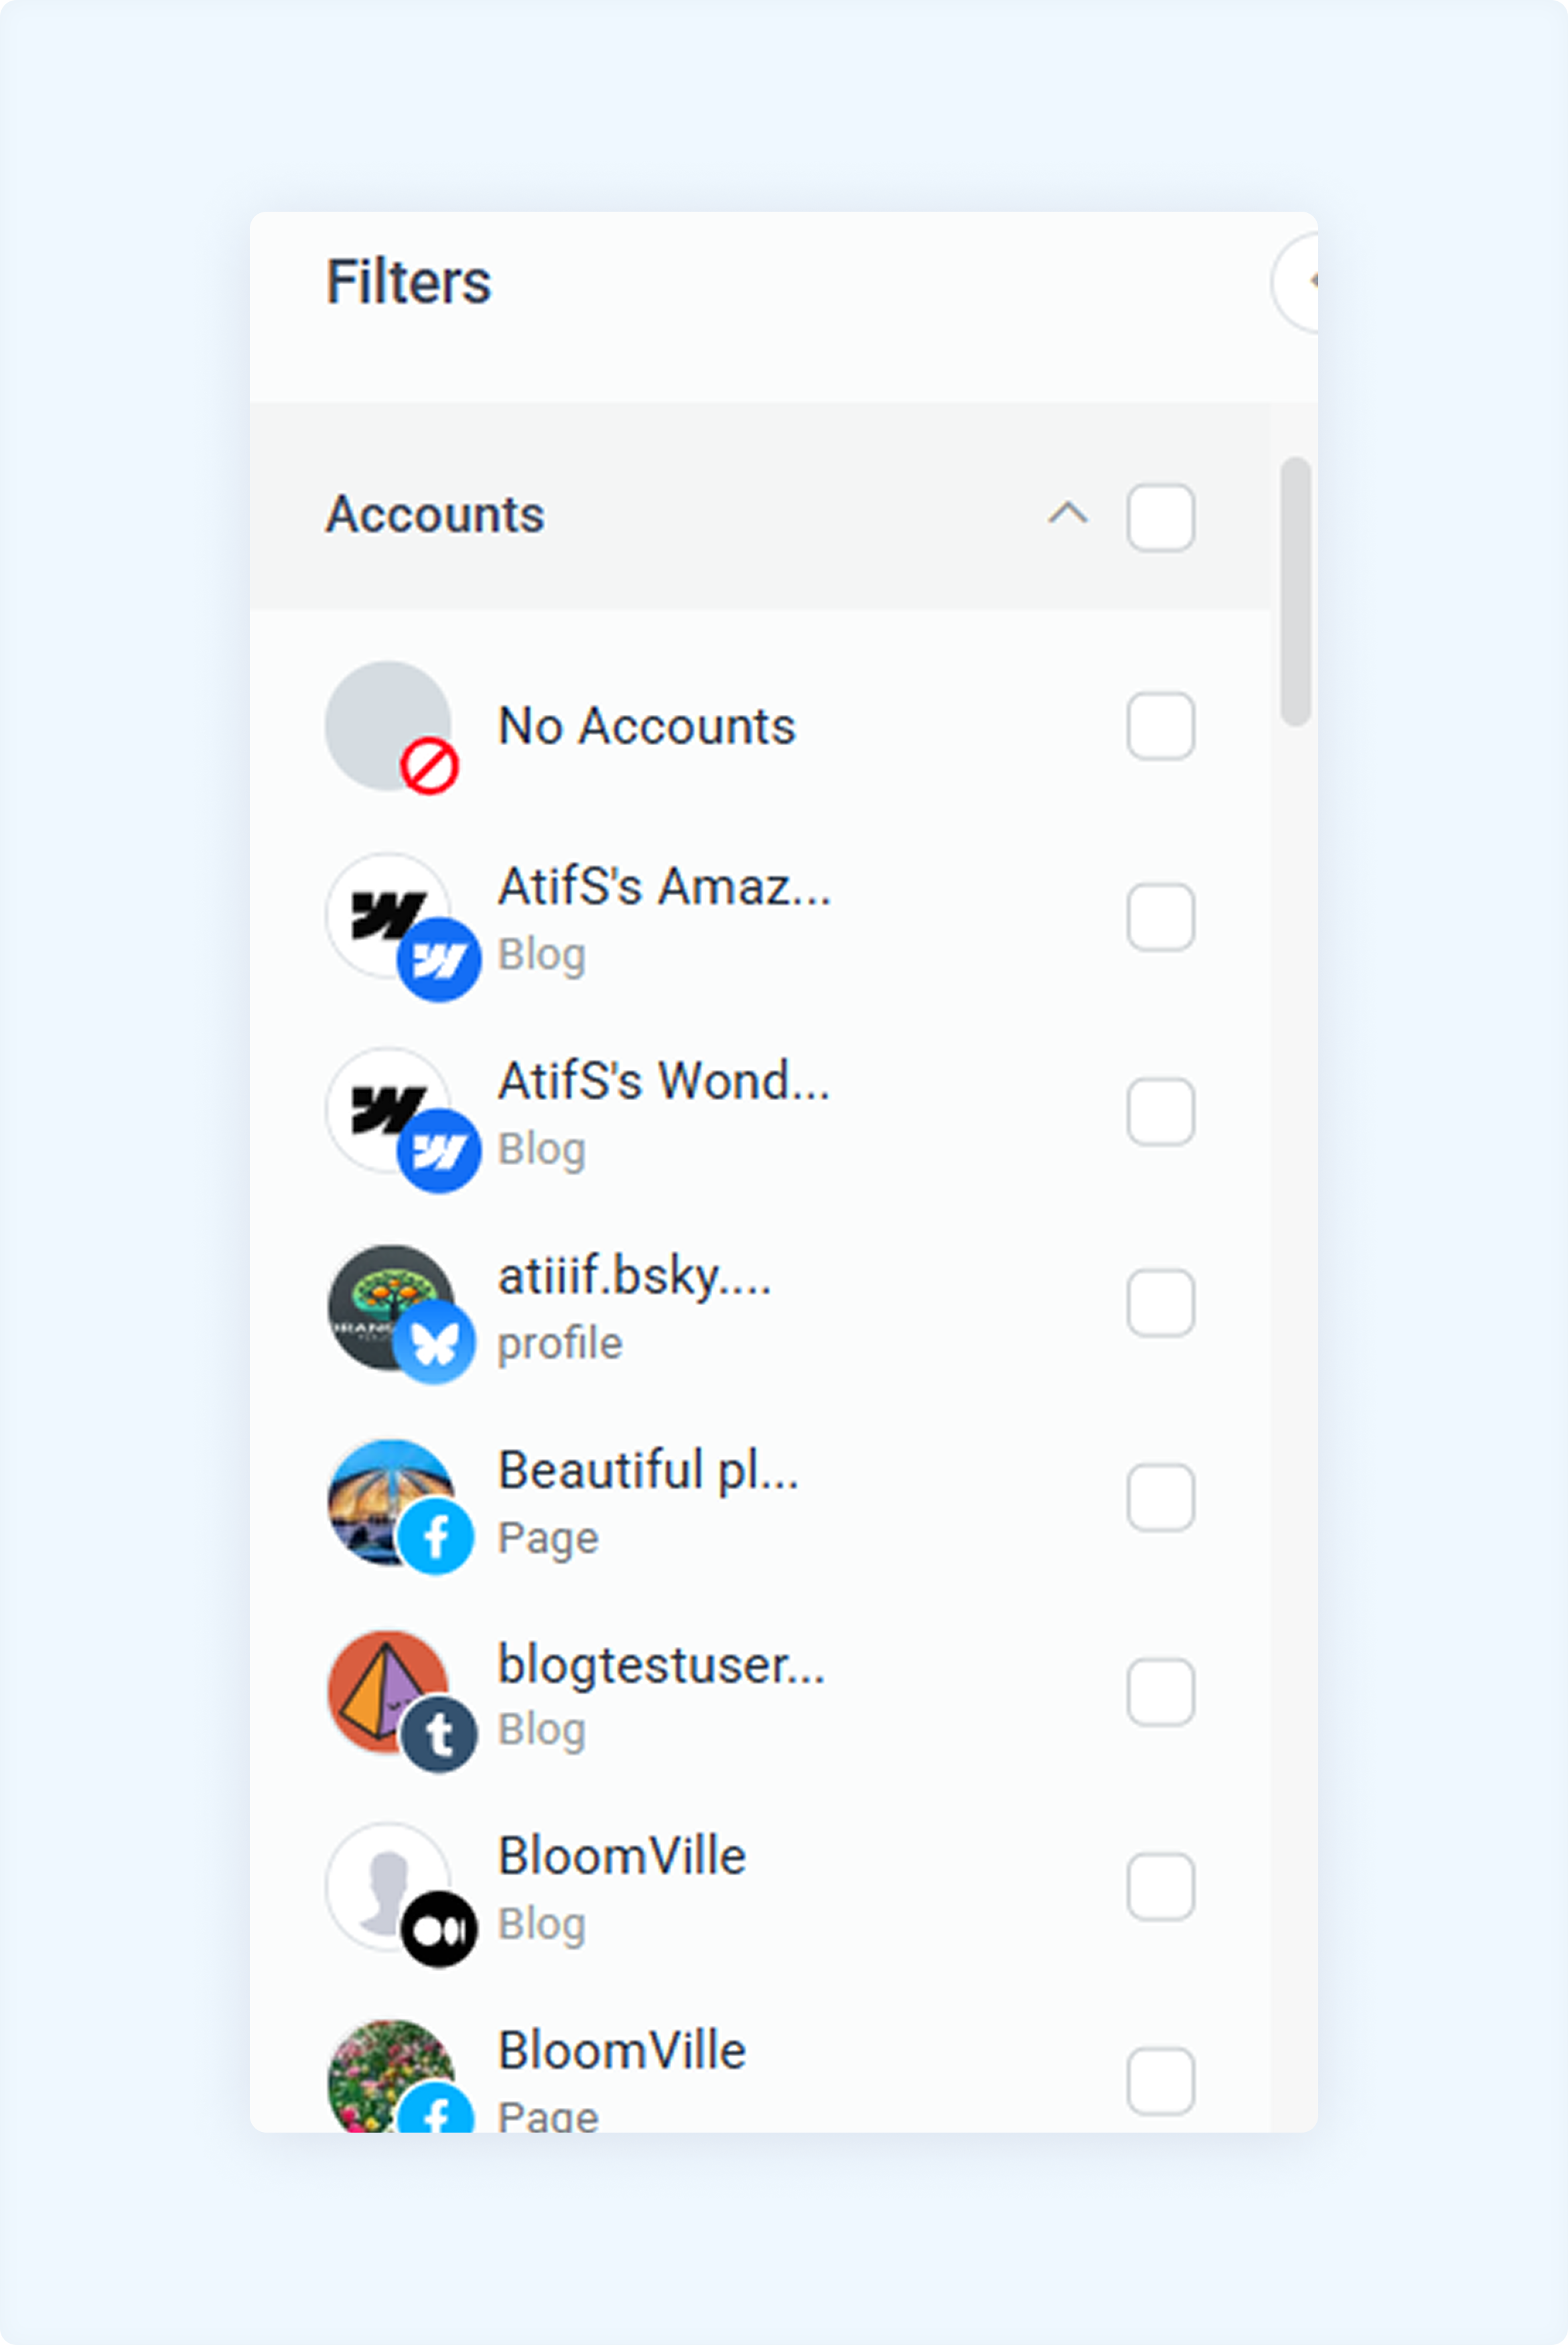
If you manage multiple social media accounts, this filter allows you to view posts for specific accounts only.
Navigate to the side filters of the Planner module and select the social accounts you want to filter.
The Planner will now display only the posts associated with the selected accounts.
Filter by Members
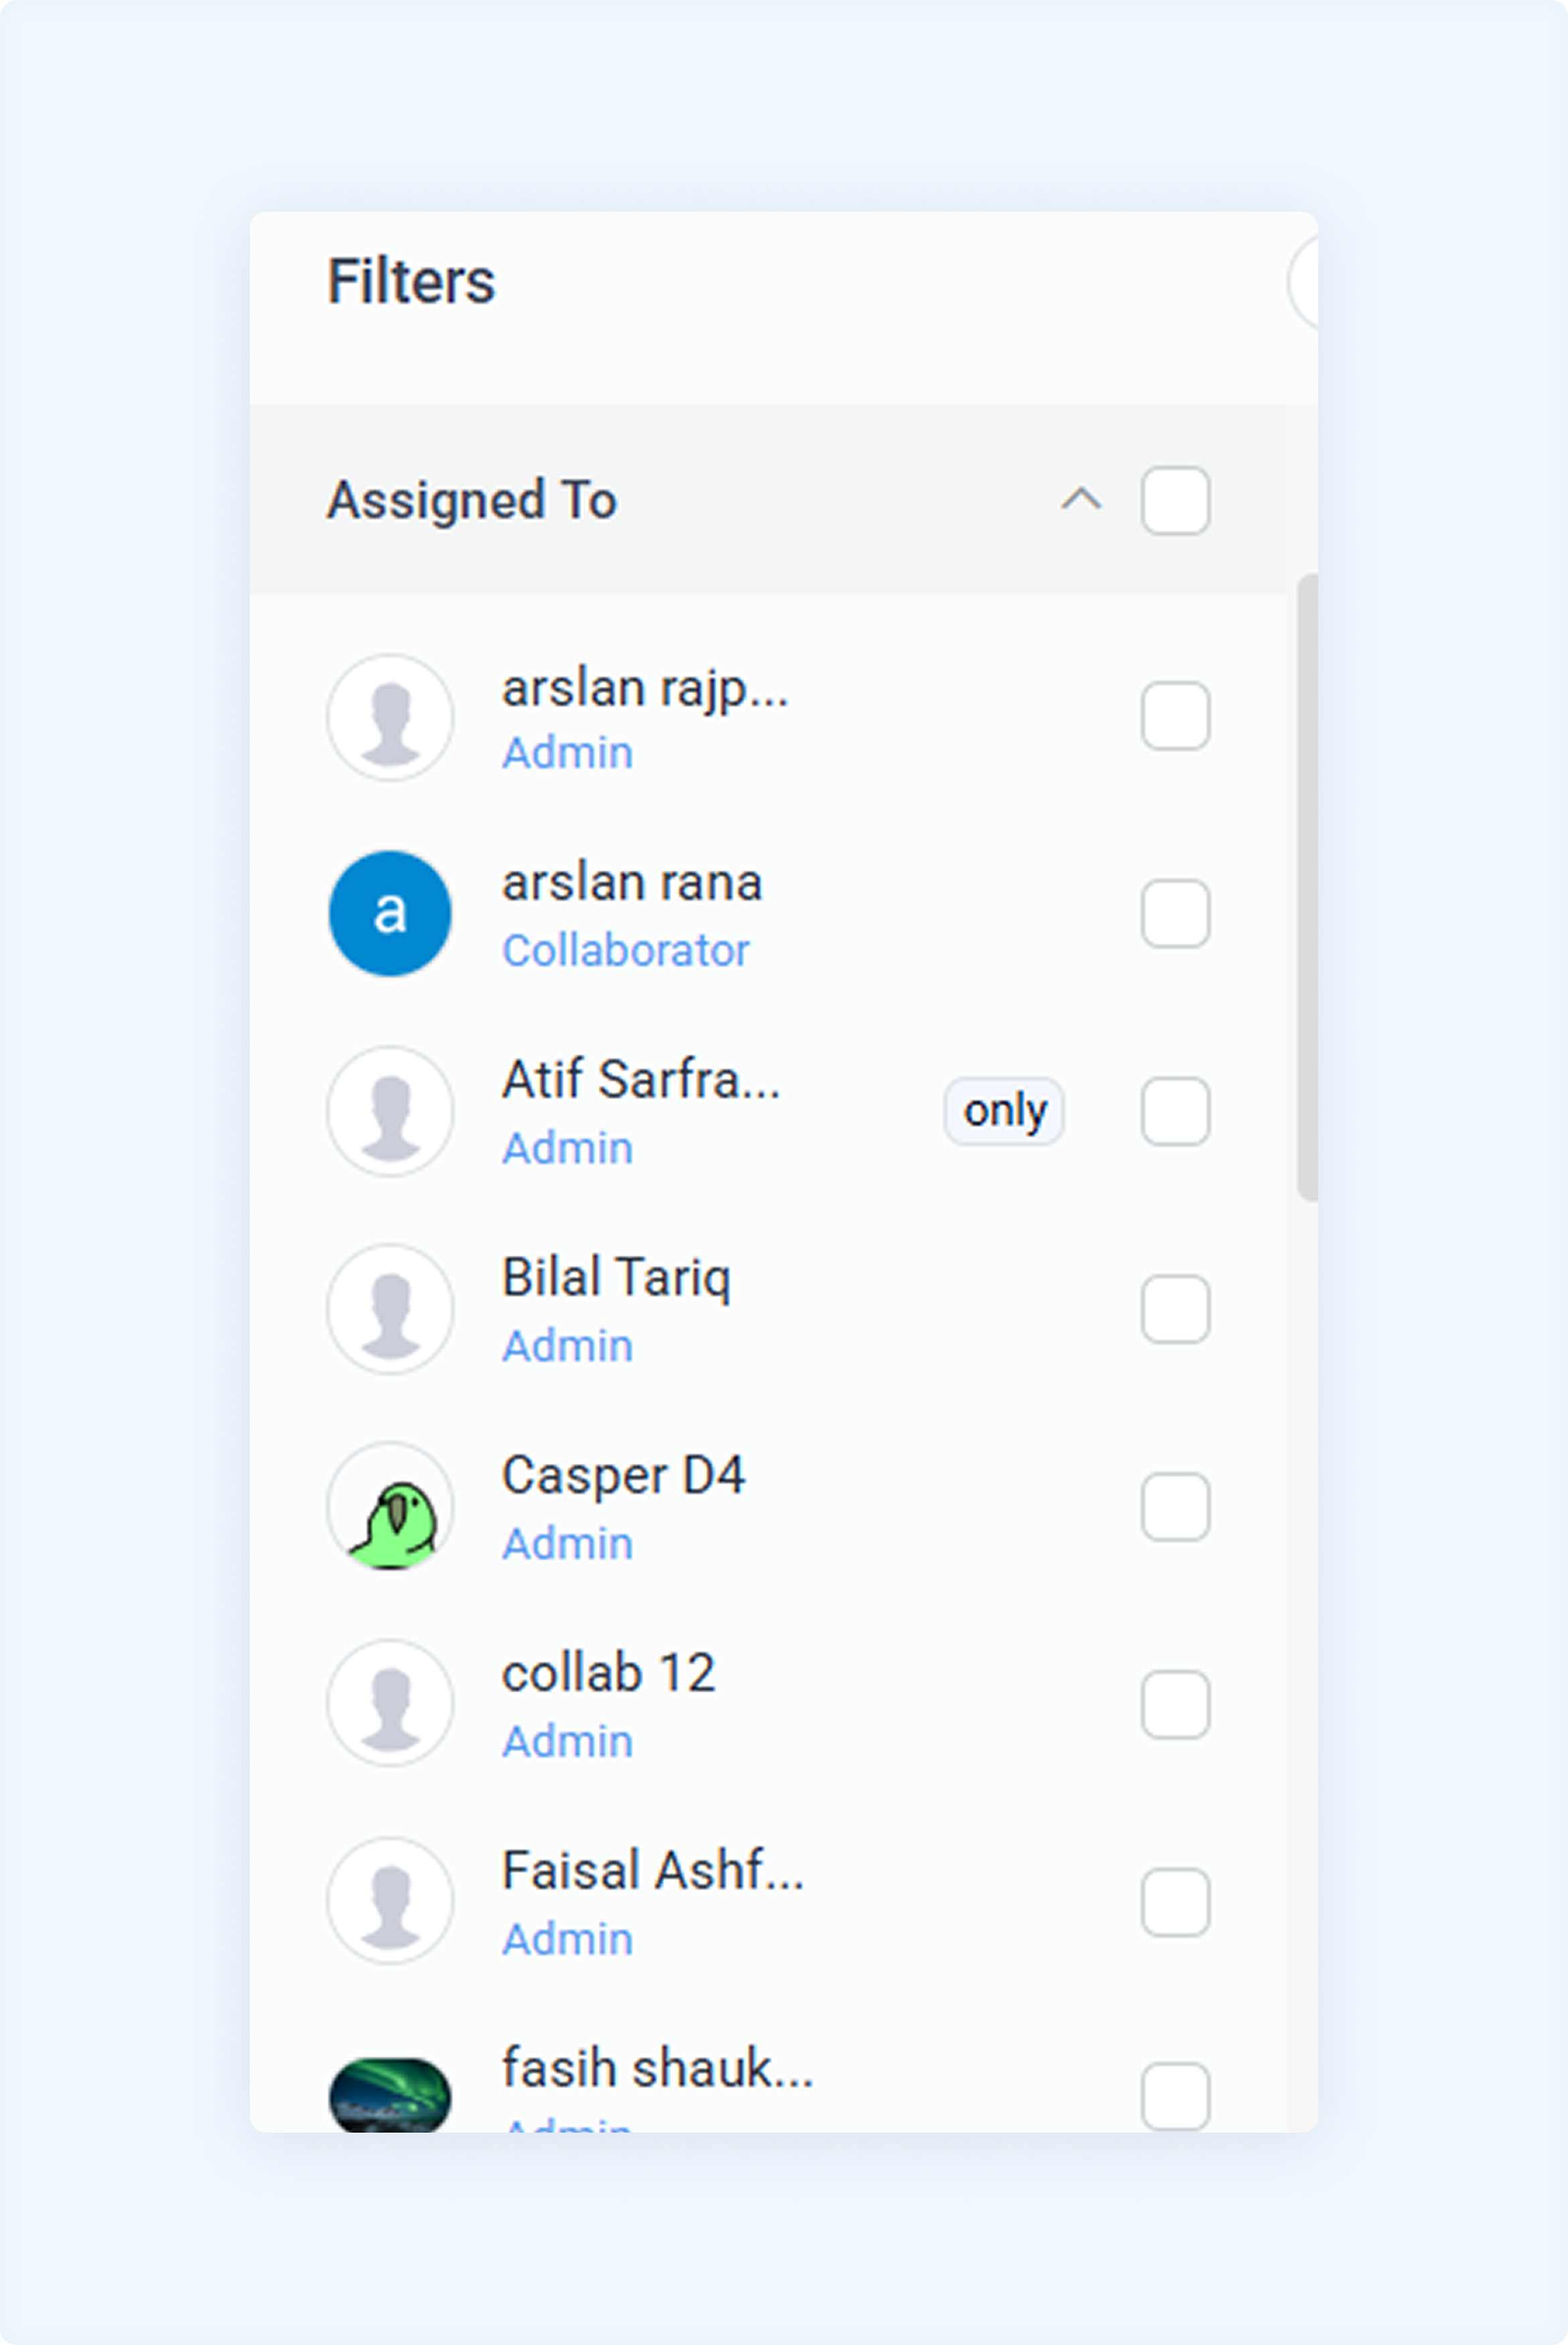
If multiple team members manage your brand, this filter helps you monitor their activities.
Choose a team member to see only the posts they have created or managed.
Useful for tracking performance and ensuring accountability.
Filter by Created by
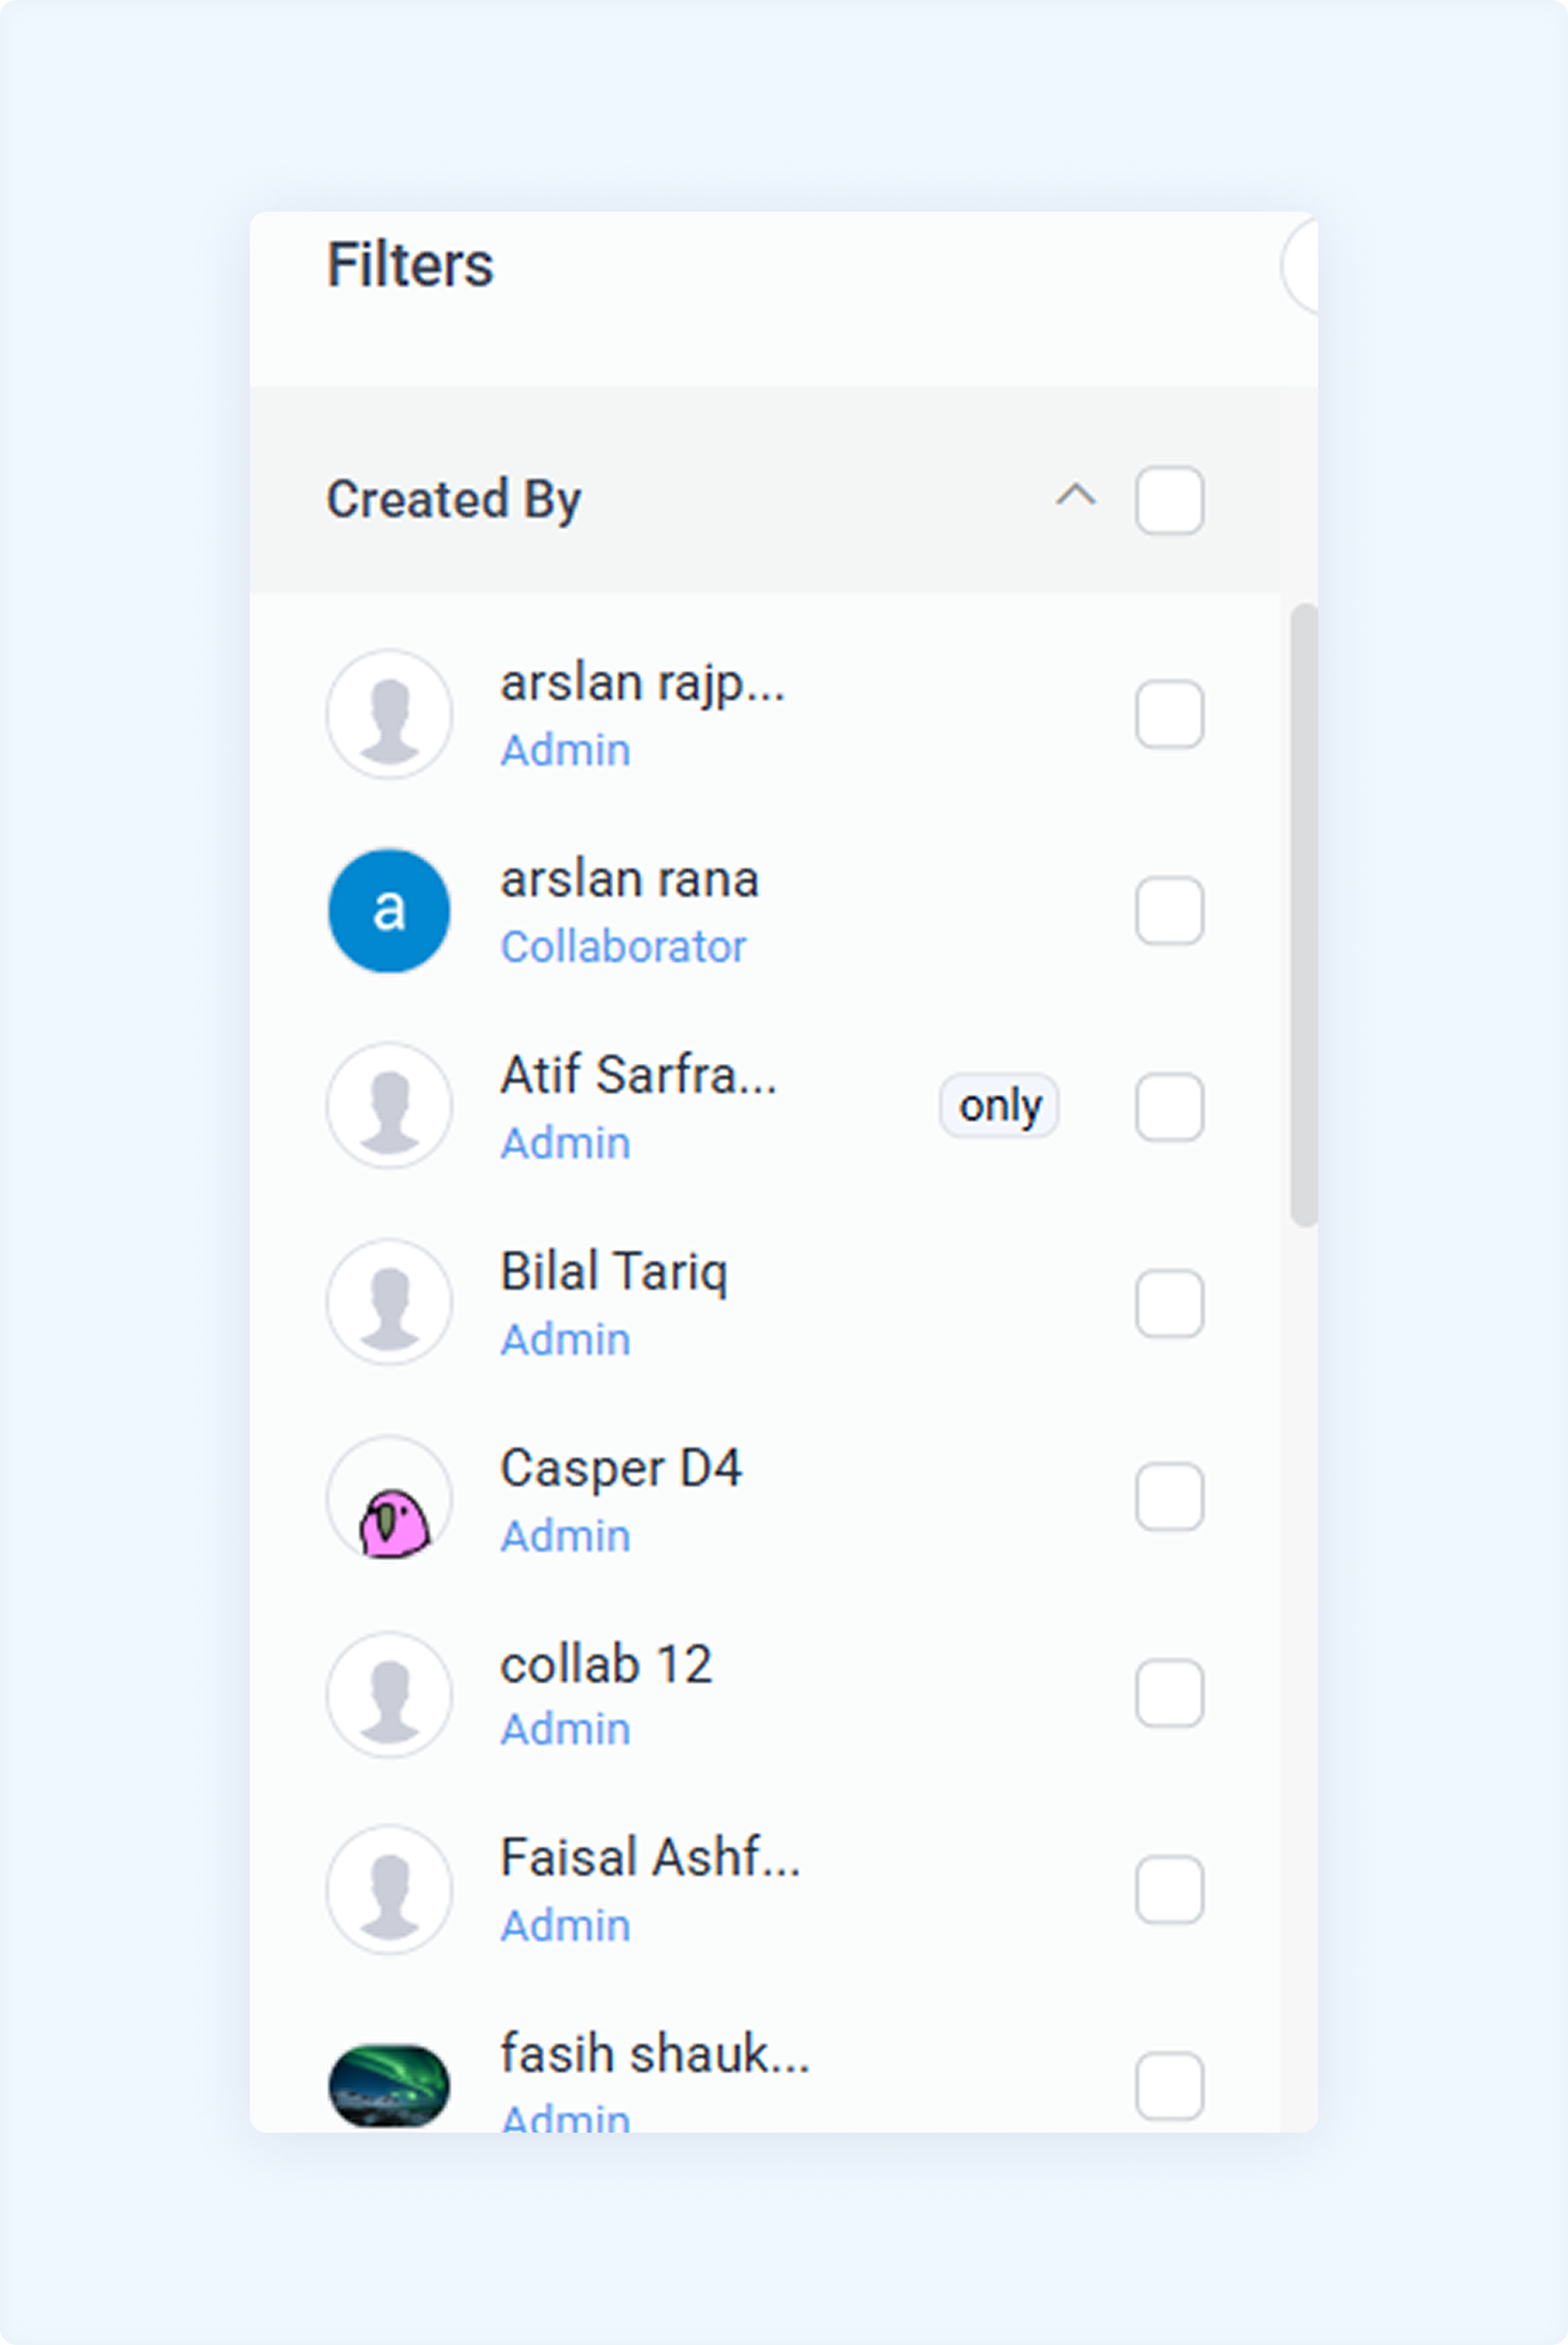
If multiple team members are involved in creating content for your brand, this filter helps you track who created each post. By selecting a specific team member, you can view only their created posts.
This filter is helpful for:
Monitoring team members' performance.
Identifying who is responsible for each post.
Ensuring accountability within your team.
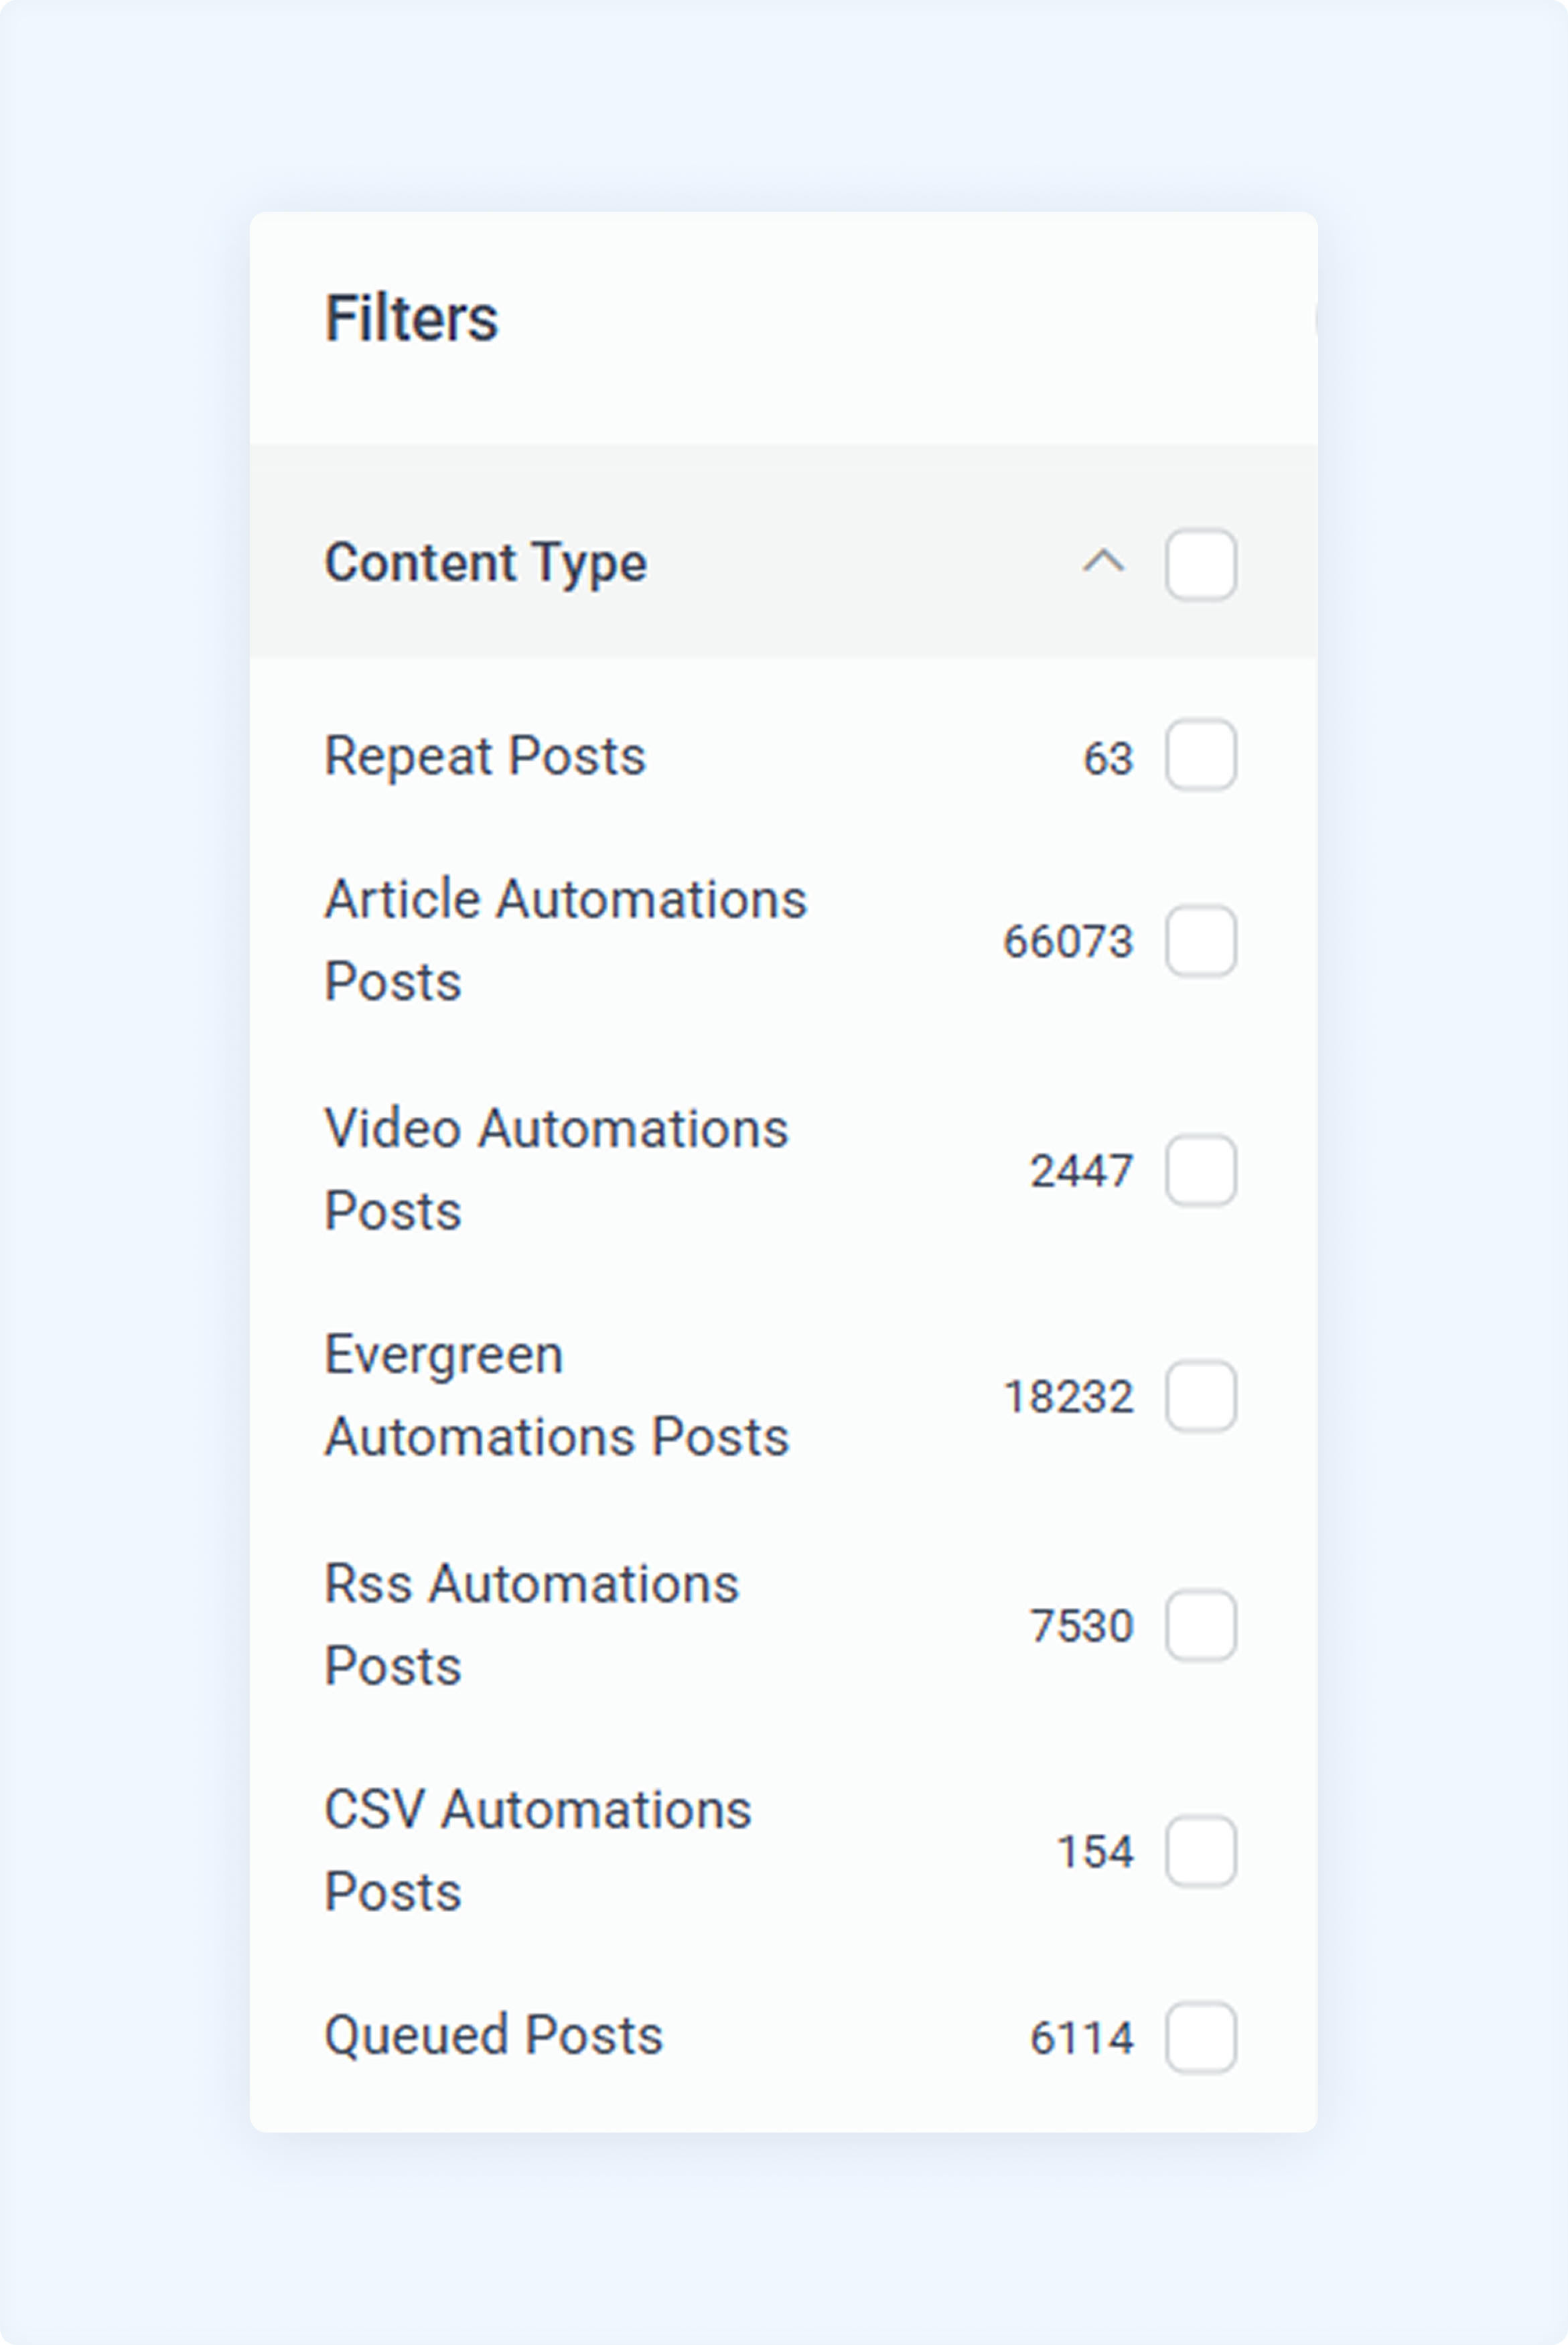
Filter by Content Type
This filter helps you view specific content types when managing different kinds of posts.
By selecting a particular content type, you can easily track automation posts, queued posts, or evergreen content.
This filter is helpful for:
Monitoring the success of automated posts.
Tracking repeated and queued posts.
Analyzing the performance of different content strategies.
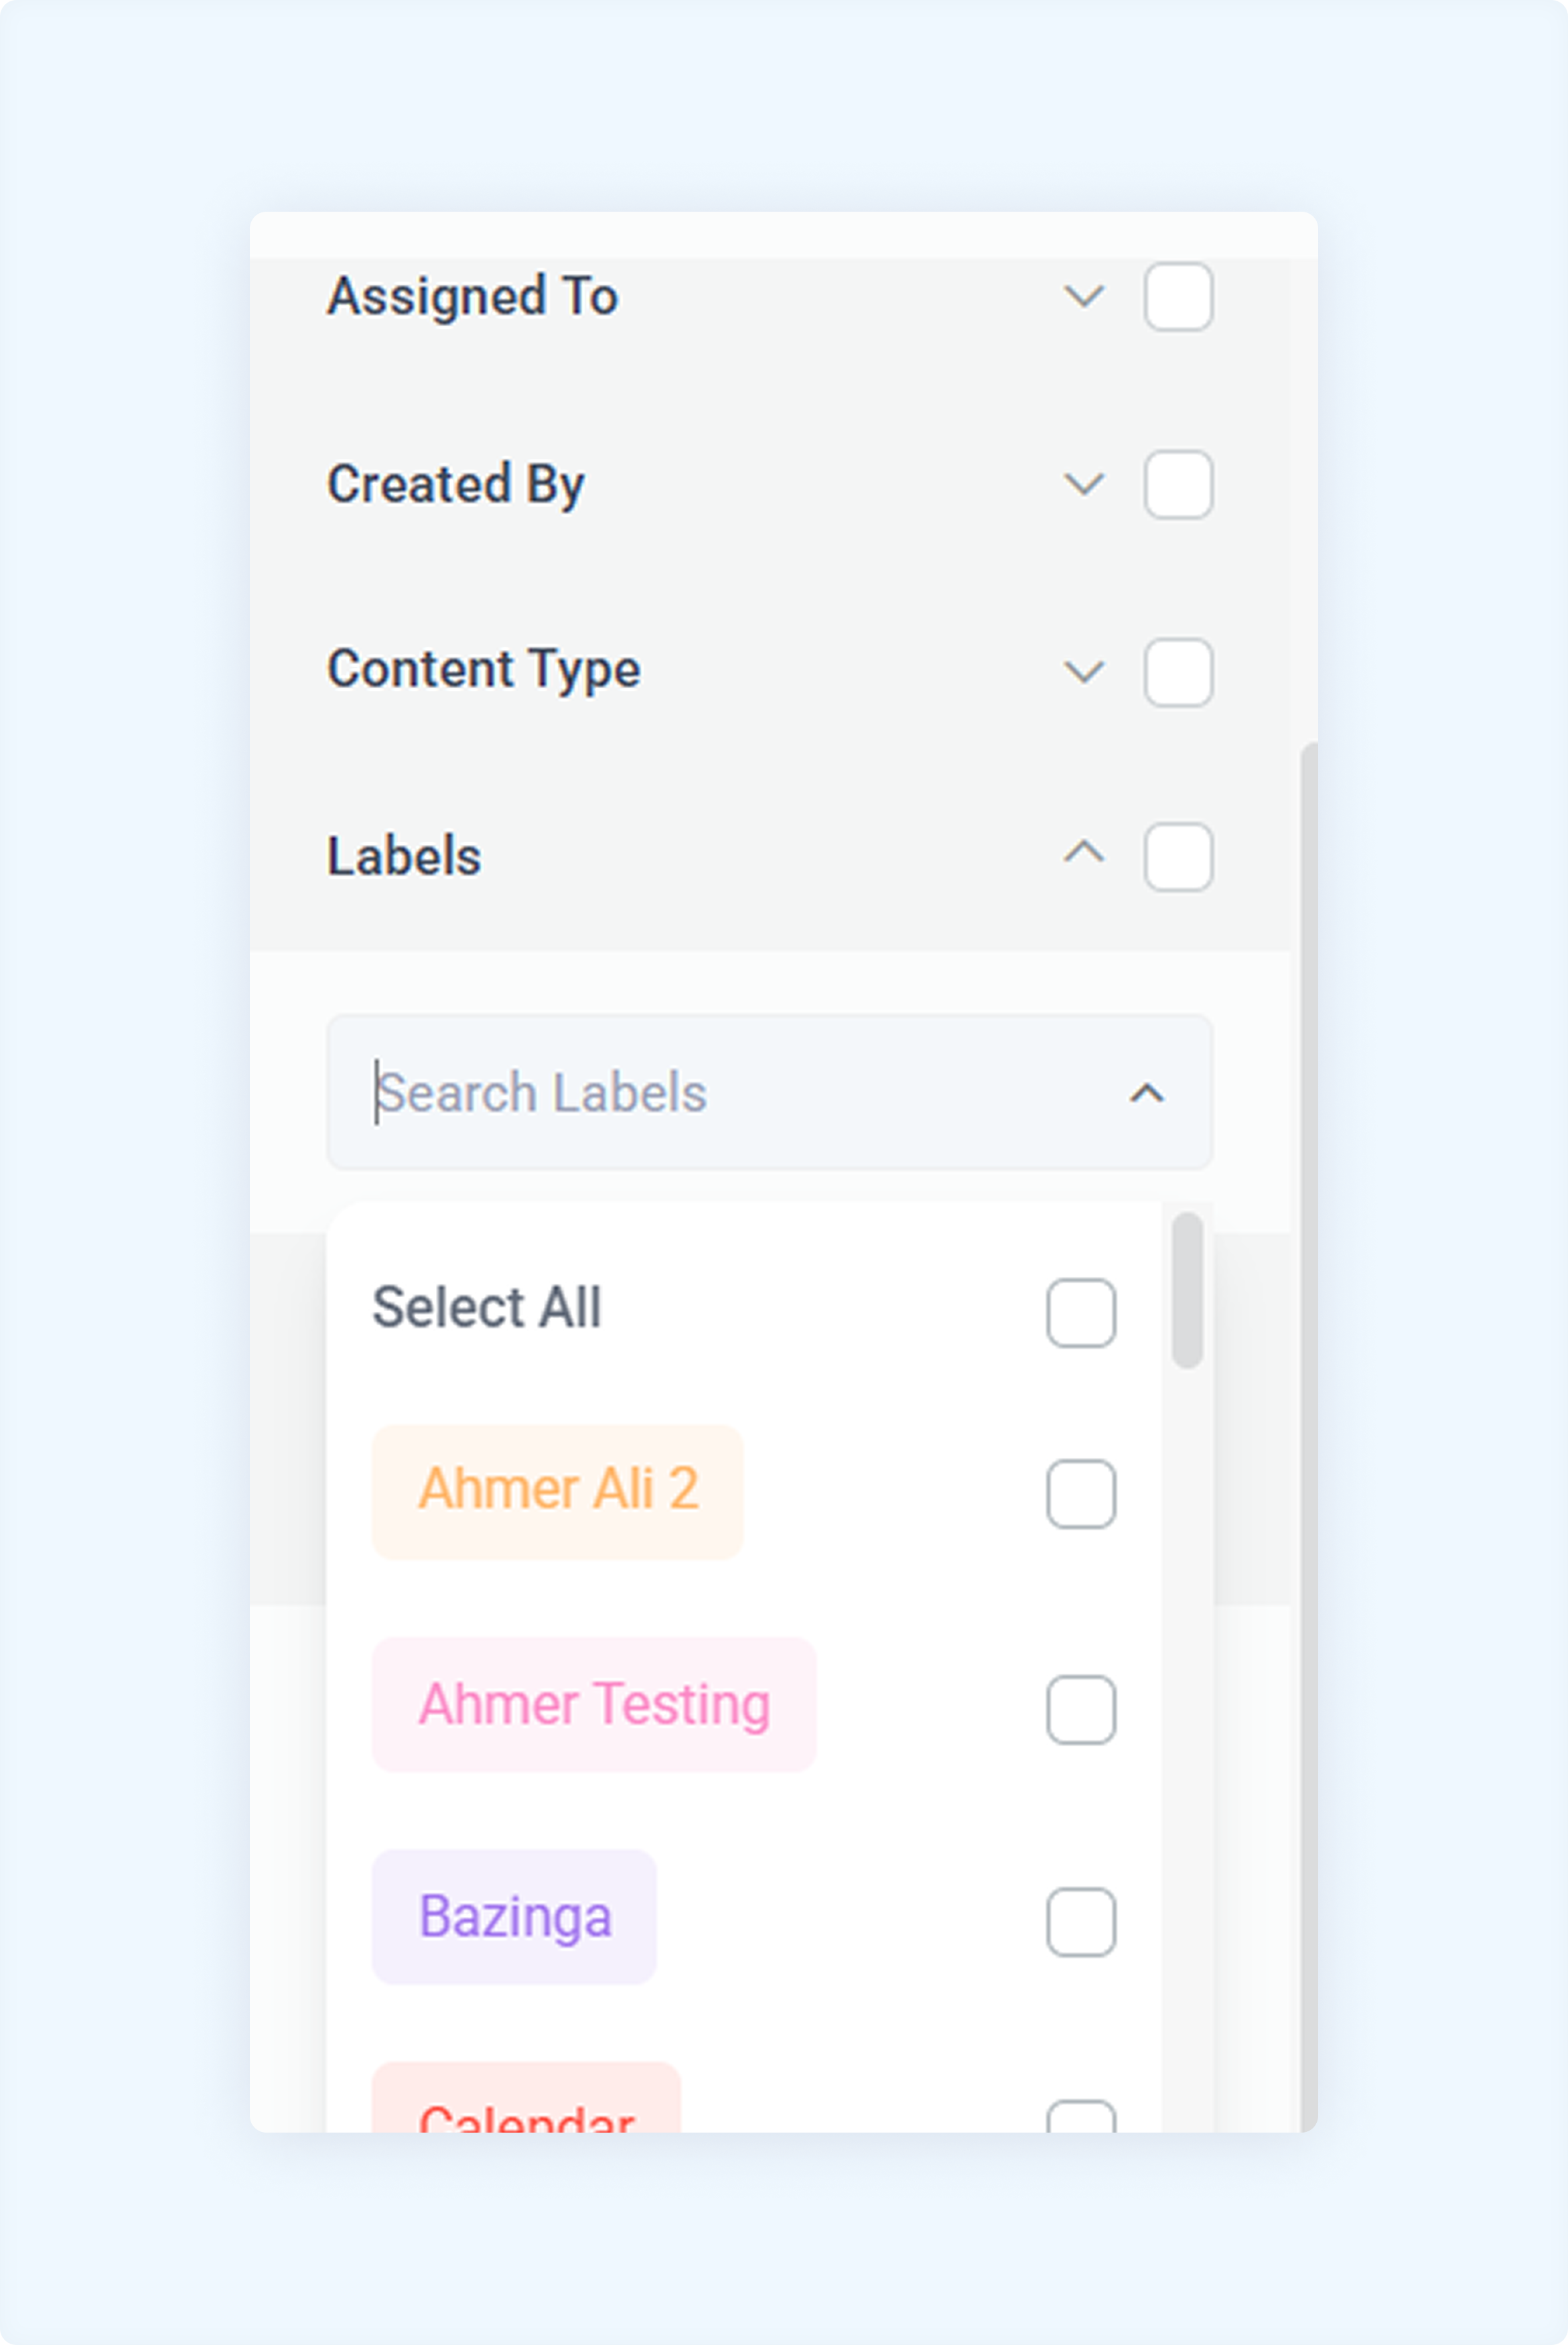
Filter by Labels
For users managing multiple brands or campaigns, labels help organize posts efficiently.
Labels can be assigned while creating posts in the Discovery or Composer module.
Using this filter, you can view all posts under a specific label, making campaign management more structured.
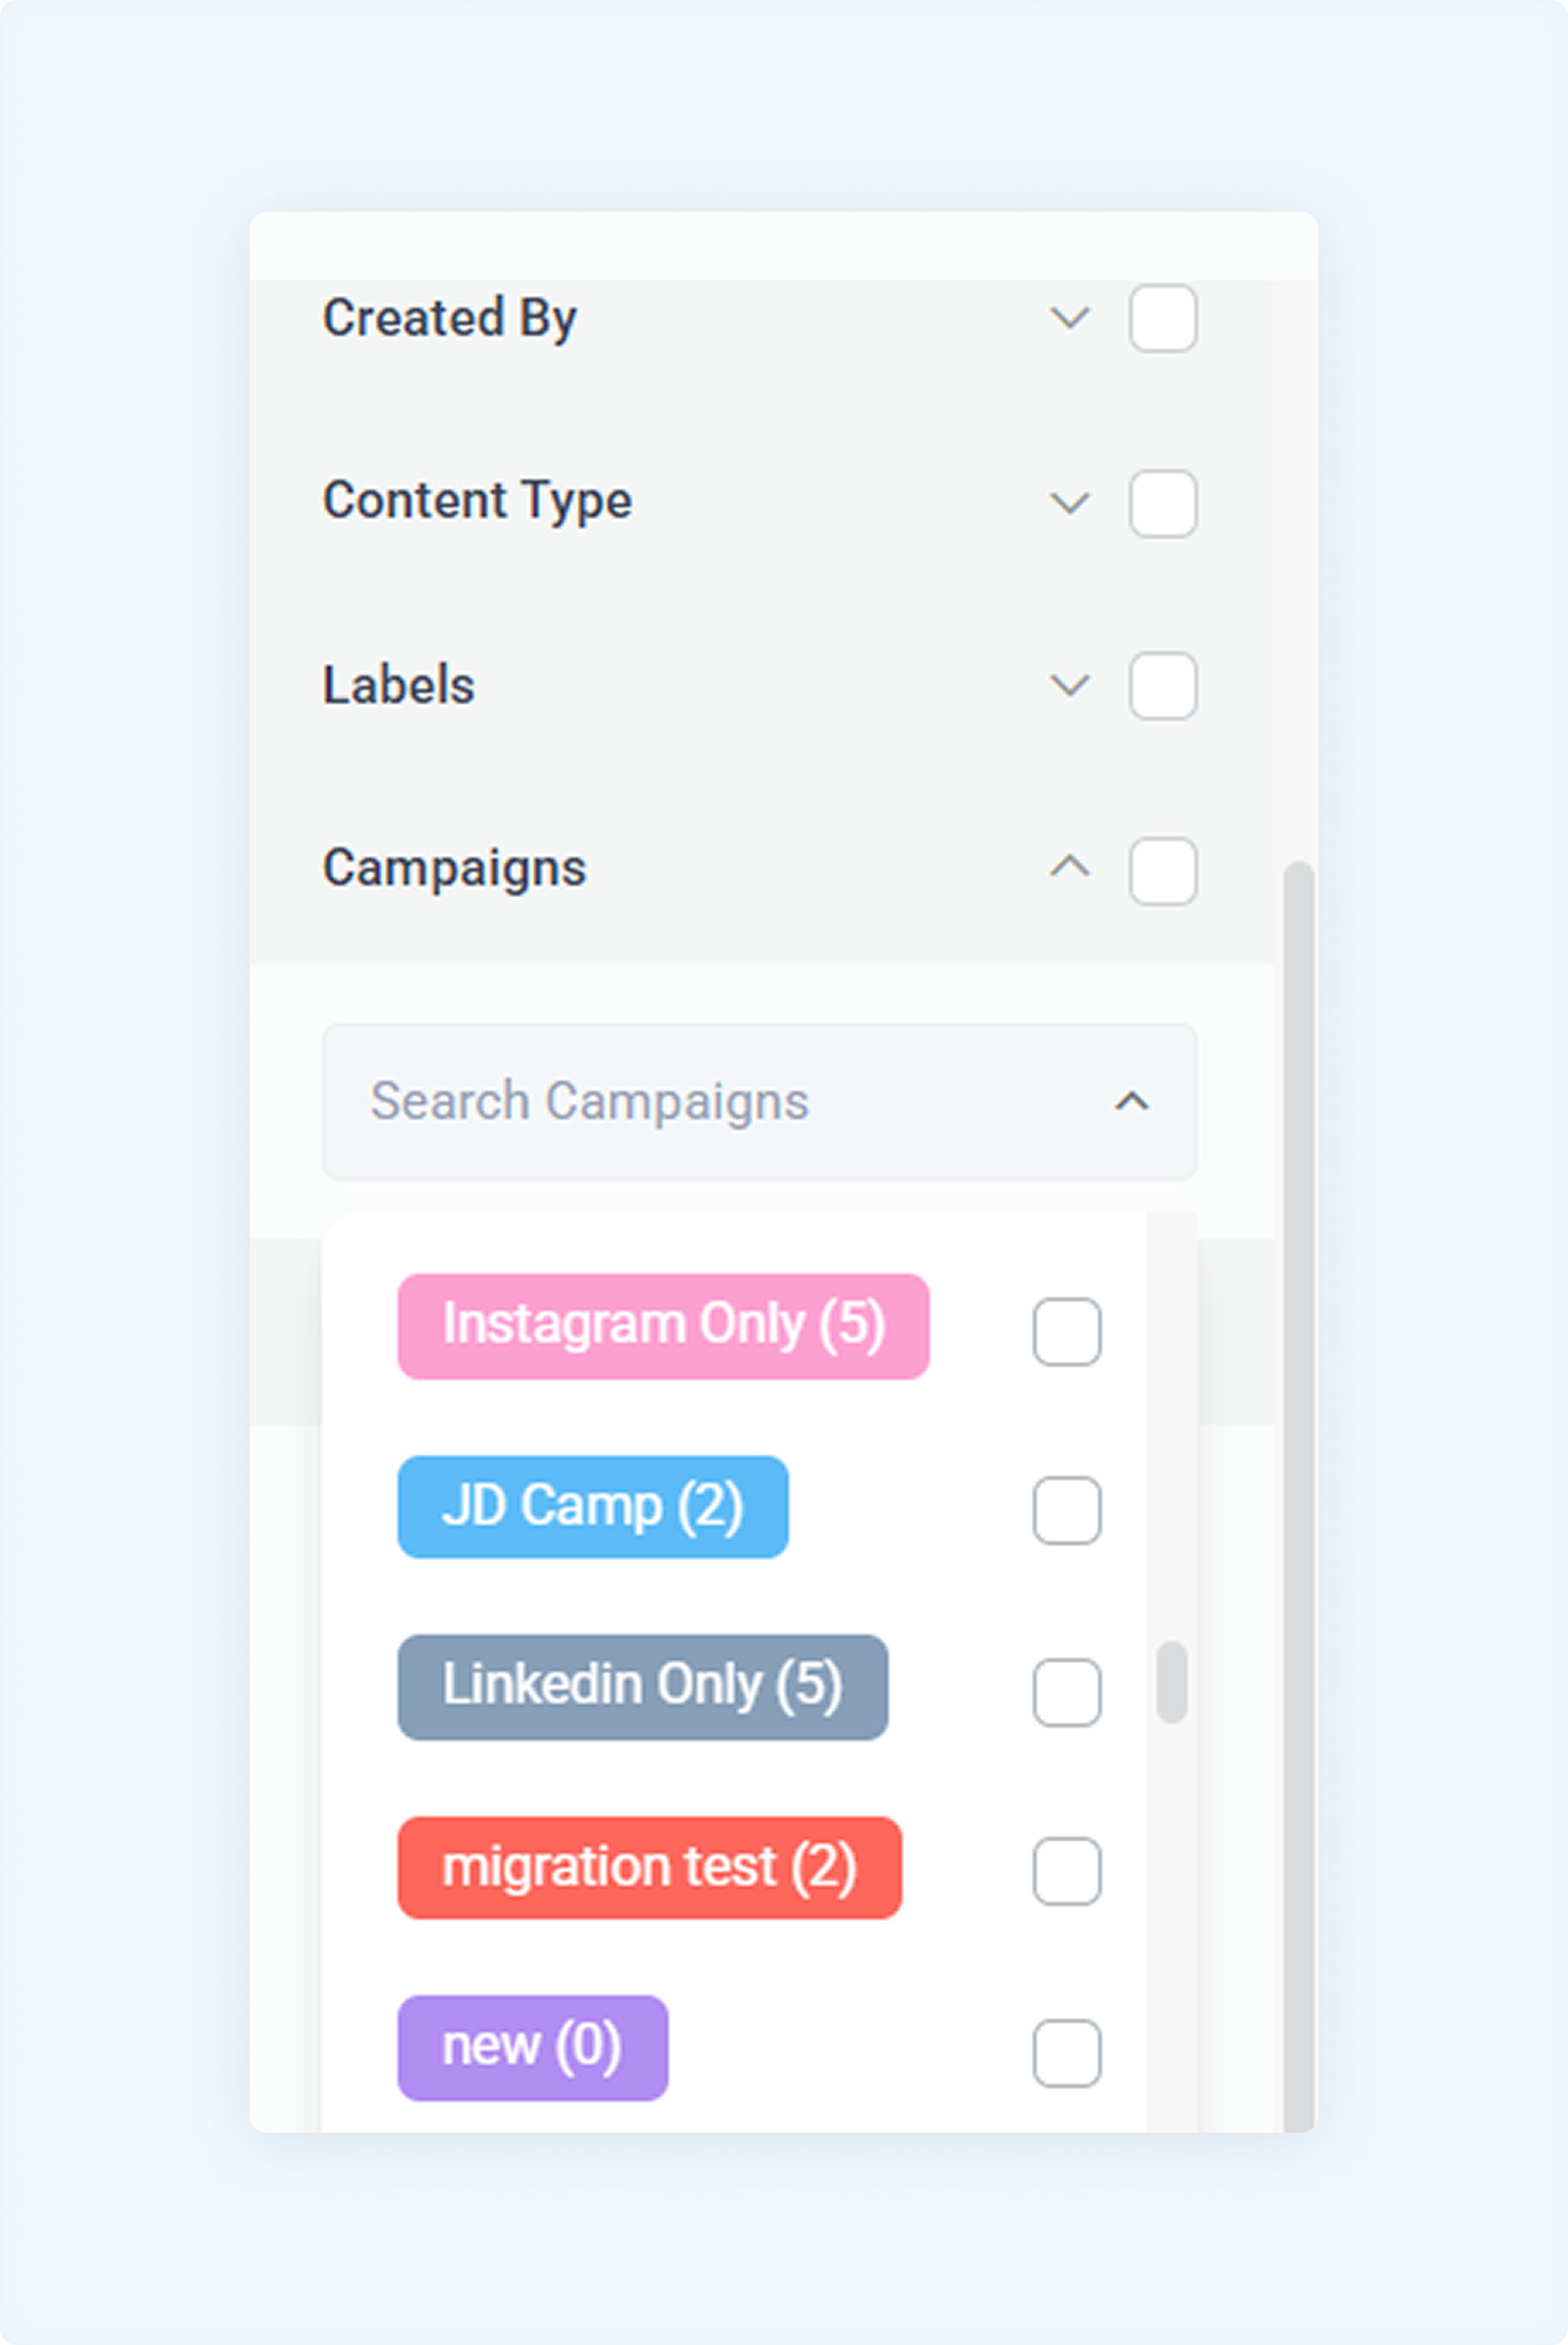
Filter by Campaigns
If you're running multiple campaigns, this filter allows you to track posts associated with specific campaigns. By selecting a campaign, you can view only the posts that belong to it, helping you analyze performance and manage content effectively.
This filter is useful for:
Tracking campaign-specific posts.
Measuring the success of each campaign.
Keeping your content organized using different marketing strategies.
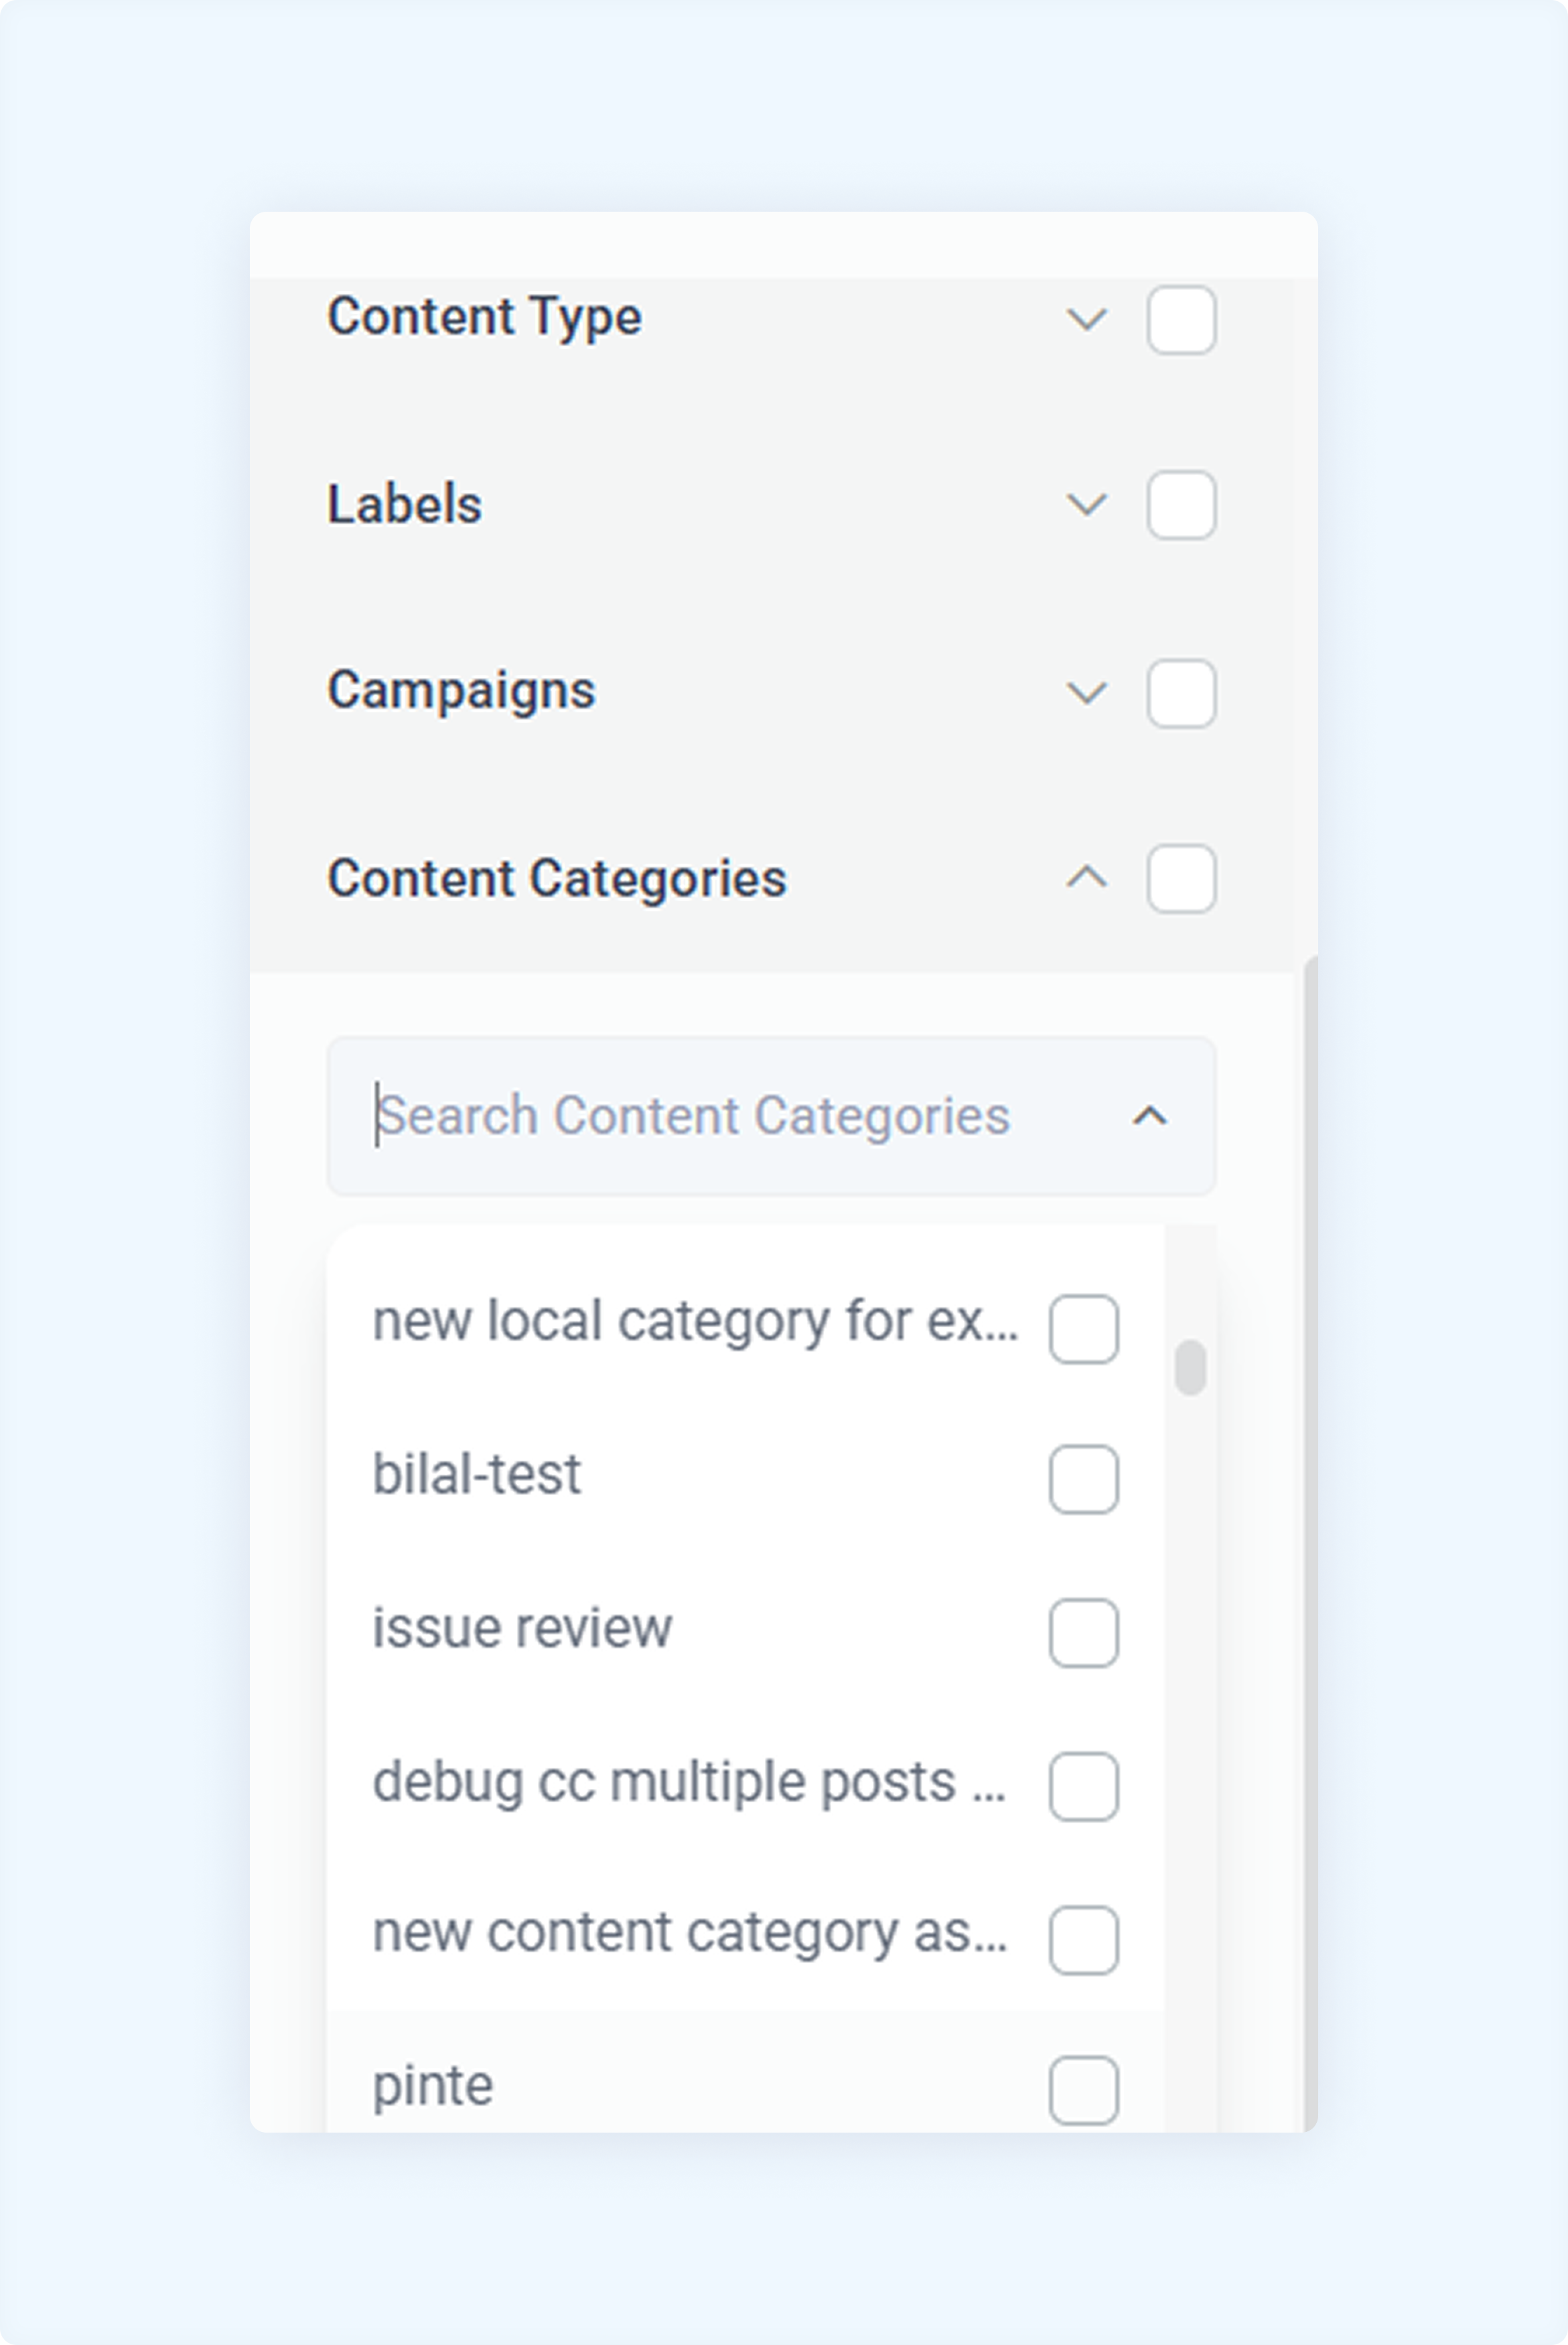
Filter by Content Categories
This filter helps you organize your content based on specific content categories.
By selecting a category, you can easily view posts that belong to it, making it easier to manage your overall content strategy.
FAQs
Q1: Why are my posts not appearing in the Planner module?
A: Ensure that you have selected the correct filters. If filters are applied, they may restrict your view. Try clearing all filters to see all posts.
Q2: Can I apply multiple filters at once?
A: Yes! You can combine different filters to refine your search. For example, you can simultaneously filter by account and status to see only scheduled posts for a particular account.
Q3: How do I reset the filters?
A: To reset all applied filters, click the Clear Filters option in the Planner module. This will restore the default view.
Q4: What should I do if a post is marked as ‘Failed’?
A: A failed post indicates that an error prevented it from being published. Click on the post to view the error details and reschedule it if necessary.
Q5: Can I create custom labels for my posts?
A: Yes! You can create and assign custom post labels while composing them in the Composer or Discovery module.
Was this article helpful?